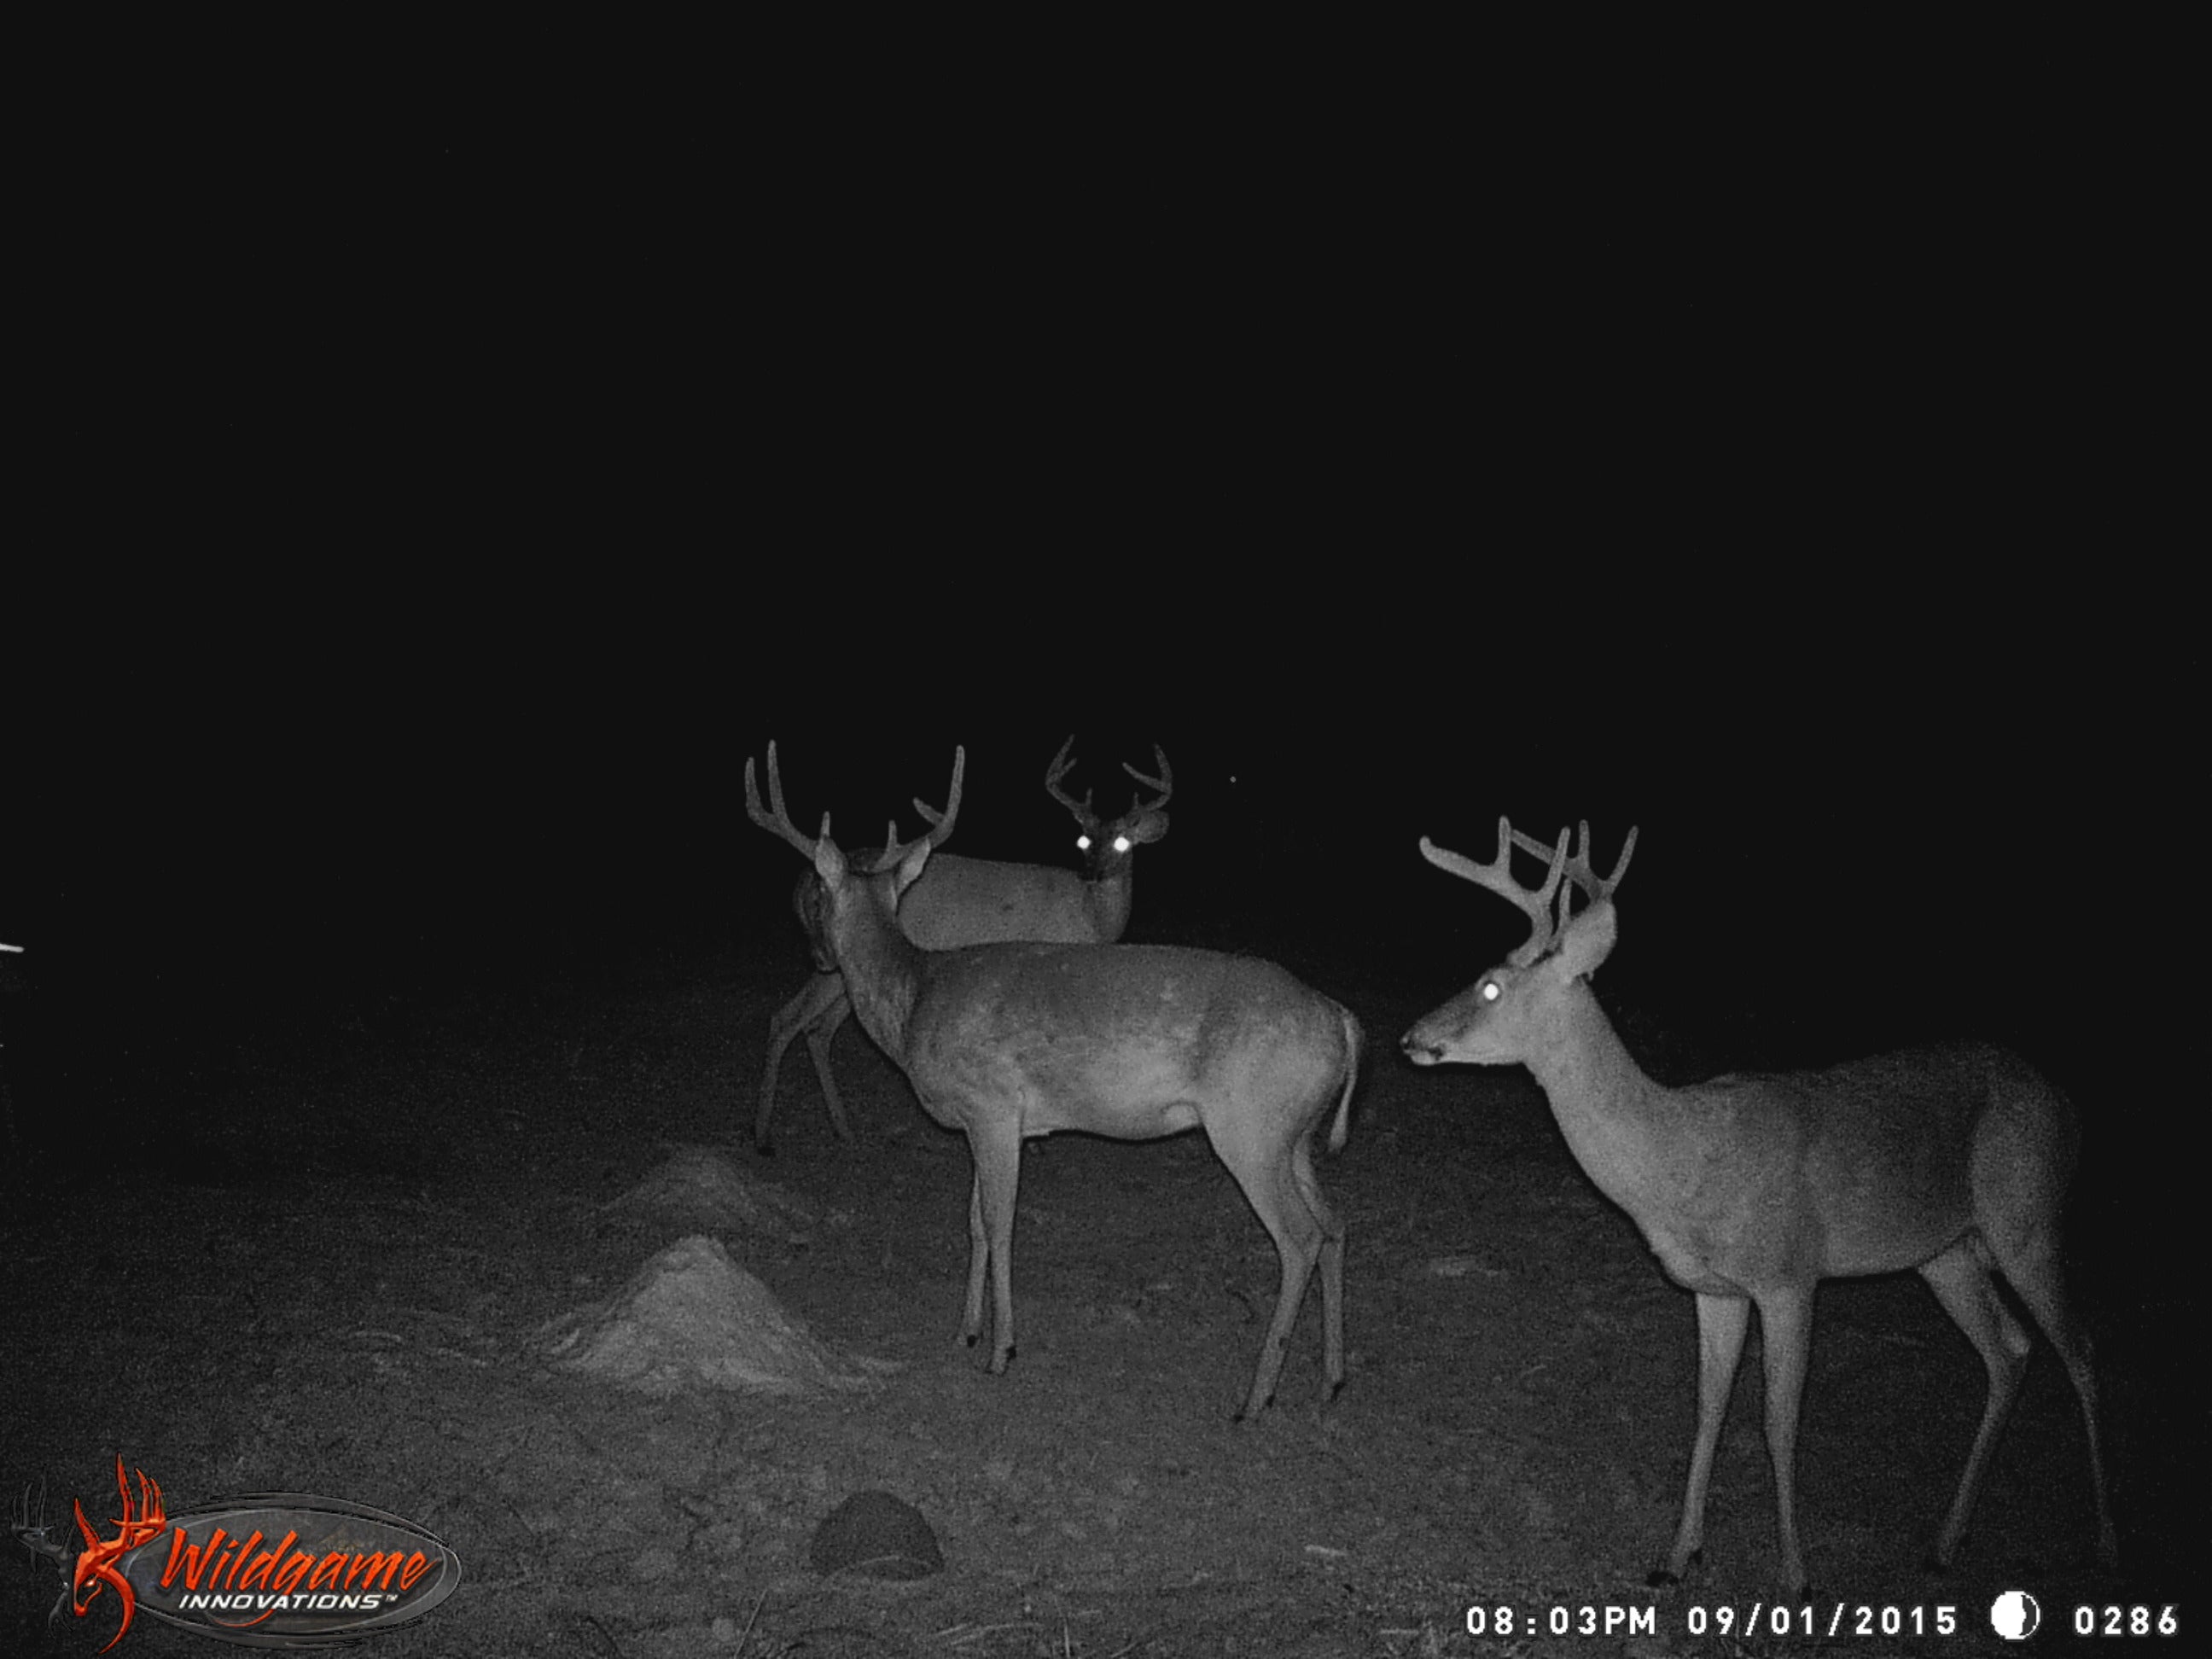
Making Trail Cameras Work Better
Dr. John Woods 09.24.15

Have you had acceptable, successful luck using trail cameras? I have not. In fact I very reluctantly just bought two new ones at an outdoors show to replace the three pieces of junk I already owned but couldn’t get to work worth a flip. There has to be a better way. Maybe AO readers can report your comments, successes, and brand recommendations for us.
Without naming brands, I used to think that should make a difference. However, my own experience and that of several hunting buddies over the years has not proven that adage true. Over the past five years or so we have collectively probably bought fifty trail cameras with mixed results. Generally speaking, when trail cameras are mentioned around the deer campfires, all you hear after that is cussing. Hunters are definitely looking for something better.
My first trail cam did take photos, but the pixel quality in those days was marginal at best. It was black and white only and highly subject to sun angles and such. That and the fact the camera used eight “D” cell batteries that did not last long, plus they made the unit overly heavy. That old camera also used the old super big, wide data cards. My favorite all time photo on that camera was the rump of a cow using it to scratch against. How appropriate.
Next, I tried a so-called state-of-art camera that would have taken an electrical engineer days to figure out the owner’s manual. Inside the unit was a panel of 8 or so slide switches to set a dozen or more features. There were other buttons to push, too. I think the camera came out of the panel of a NASA Space Shuttle. We never really got the camera figured out and thus it never produced consistent photos. Sometimes we got twenty photos of the same bush swaying in the wind. The lens got blurred after that doe licked it. Batteries lasted a week.
My third try two years ago was the most expensive camera on the market at the time by a renowned brand of favorite outdoor products. I knew it was a bad deal when the next season rolled around and it was no longer offered in their catalog. That was a sure sign it was a dud.
This camera did not even take video, or at least we didn’t think it did. It had the separate photo screen reader that you could connect direct to the camera via a USB type cable. The reader never really worked right. It took like 72 hours to charge it for the fifteen minutes the screen lit up. The owner’s manual would have made a good novel. The camera battery was rechargeable, thus the power only lasted about one day. I just threw it in the garbage can. I am sure glad that was a writer’s sample I did not have to buy.
I knew there had to be some way to design smaller, compact cameras that were super simple to set up and use. These would use 6-8 AA alkaline batteries that would last for weeks if not months by using small amounts of power to run. Every shot would be clear and in color. It could switch from photo to video with one button change. Every print would be dated and the AM/PM time recorded. Some of the new ones have moon phases recorded, too for those that care about such things. One button can tell you how many photos have been recorded, too.
They could use regular SD cards of up to 32 GB capacity. Some of these are on the market now, and I will report on the ones I recently bought soon after I complete the backyard trial period.
So, ask around and buy recommended reliable cameras. Ones with quick and simple set ups. If there are too many bells and whistles, they likely won’t work for long (if at all) very reliably. They should take day and night photos/video well. The newer IR cameras are all the rage now.
Proper camera set up in the field and woods is paramount. Secure them (locked) to a tree or post over highly traveled deer trails, food plots, scrapes, rubs, or other whitetail hotspots. Use good elastic straps or adjustable latching straps. The camera needs to be secure on the tree, at the correct height, and squared up to take good photos.
Generally face the lens north or south to avoid direct sunlight that comes overhead of the camera from the east setting to the west of course. You want to keep direct light out of the lens, which can blur or fade daytime photos or video.
During the set up work be sure to wear gloves for handling the camera. Use appropriate scent control cautions going in to deploy them or checking them to swap SD cards. If you get a good, simple, reliable camera and set it up right, it should yield some great deer scouting results.