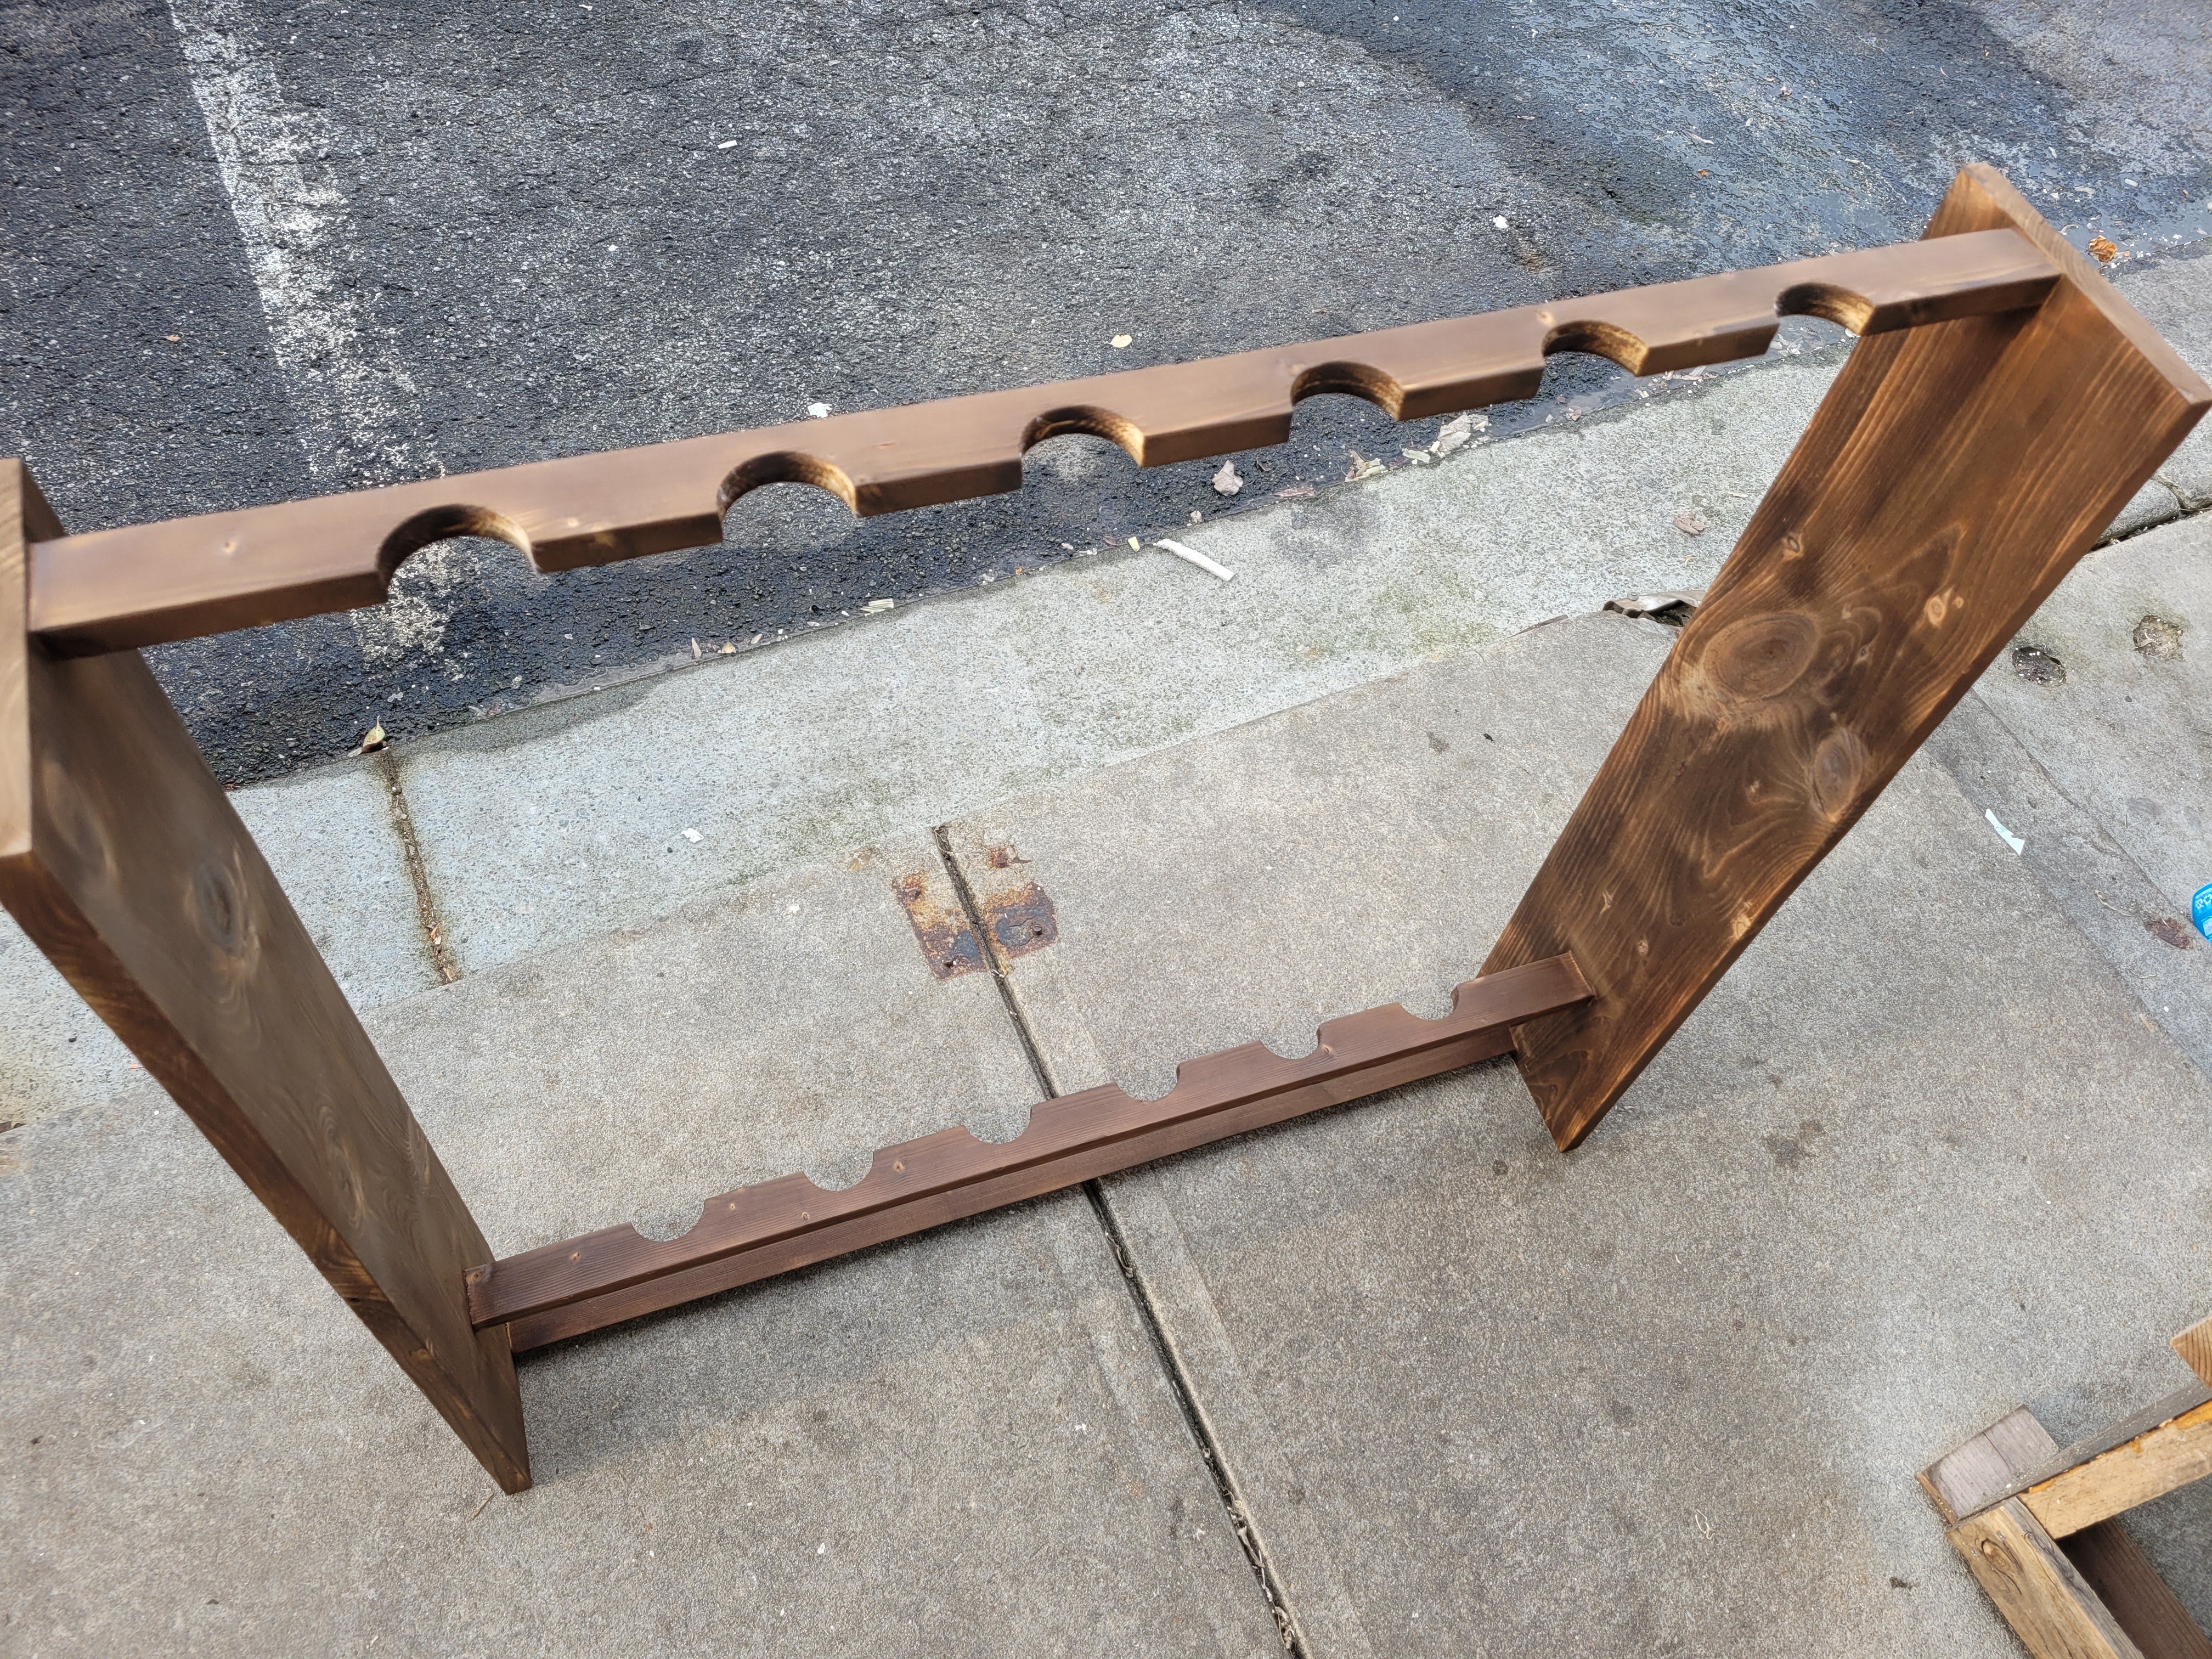
DIY Budget Rod Rack Project with Japanese Shou Sugi Ban Finish
Eugene L. 04.18.22
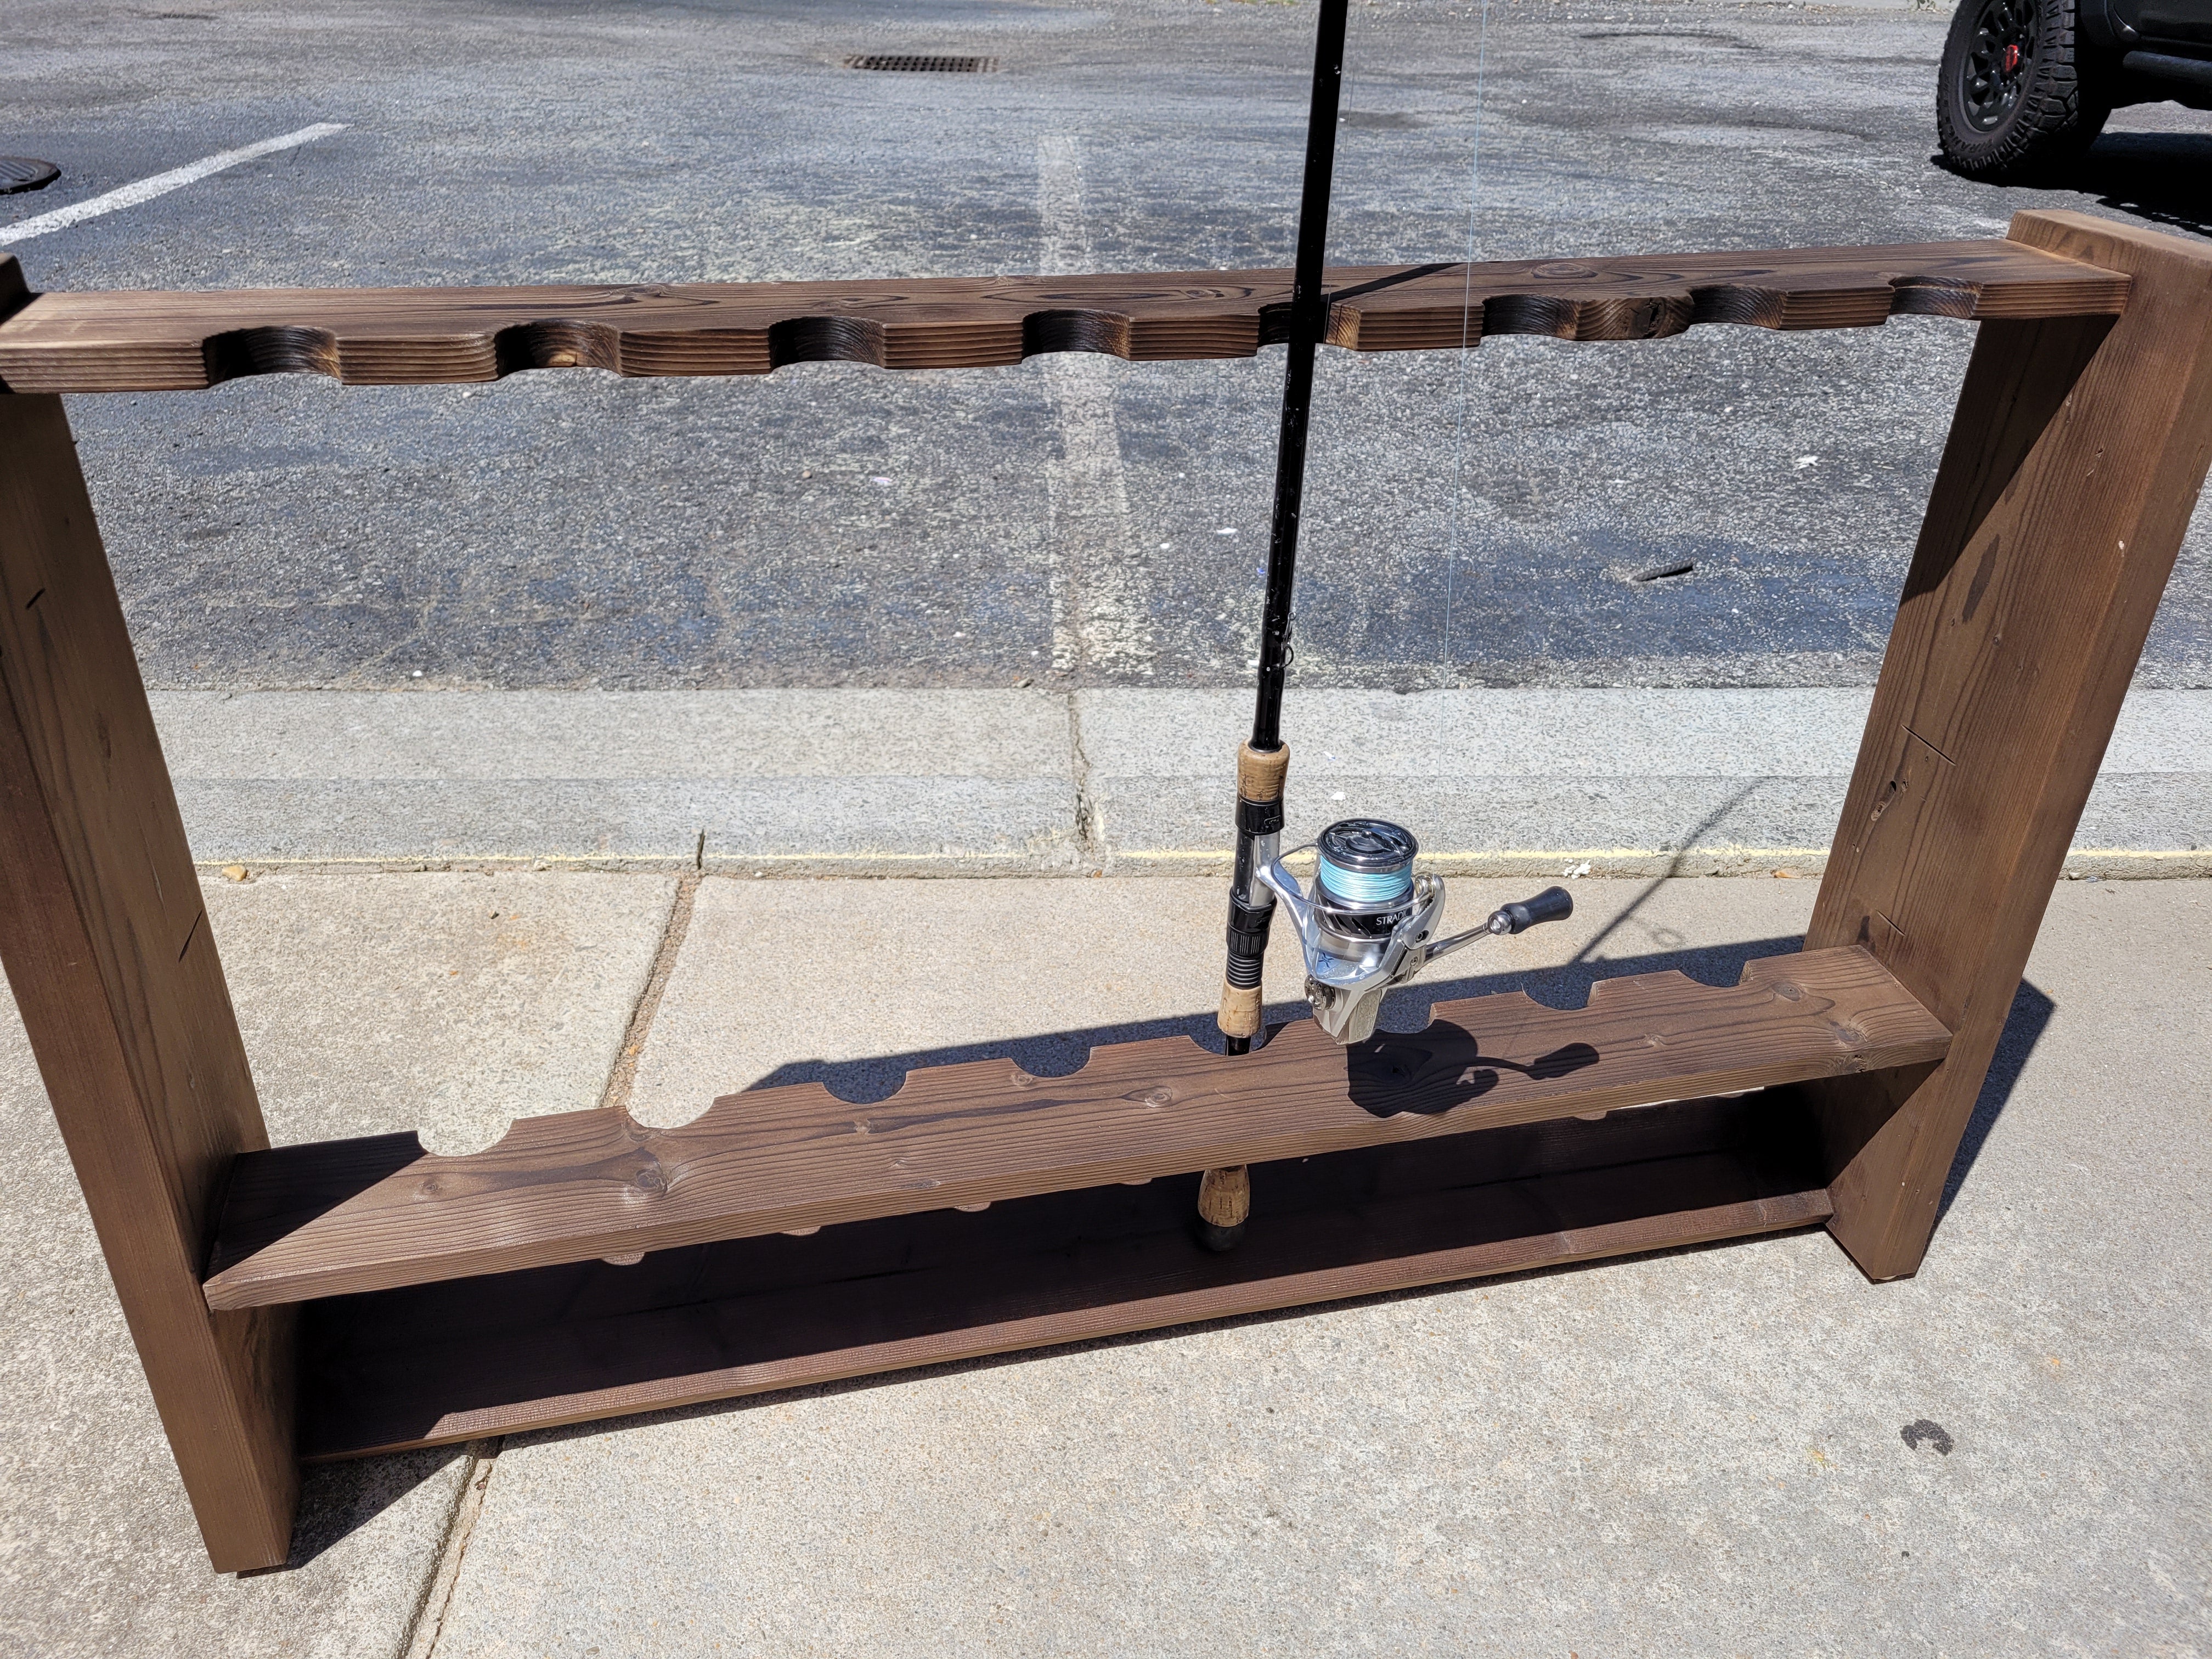
Here’s an easy DIY Rod Rack to help you organize your tackle at home. This is a low-cost single afternoon project. If you don’t have a chop saw at home, most hardware stores will cut the wood you buy from them. The first few cuts are free and the rest are around under a dollar a cut. One power tool you will need to own is an electric drill.
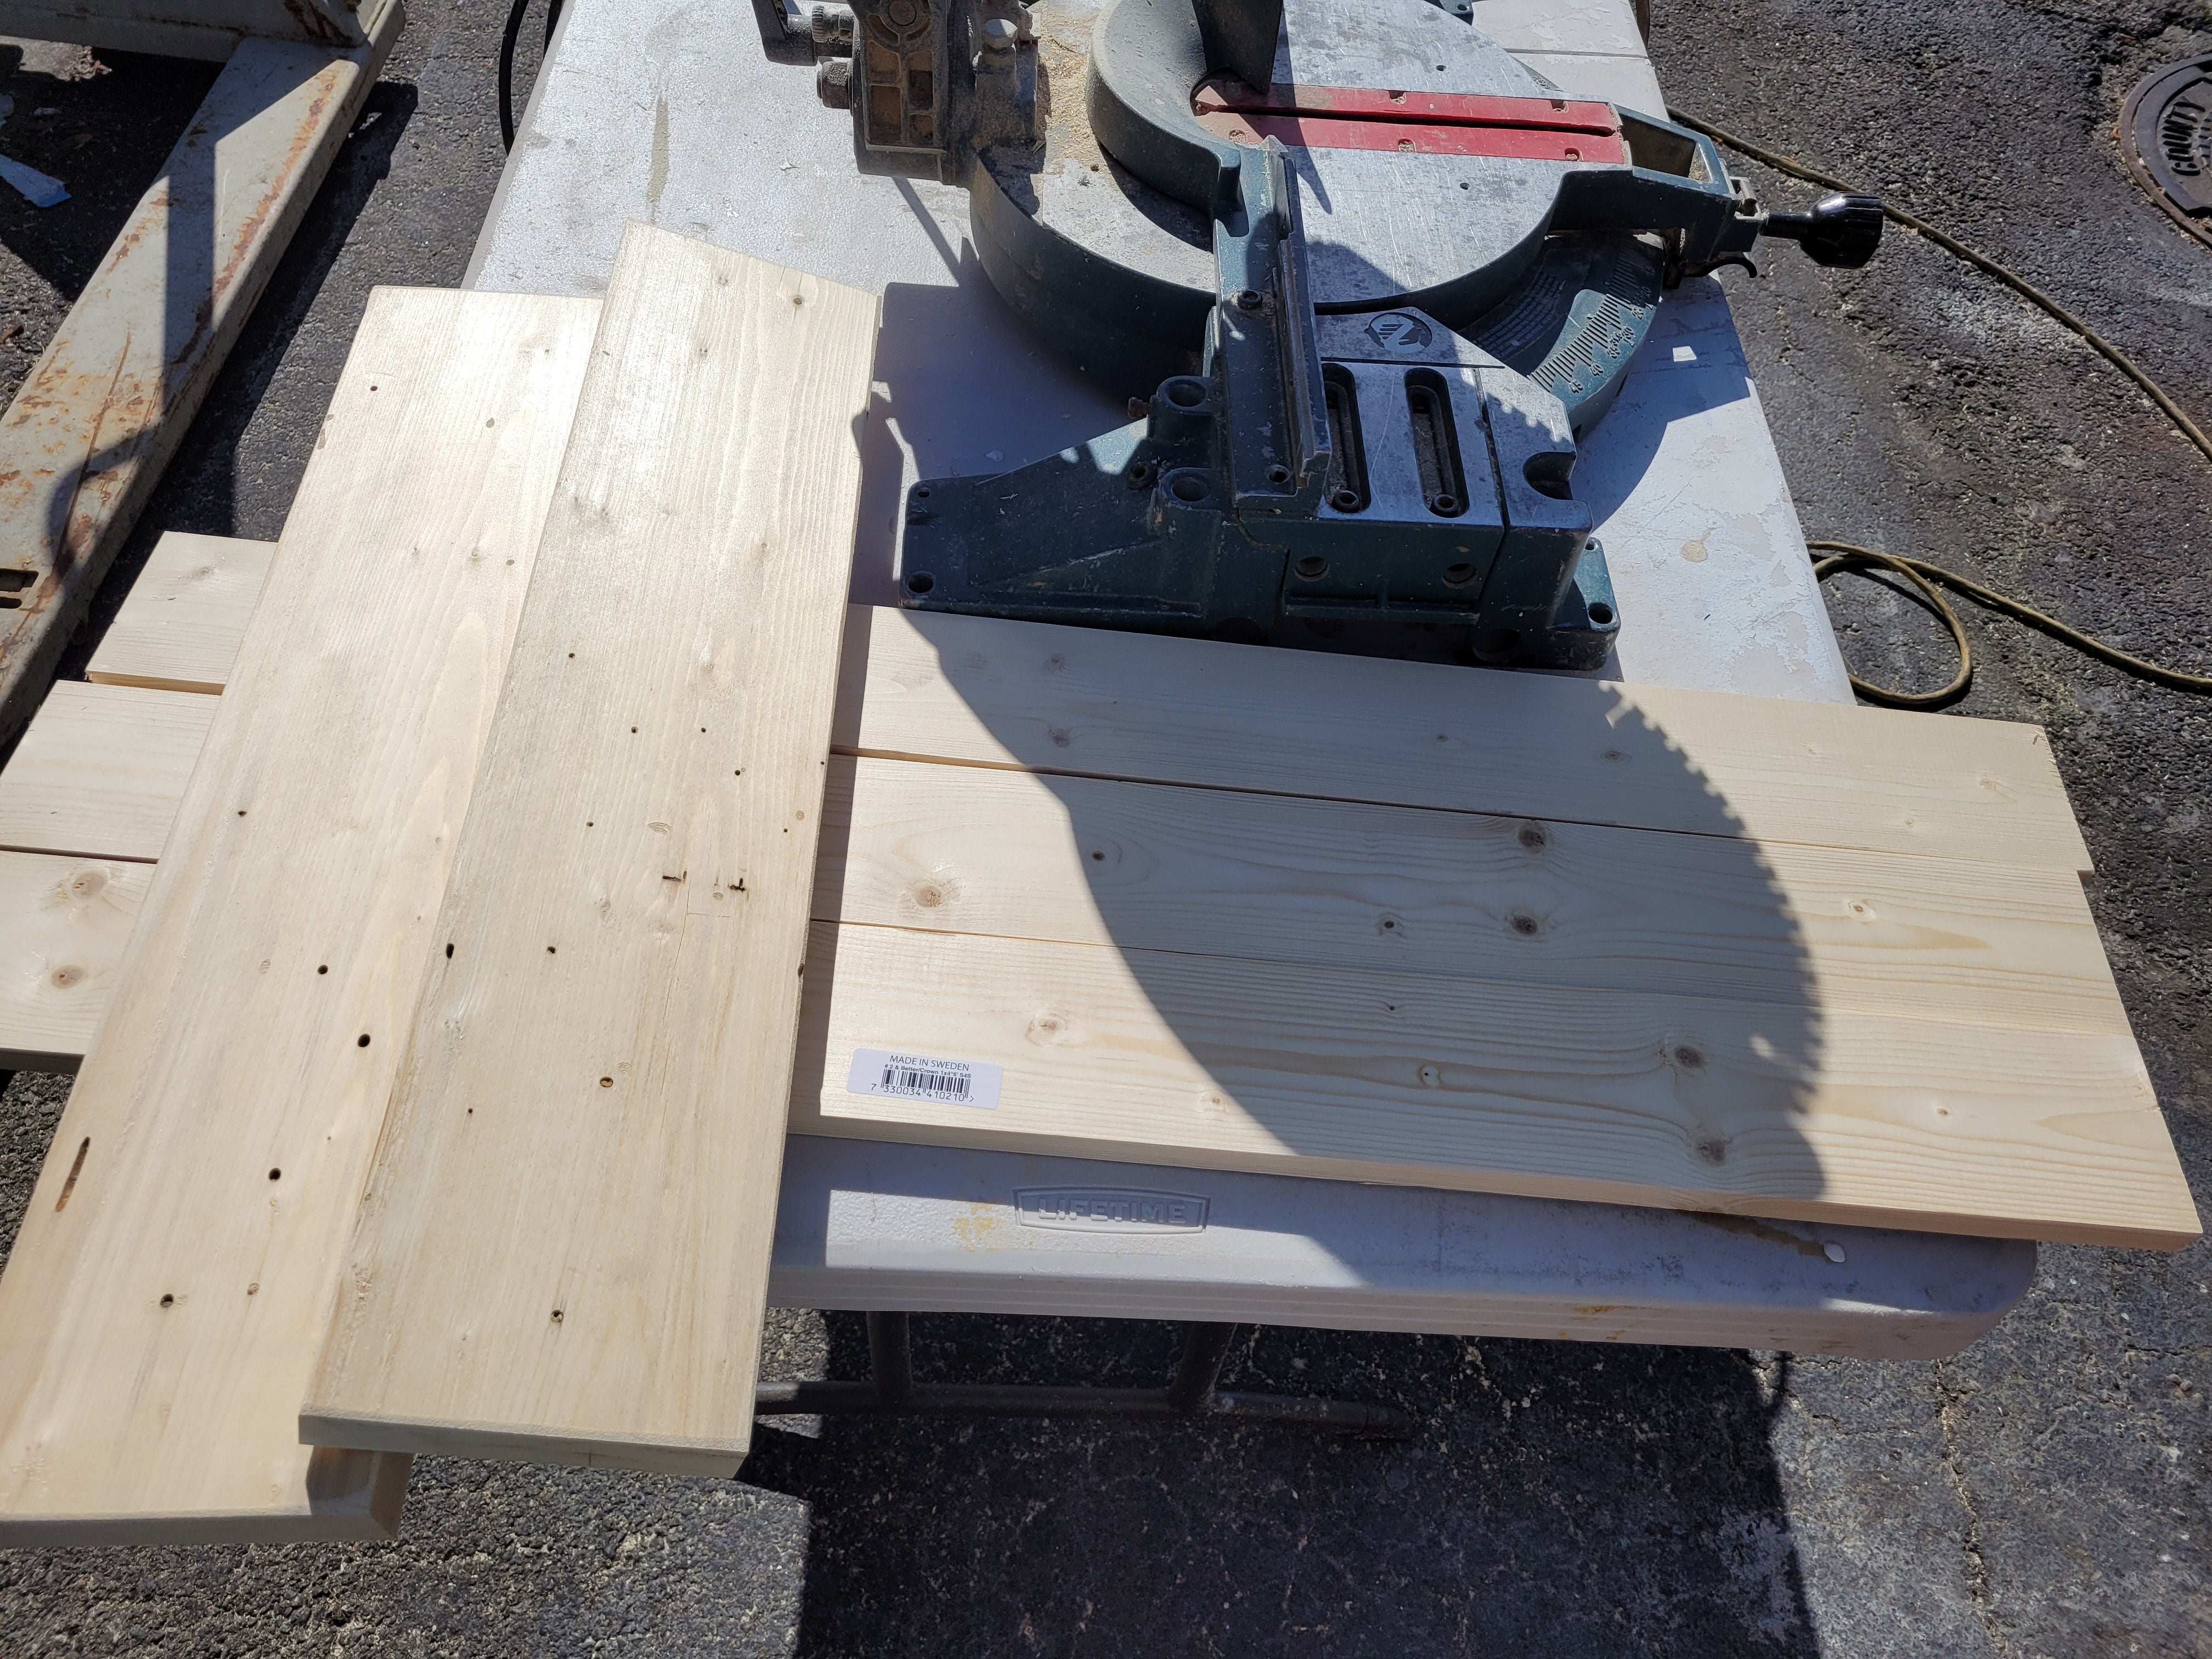
For this rod rack, I used a scrap 2×6 that was cut into two 2ft sections and a 1×4 that was cut into three 3ft sections. You don’t need to use a 2×6, it is just something I had available, but I would recommend going with at least a 1×6 board that is cut to at least 2ft for each side piece. For the middle pieces, you can go any length that fits the space you are building the rack for. I used a 10ft pine 1×4 that was cut to 3ft pieces, but you can use a 1×3 as well.
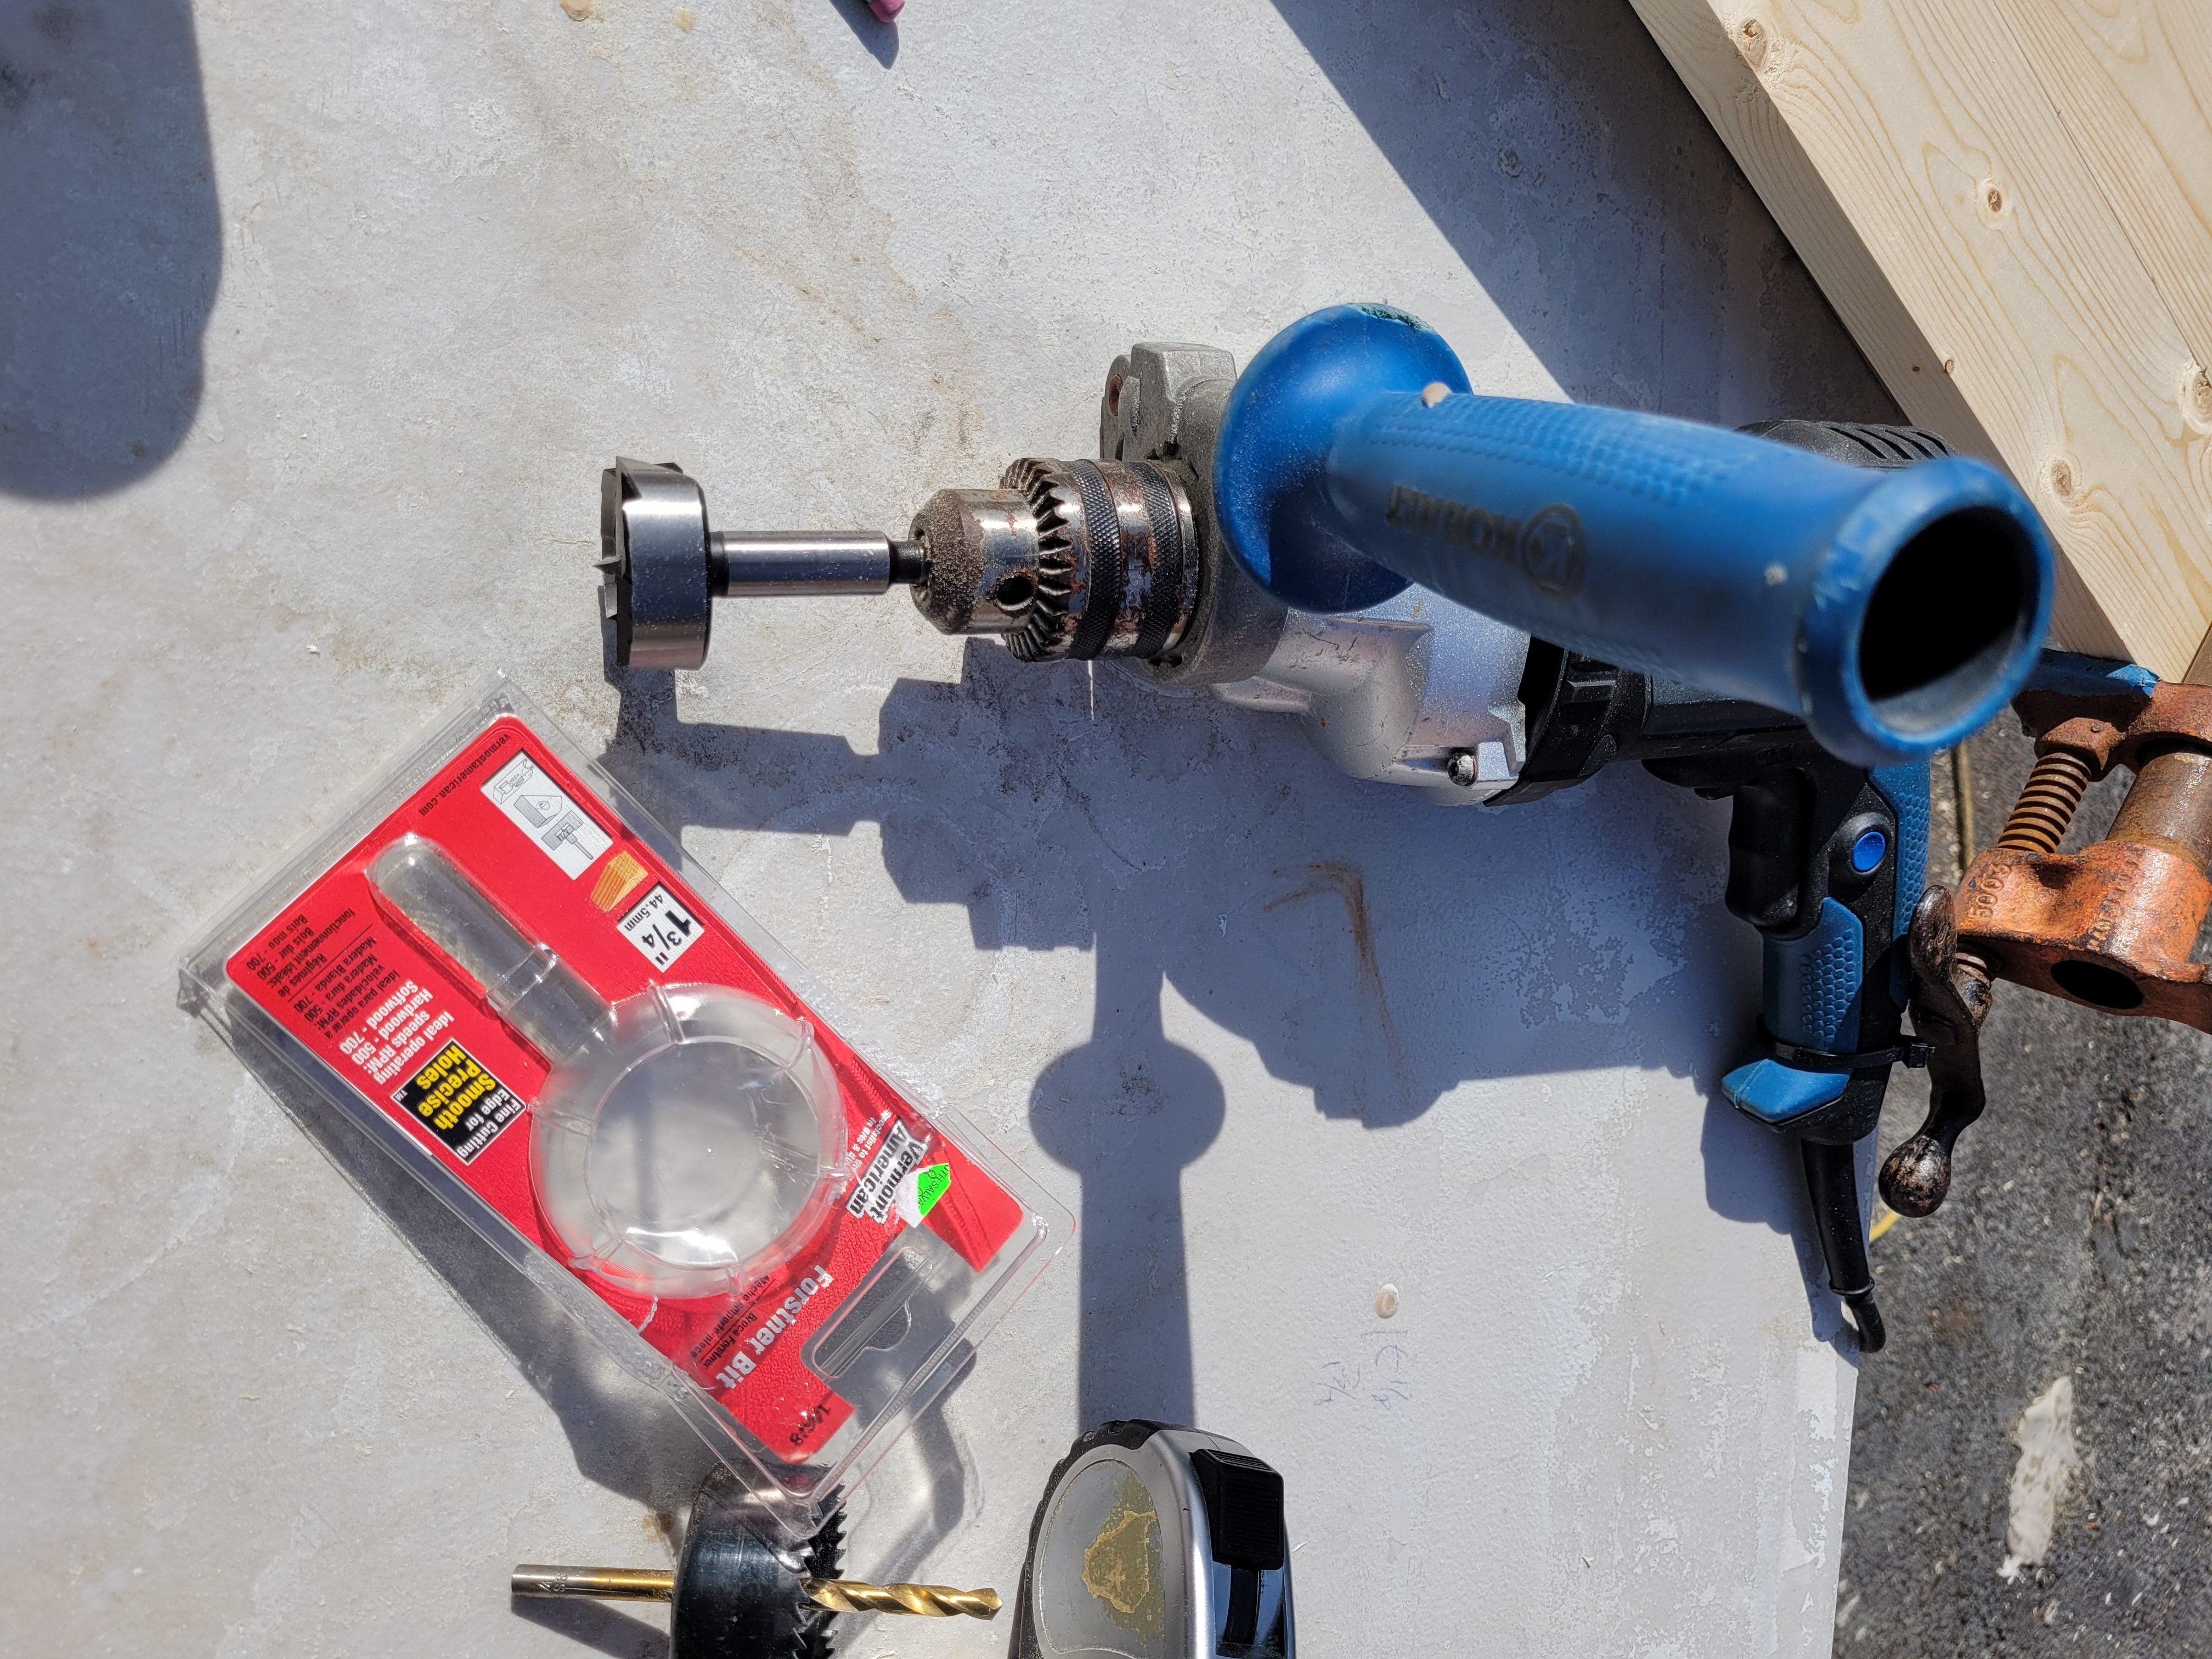
For drilling the slots for the rods you can either use a Forstner Bit or a hole saw bit. I would recommend the Forstner bit for a cleaner hole.
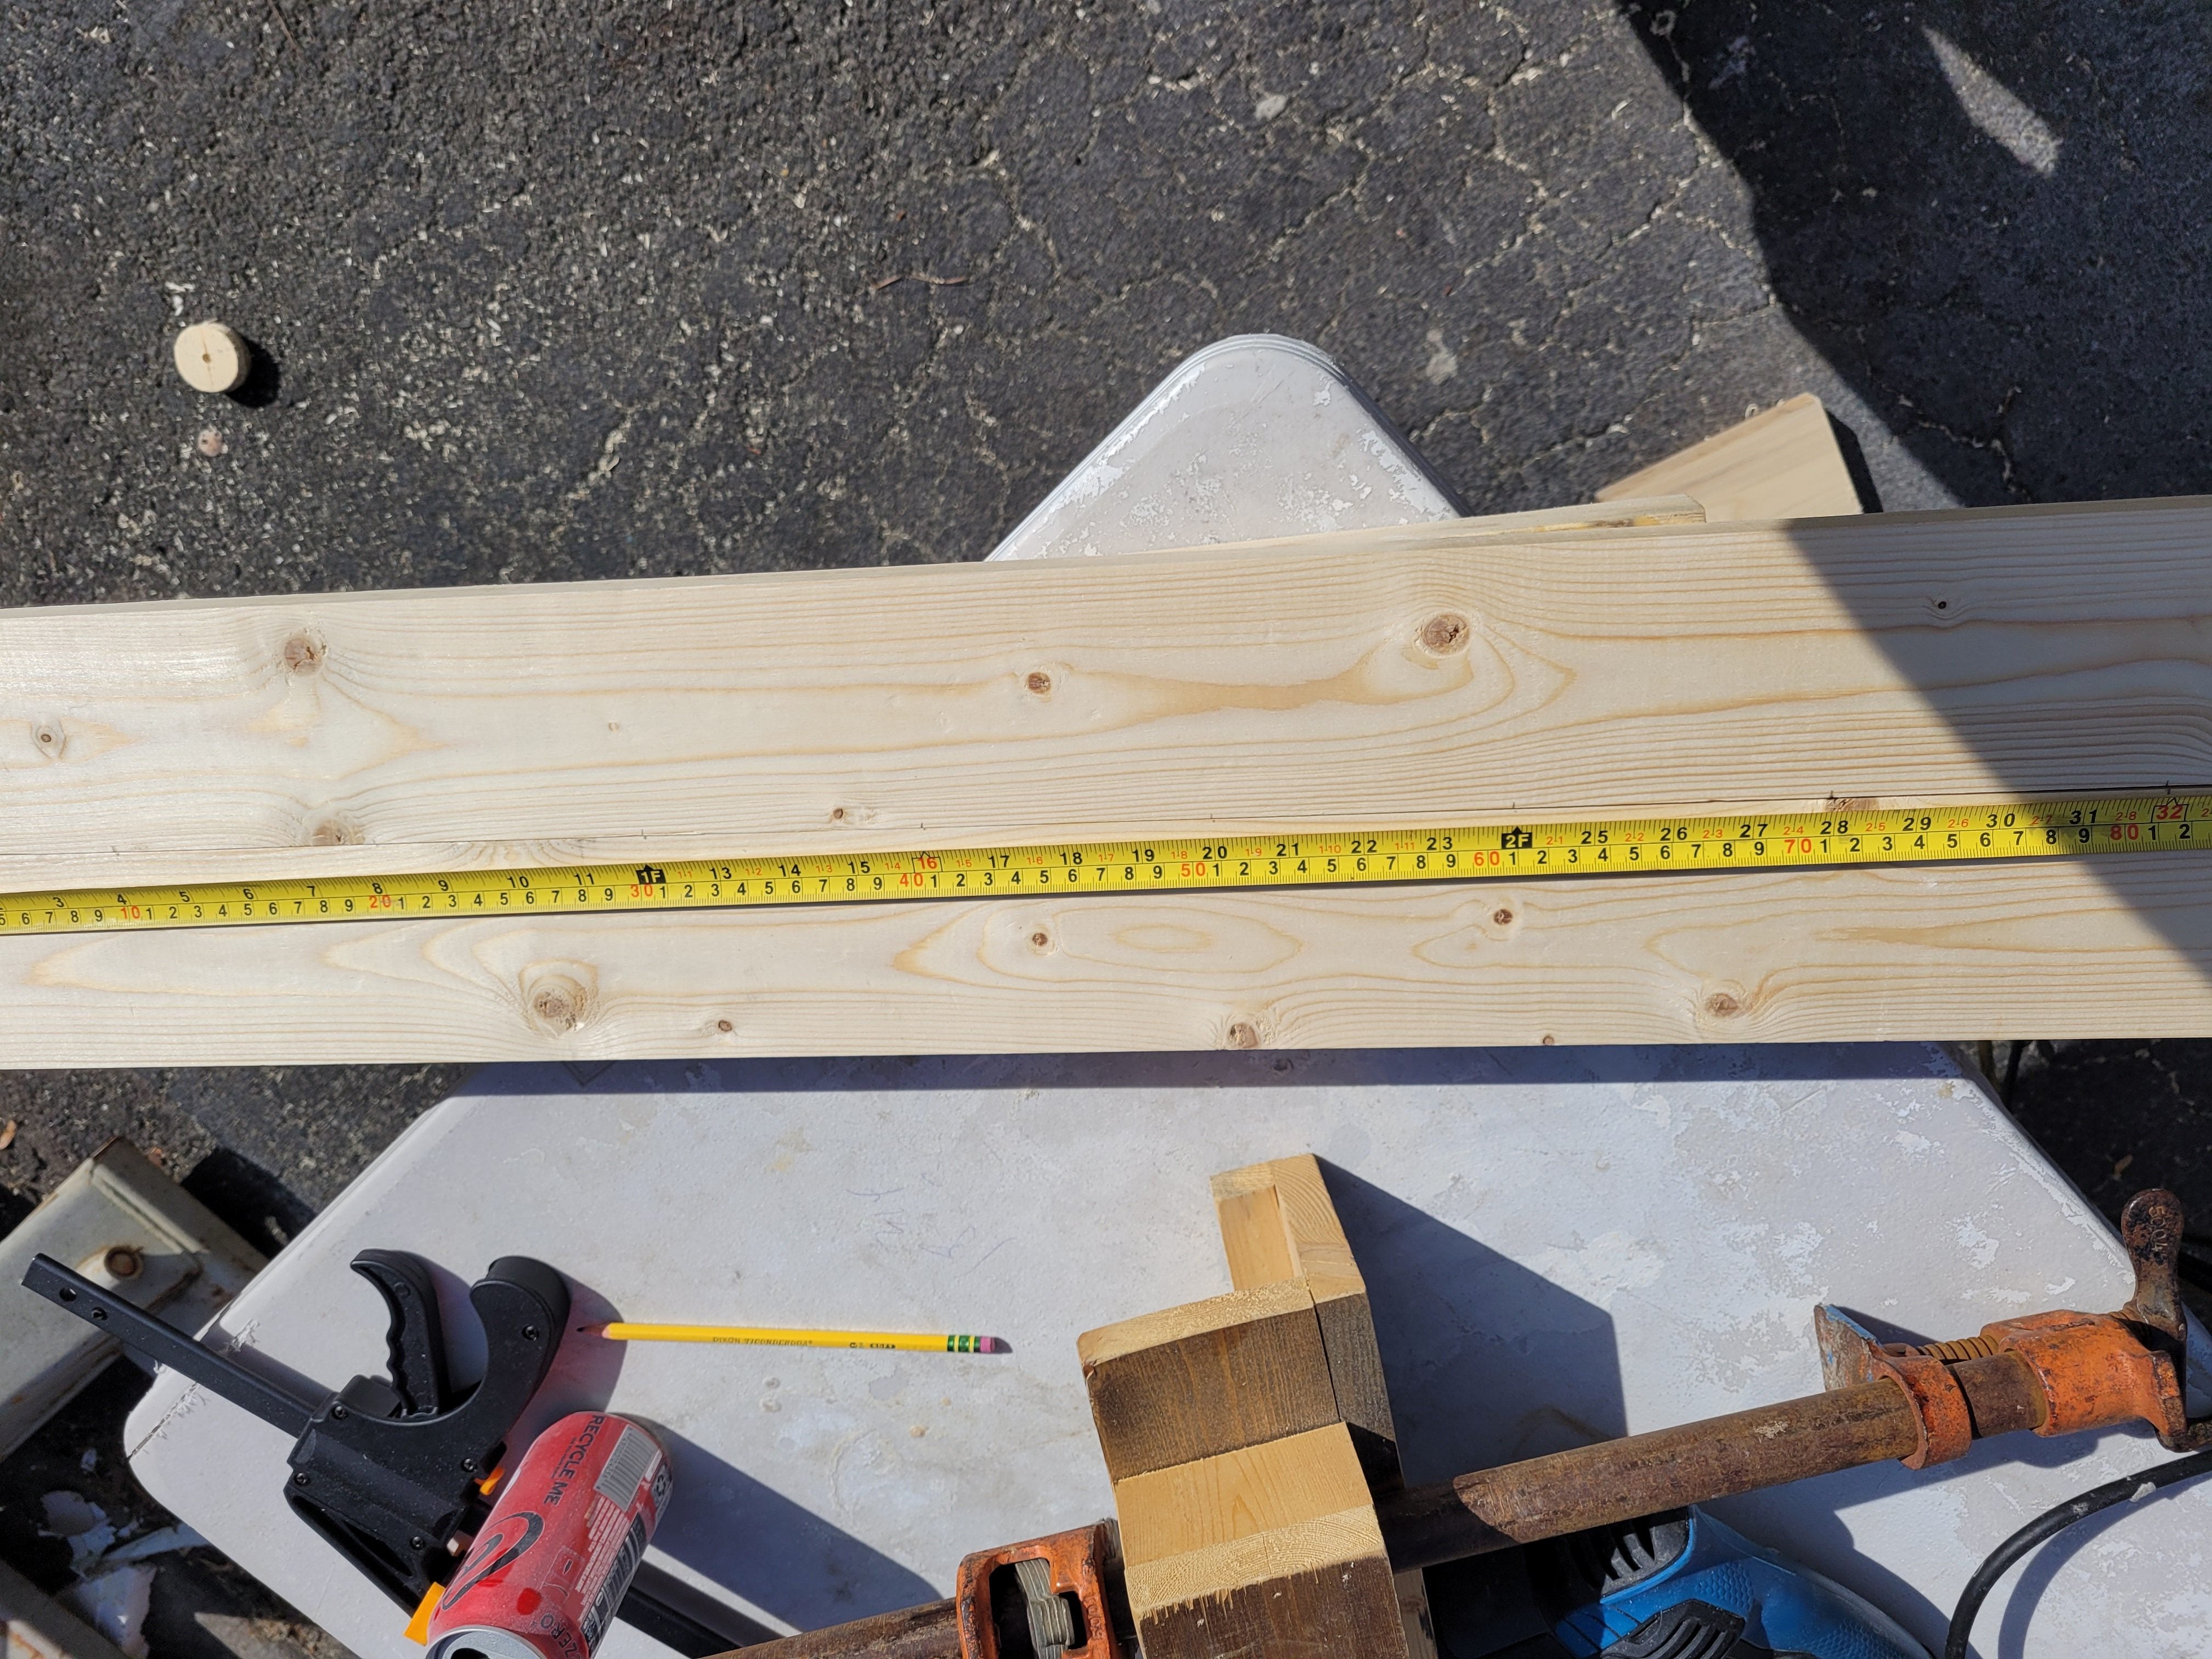
Mark on the two boards where you want the rod rack slots. I chose a 4″ spacing between the holes giving me a total of eight rod slots in the final rack. Choose your spacing based on the size of the rods and reels you are wanting to store in the rack. The bigger the reel the bigger the spacing you need. That way you don’t have too crowded of a rod rack.
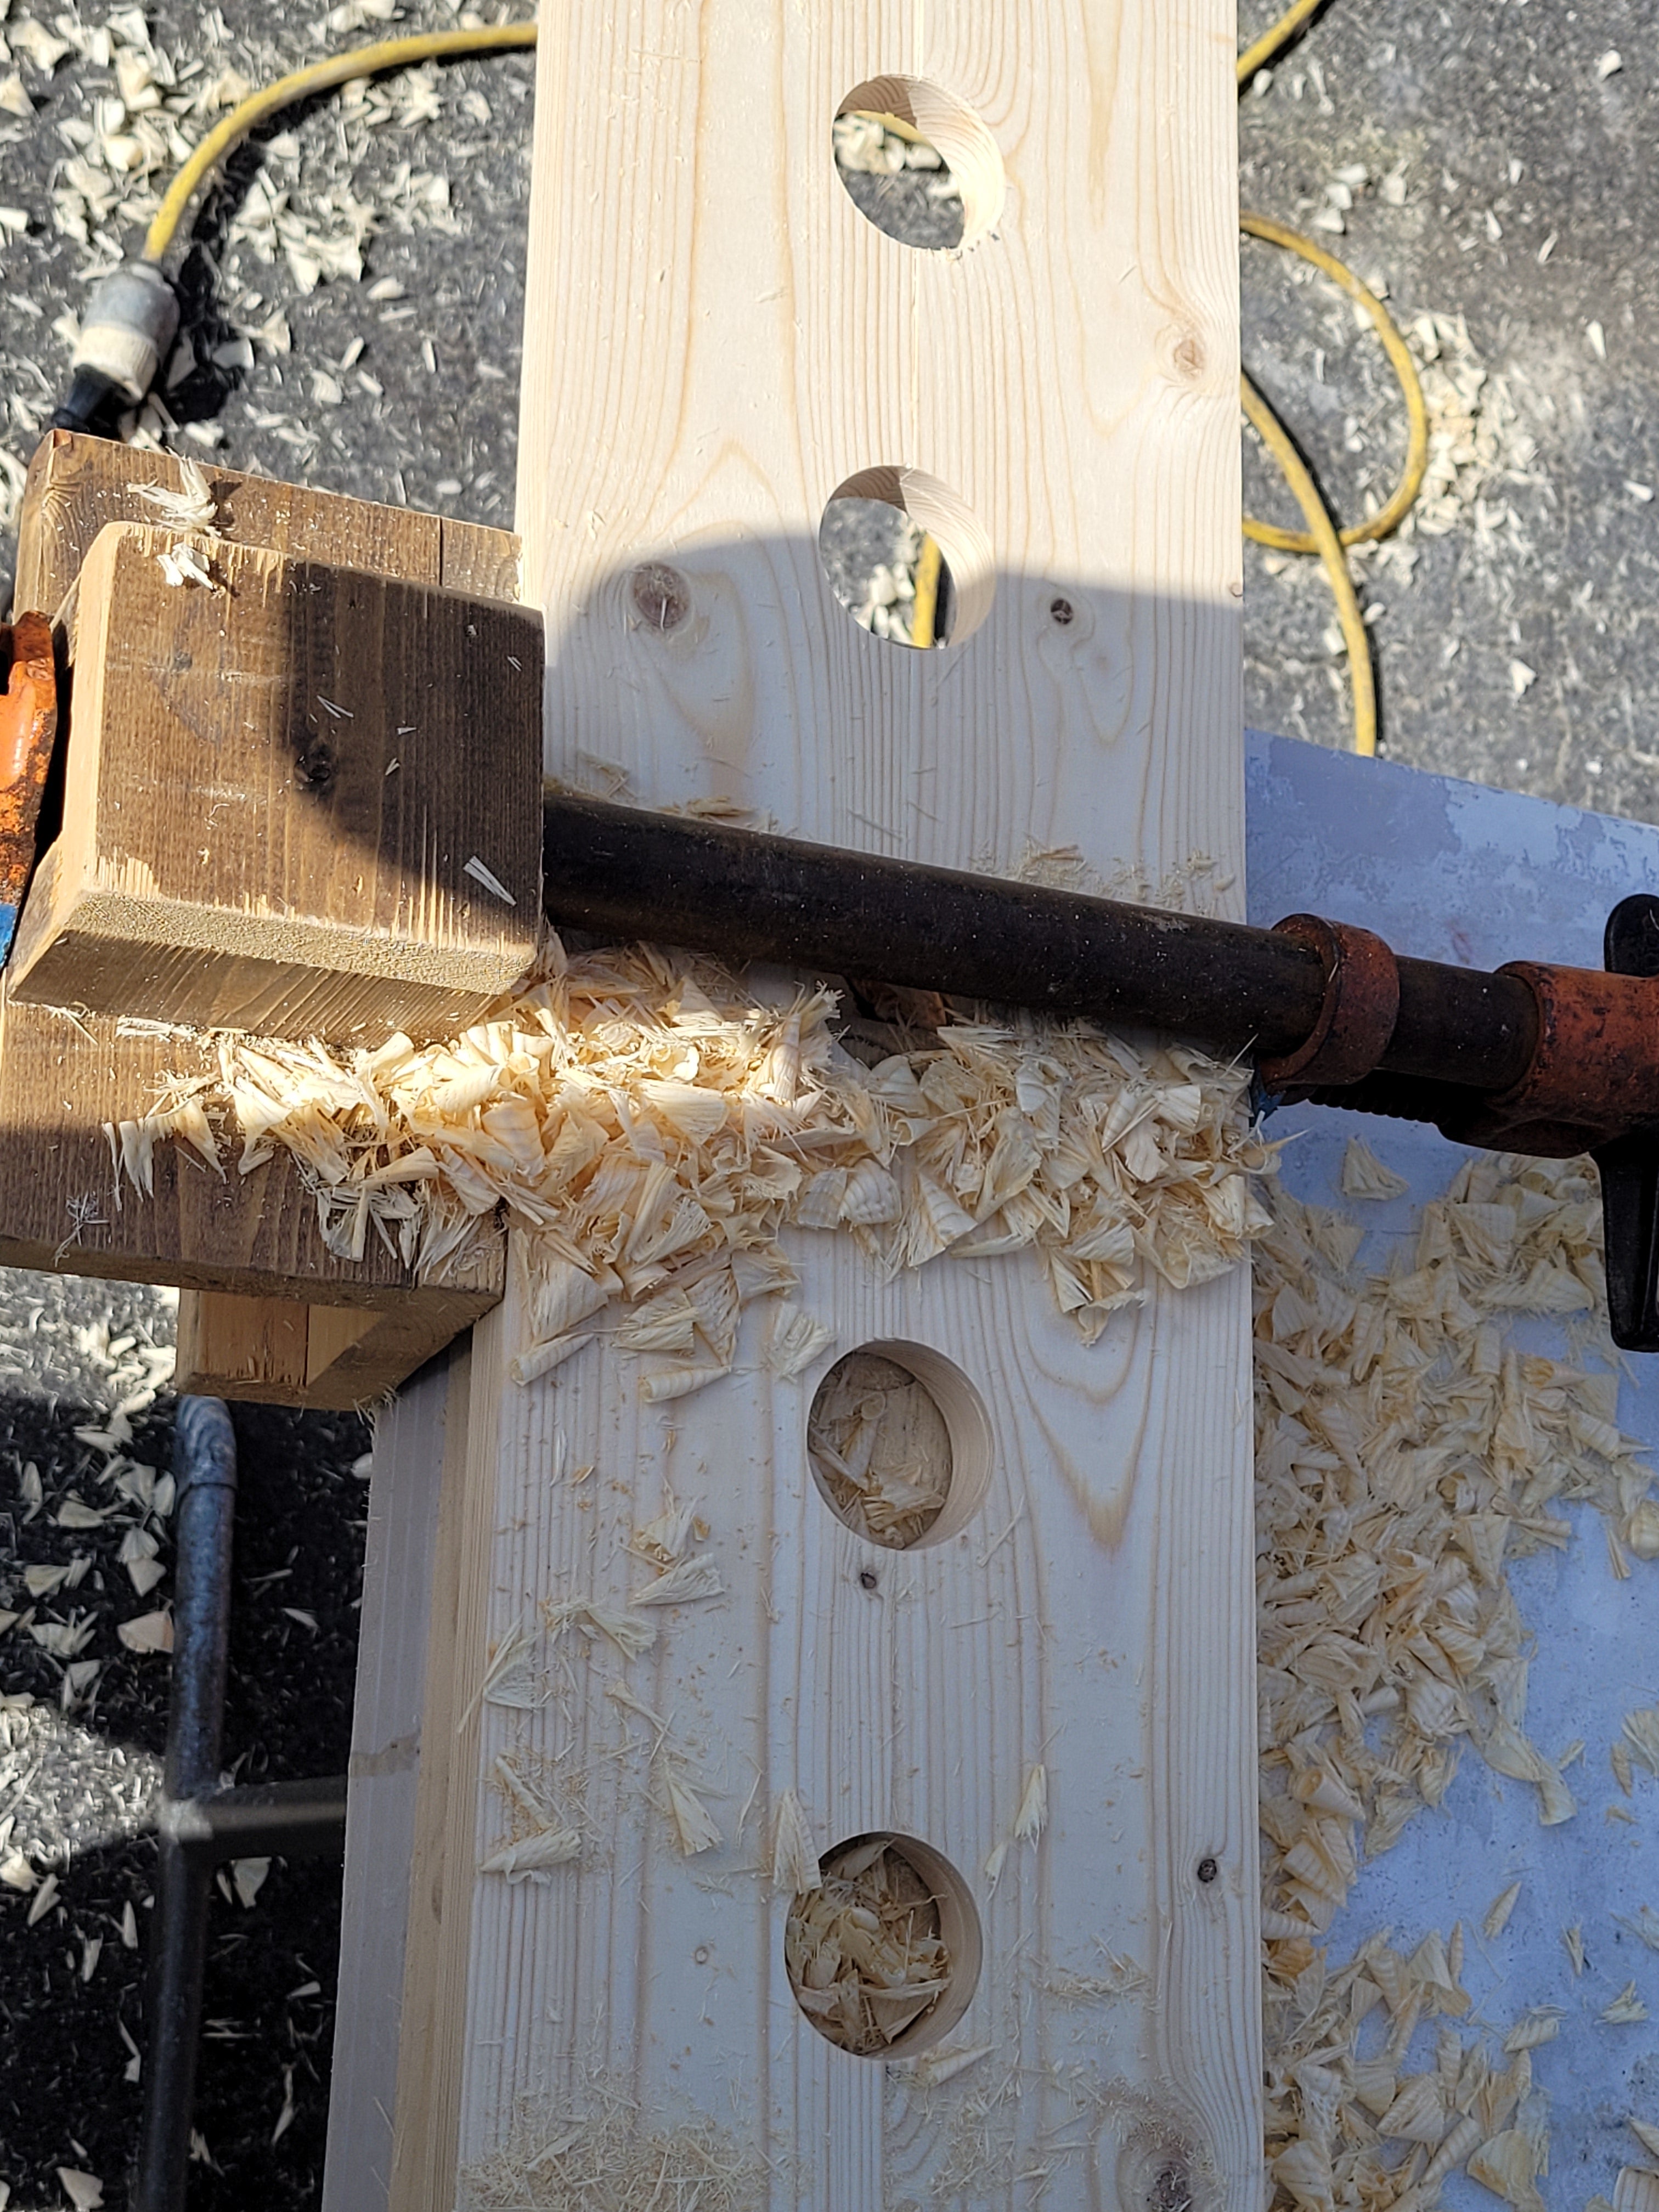
Clamp the two boards together and carefully drill the hole at the marks. This will leave you with perfect half-circles that will line perfectly up later when the rod rack is assembled.
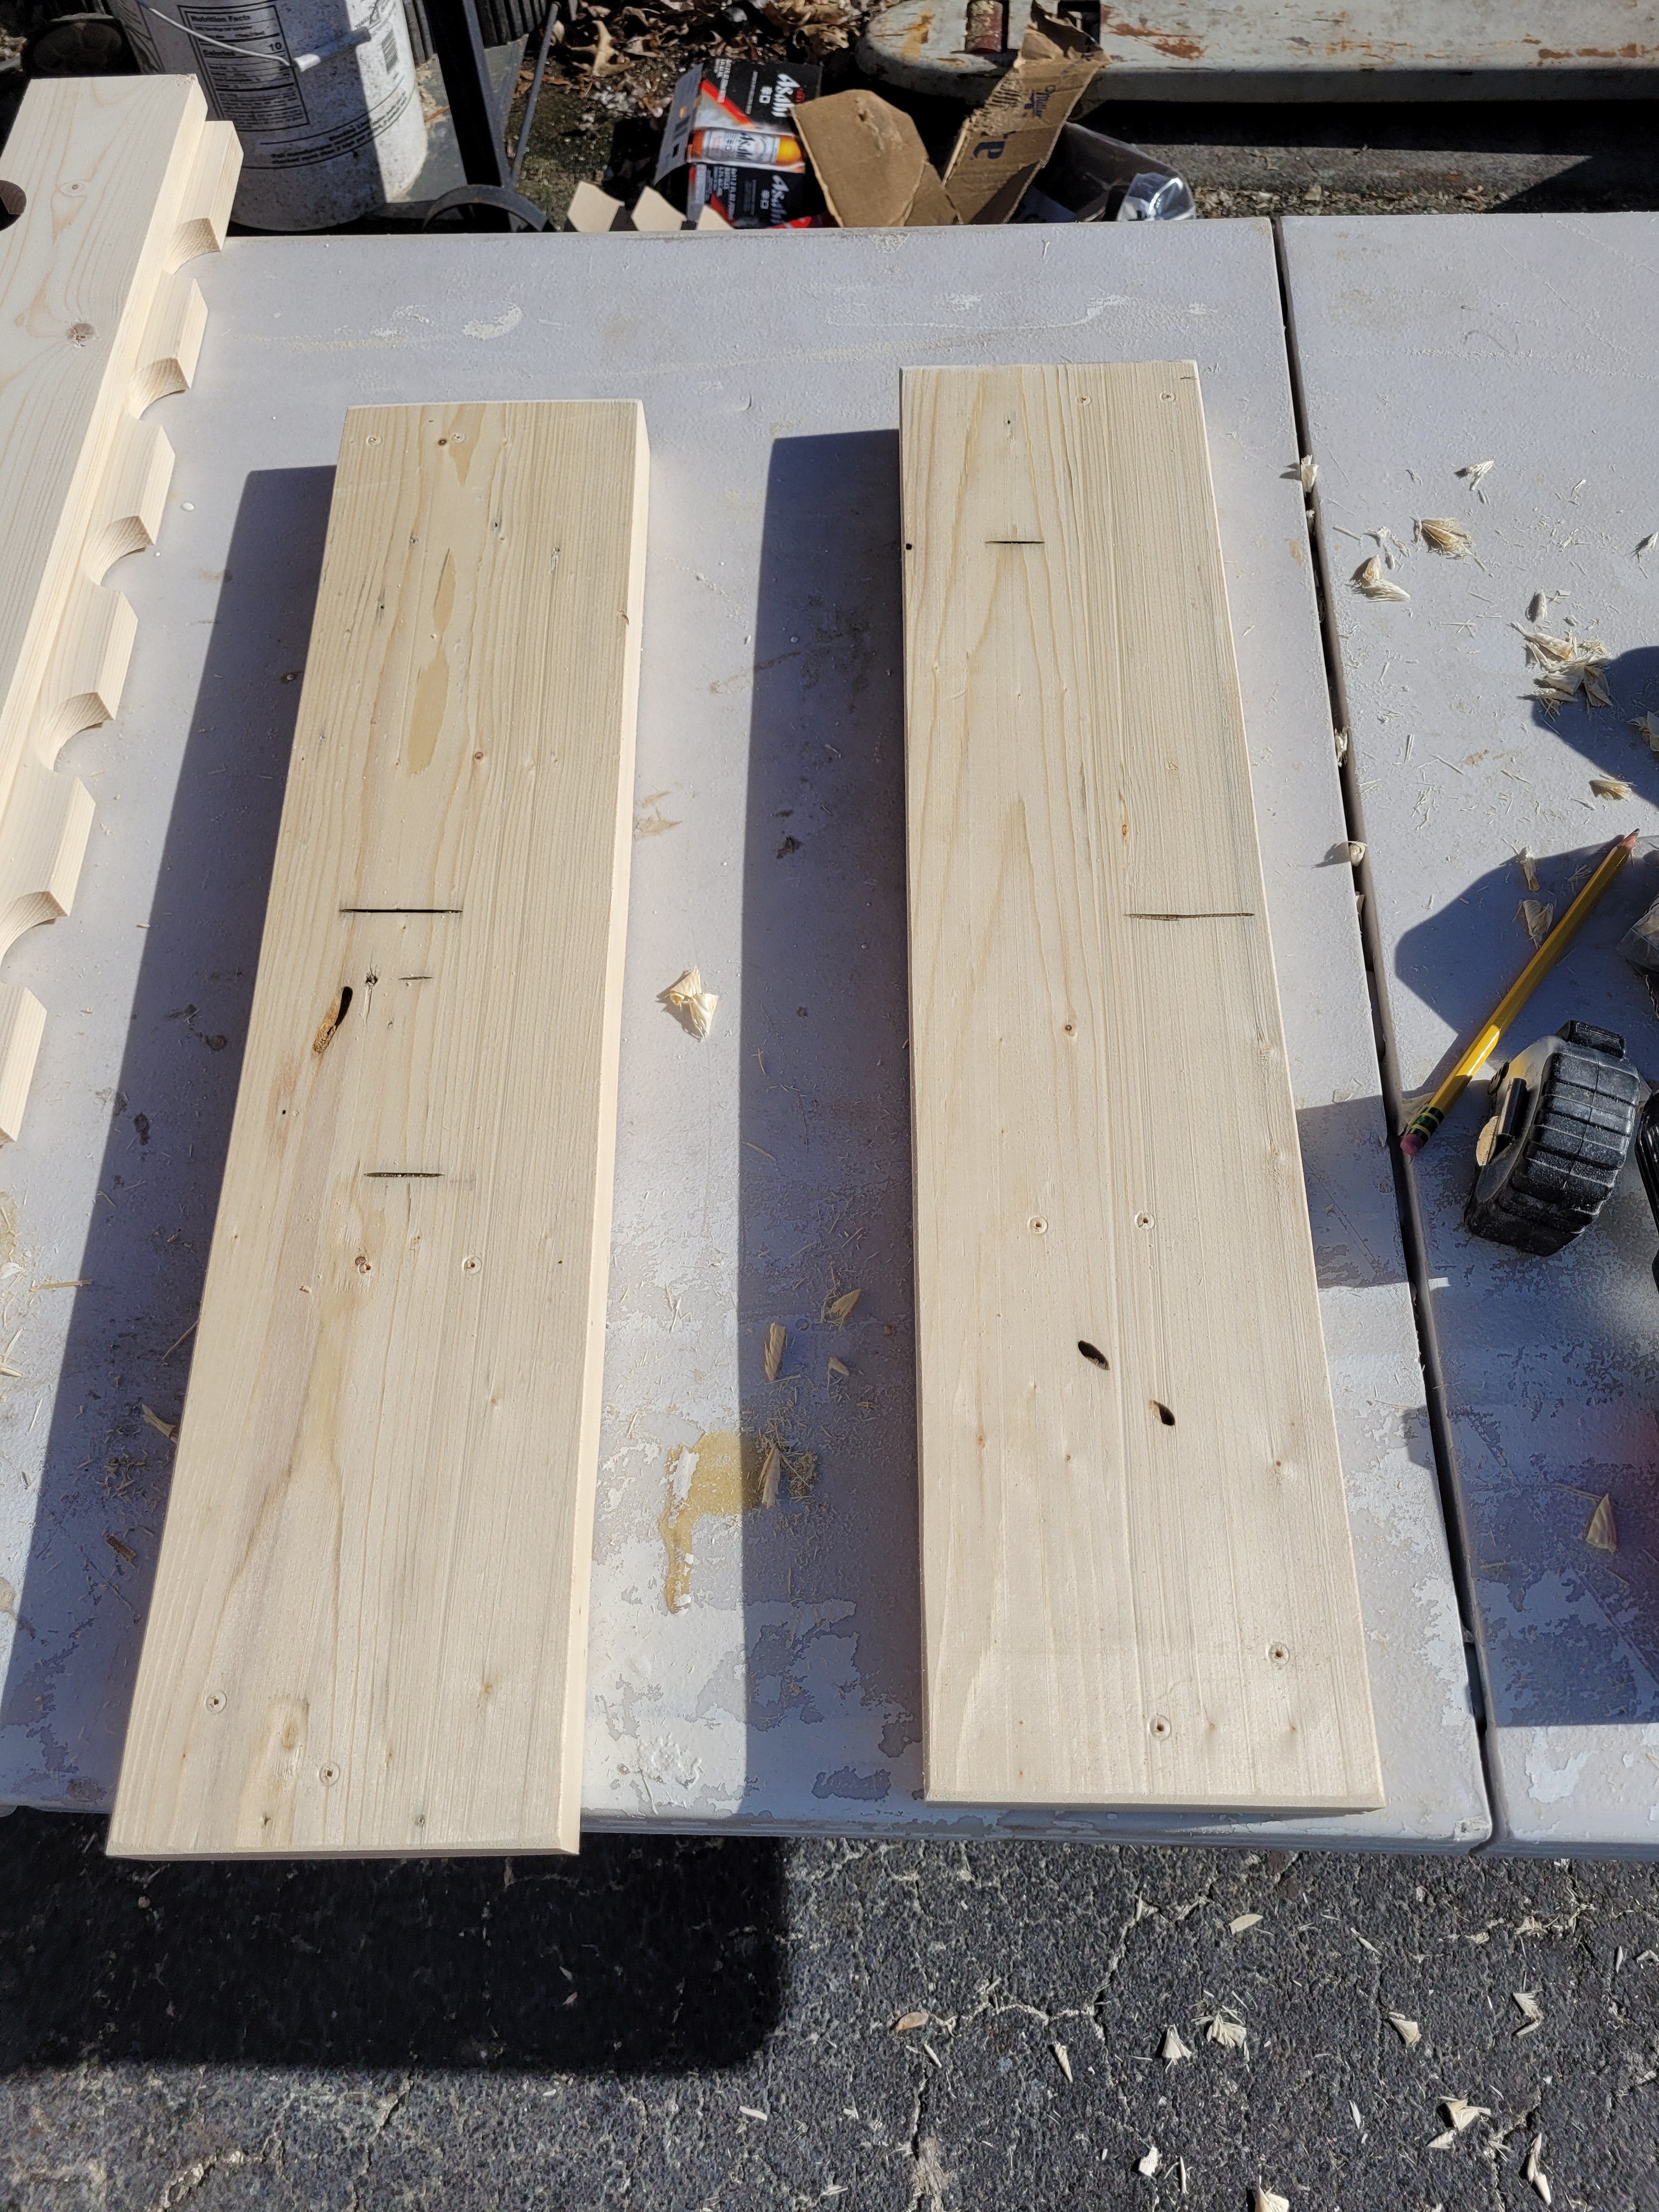
Using a piece of copy paper make a jig to help make sure the whole placement is exactly mirrored on the two sideboards. Predrill pilot holes to make sure to not split the boards. Once all six holes are drilled put a screw into each with just the tip of the screw sticking out through to the other side. These will help in drilling pilot holes in the cross boards.
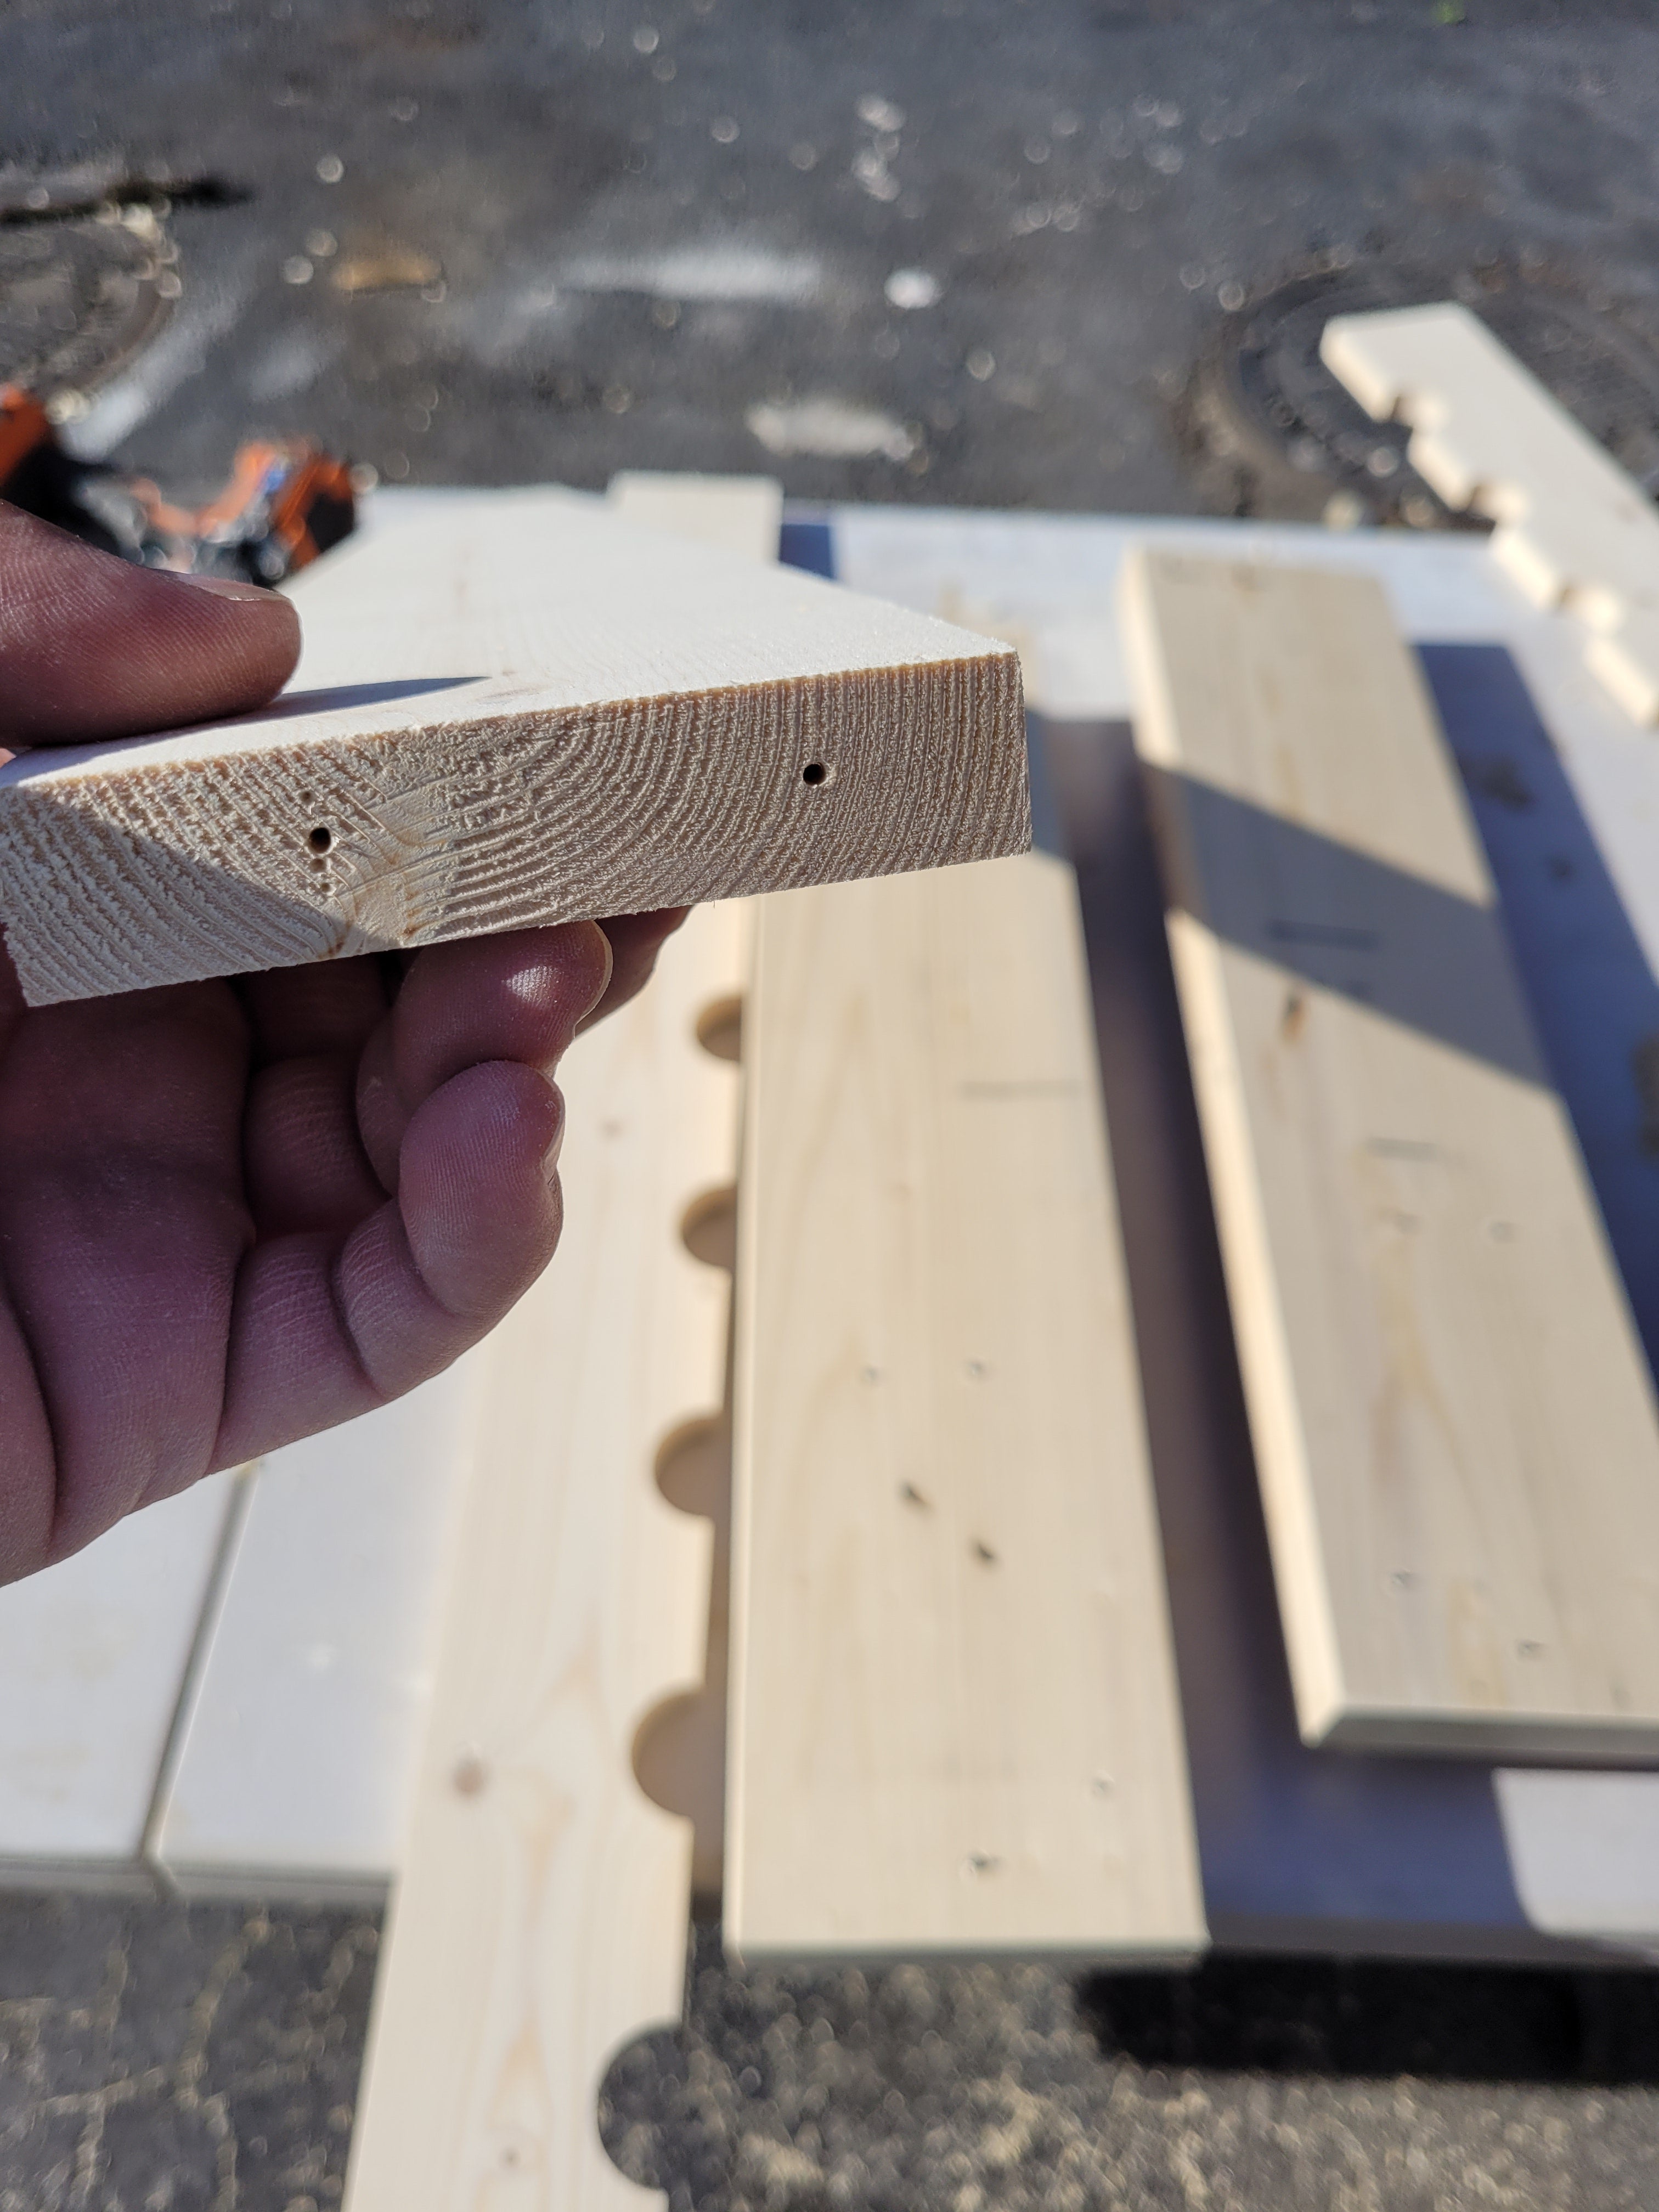
Using the screws you can mark exactly where the pilot holes on the cross boards have to be. Use the same drill bit to drill pilot holes in the boards. If you don’t drill the boards you risk splitting the wood.
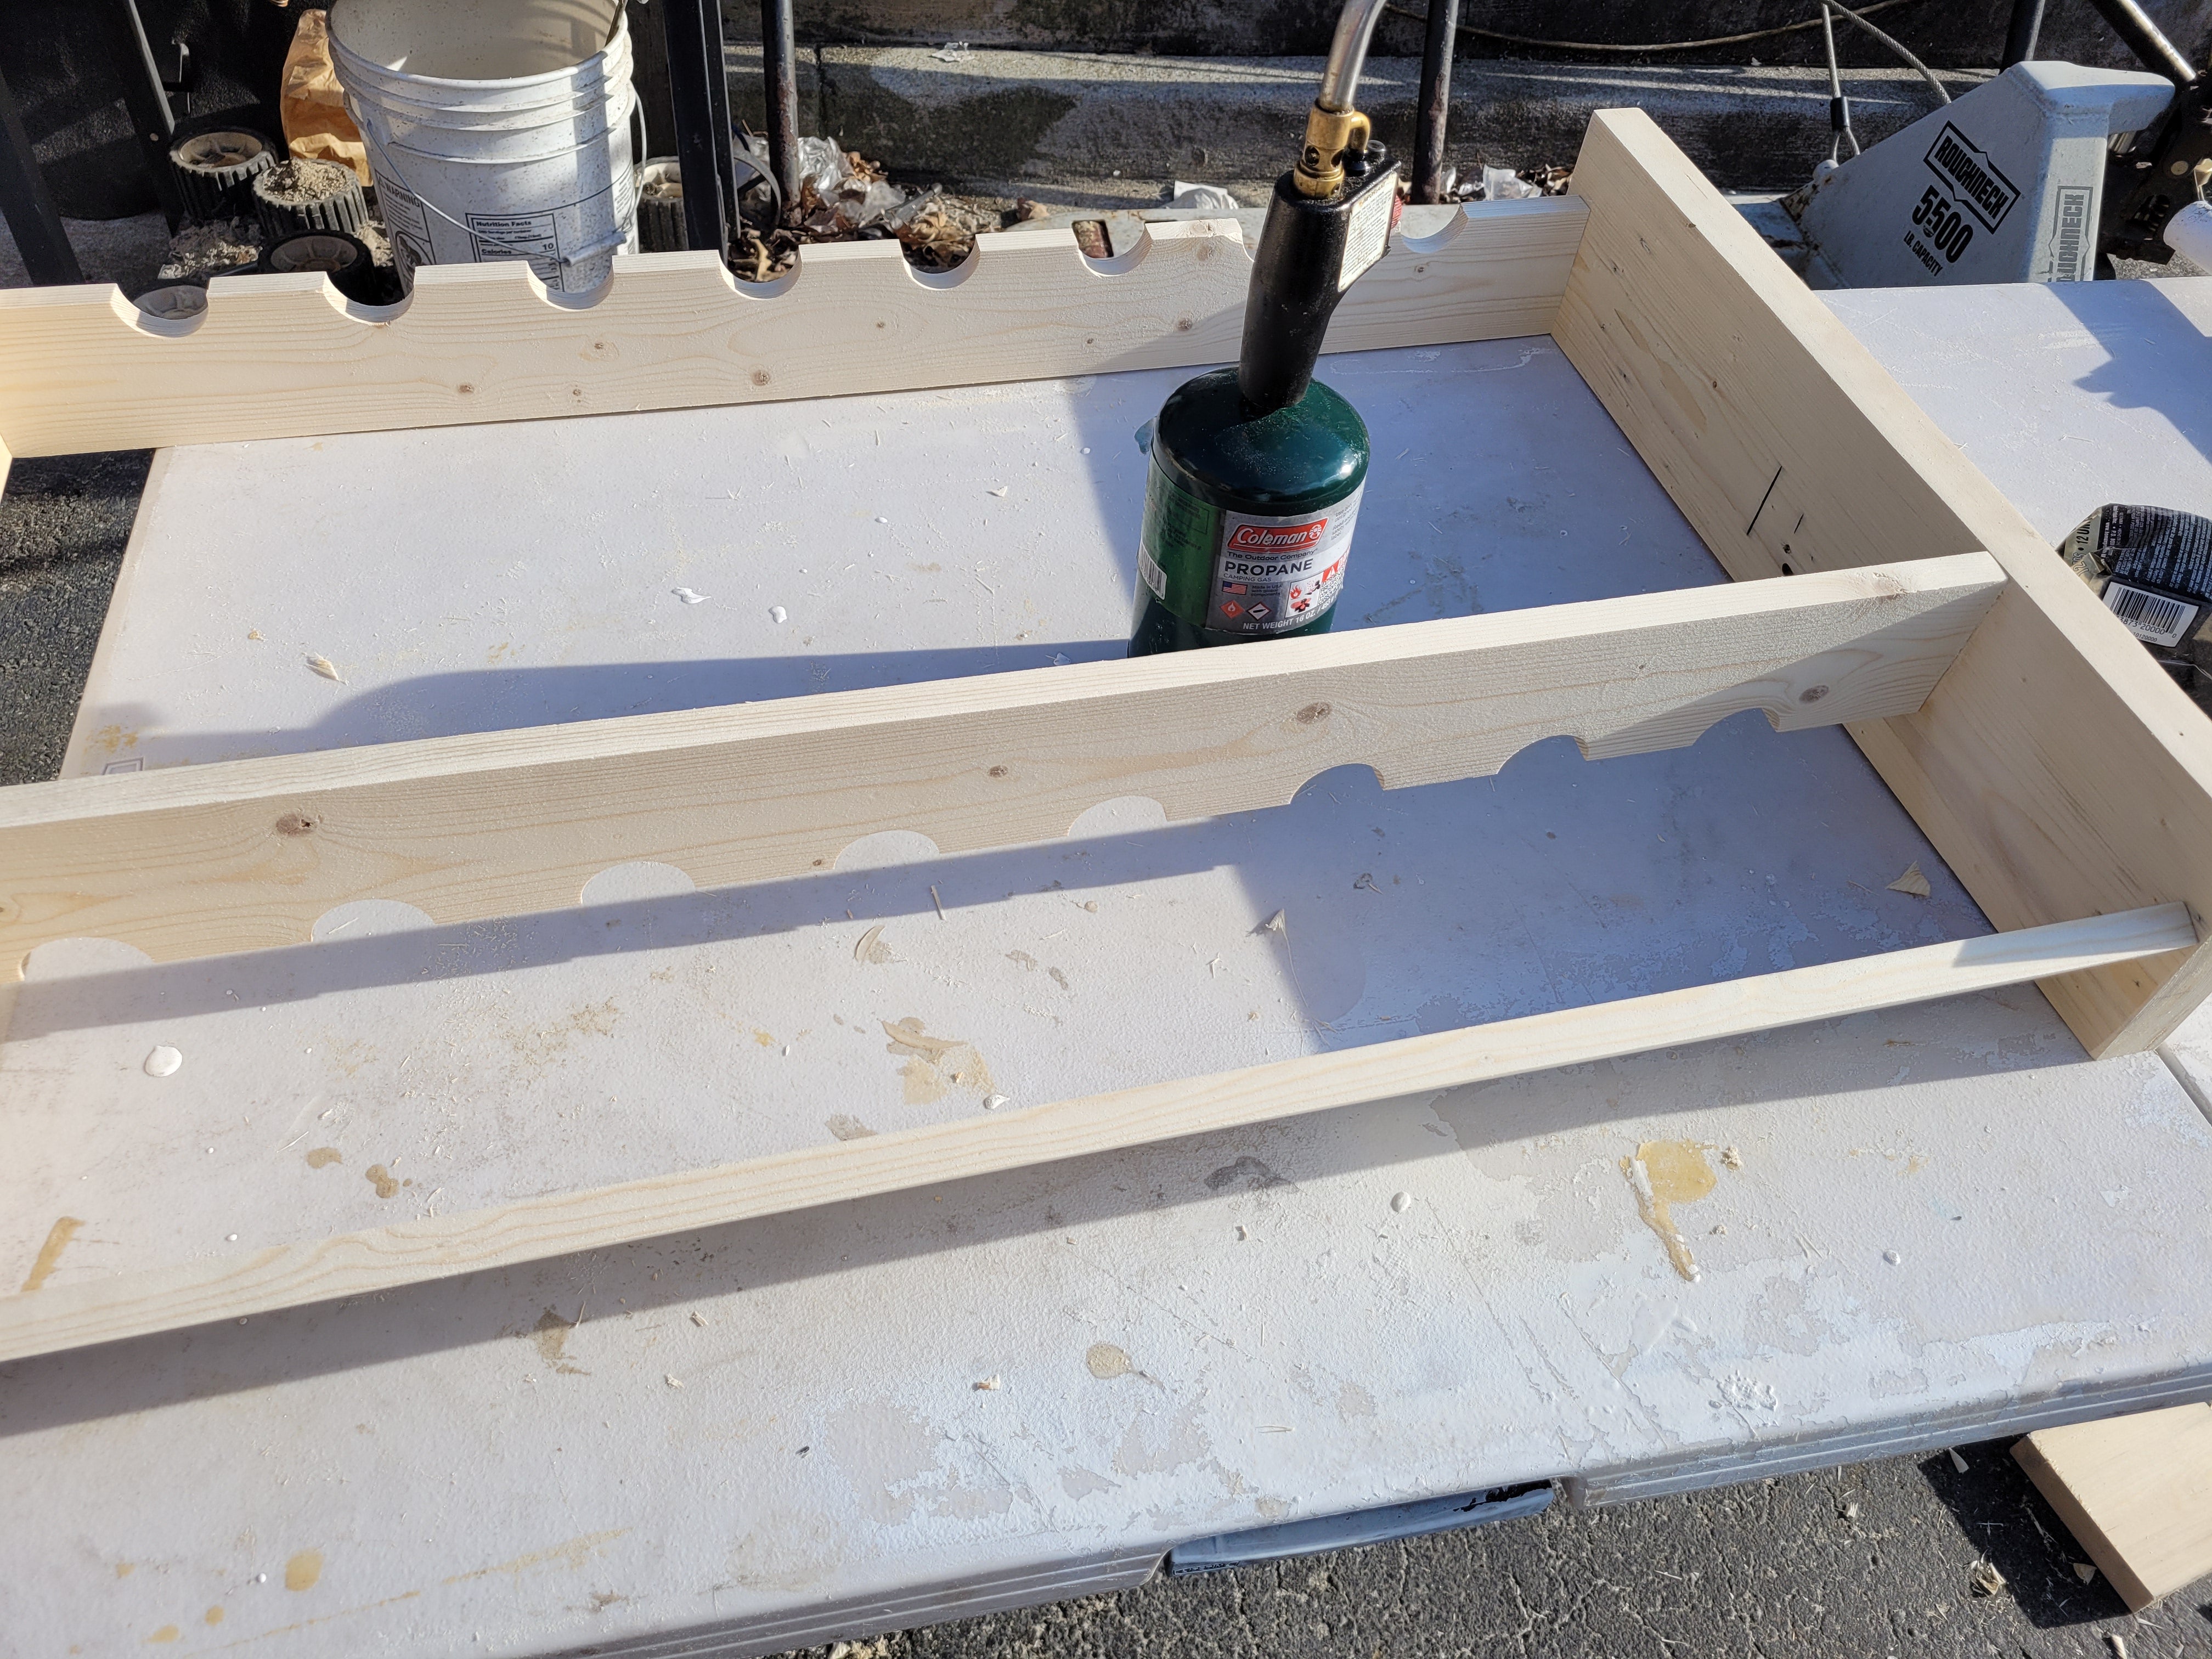
Assemble the rod rack, and use a dab of wood glue on the ends of the boards for a stronger bond. Once fully assembled you are ready to finish the wood. You can do any sort of finish you want for the wood or even just leave it raw it is all personal preference. For my rod racks, I chose to use a Japanese charred wood finish. Because cheap pine wood doesn’t take stain very evenly and the grain isn’t very pronounced. I found the Shou Sugi Ban method to be a good way to give the rod rack a very nice finish.
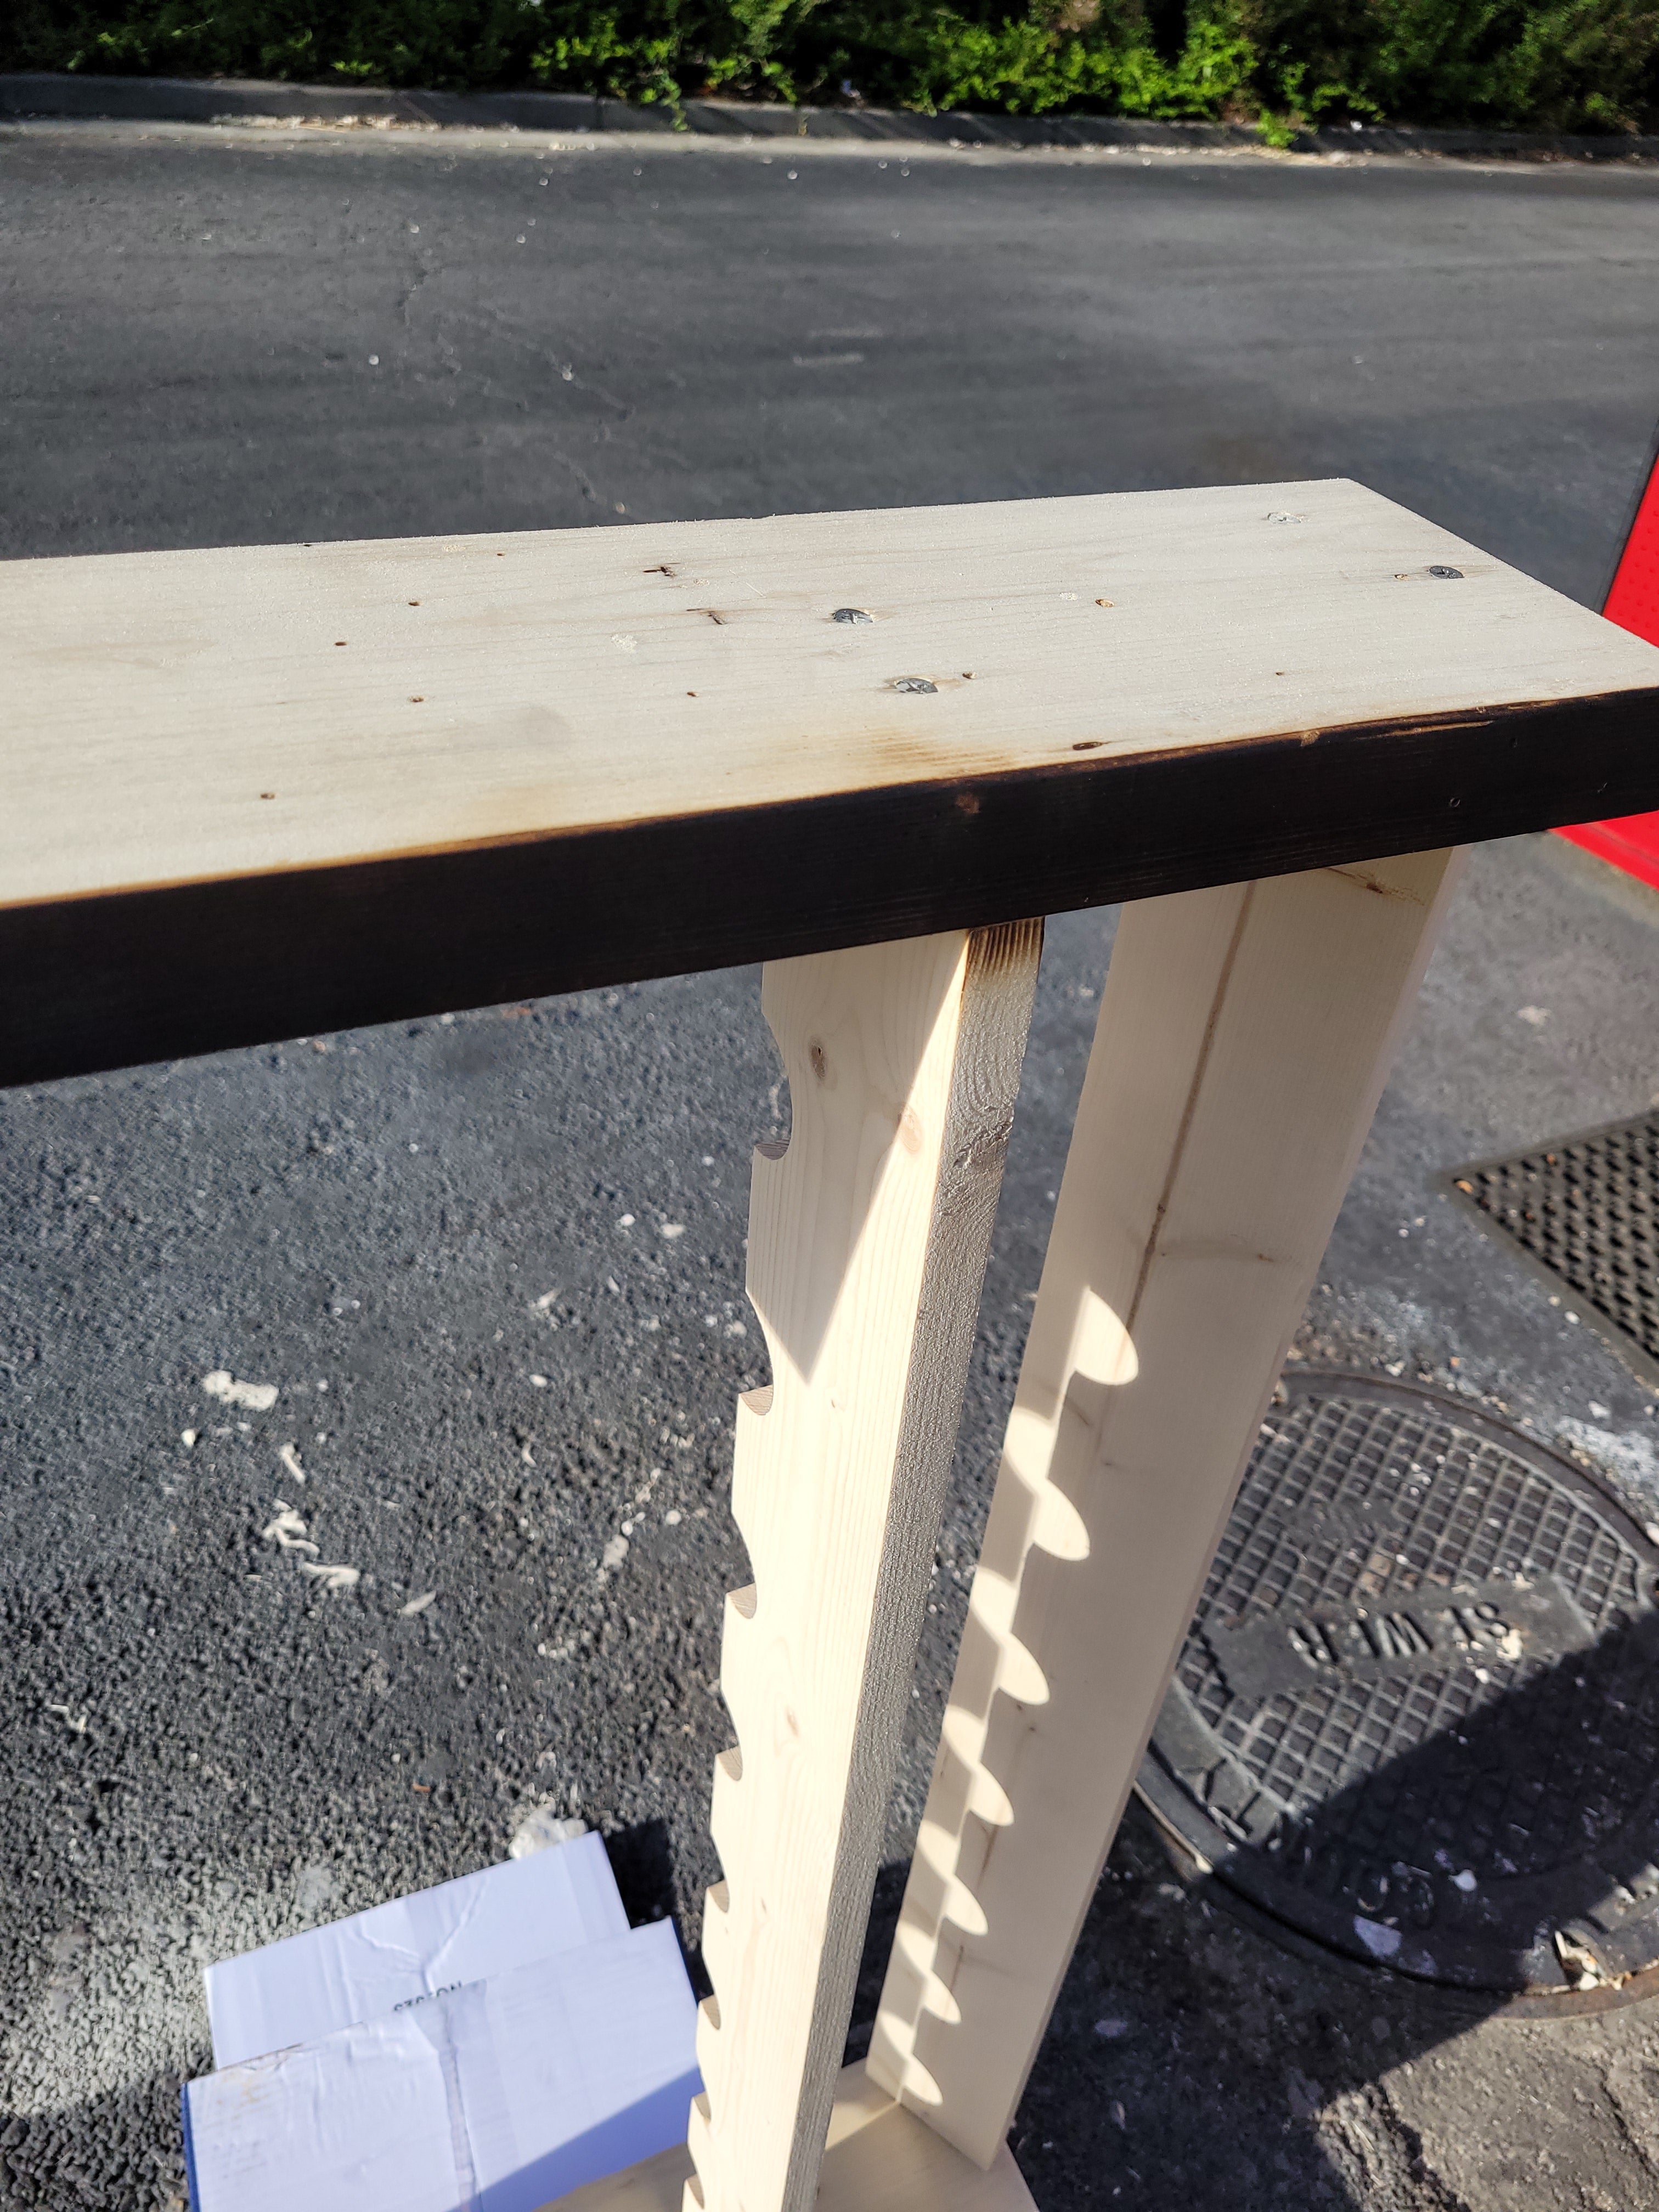
Shou Sugi Ban is a method of completely charring the surface of the wood and then scrubbing away the char, leaving a highly textured and dark surface underneath. Then you can oil the wood to have a moisture-resistant finish. This method is traditionally done with Cedarwood, but works well with most softwoods. It burns away the softer wood between the grain lines leaving a pronounced texture.
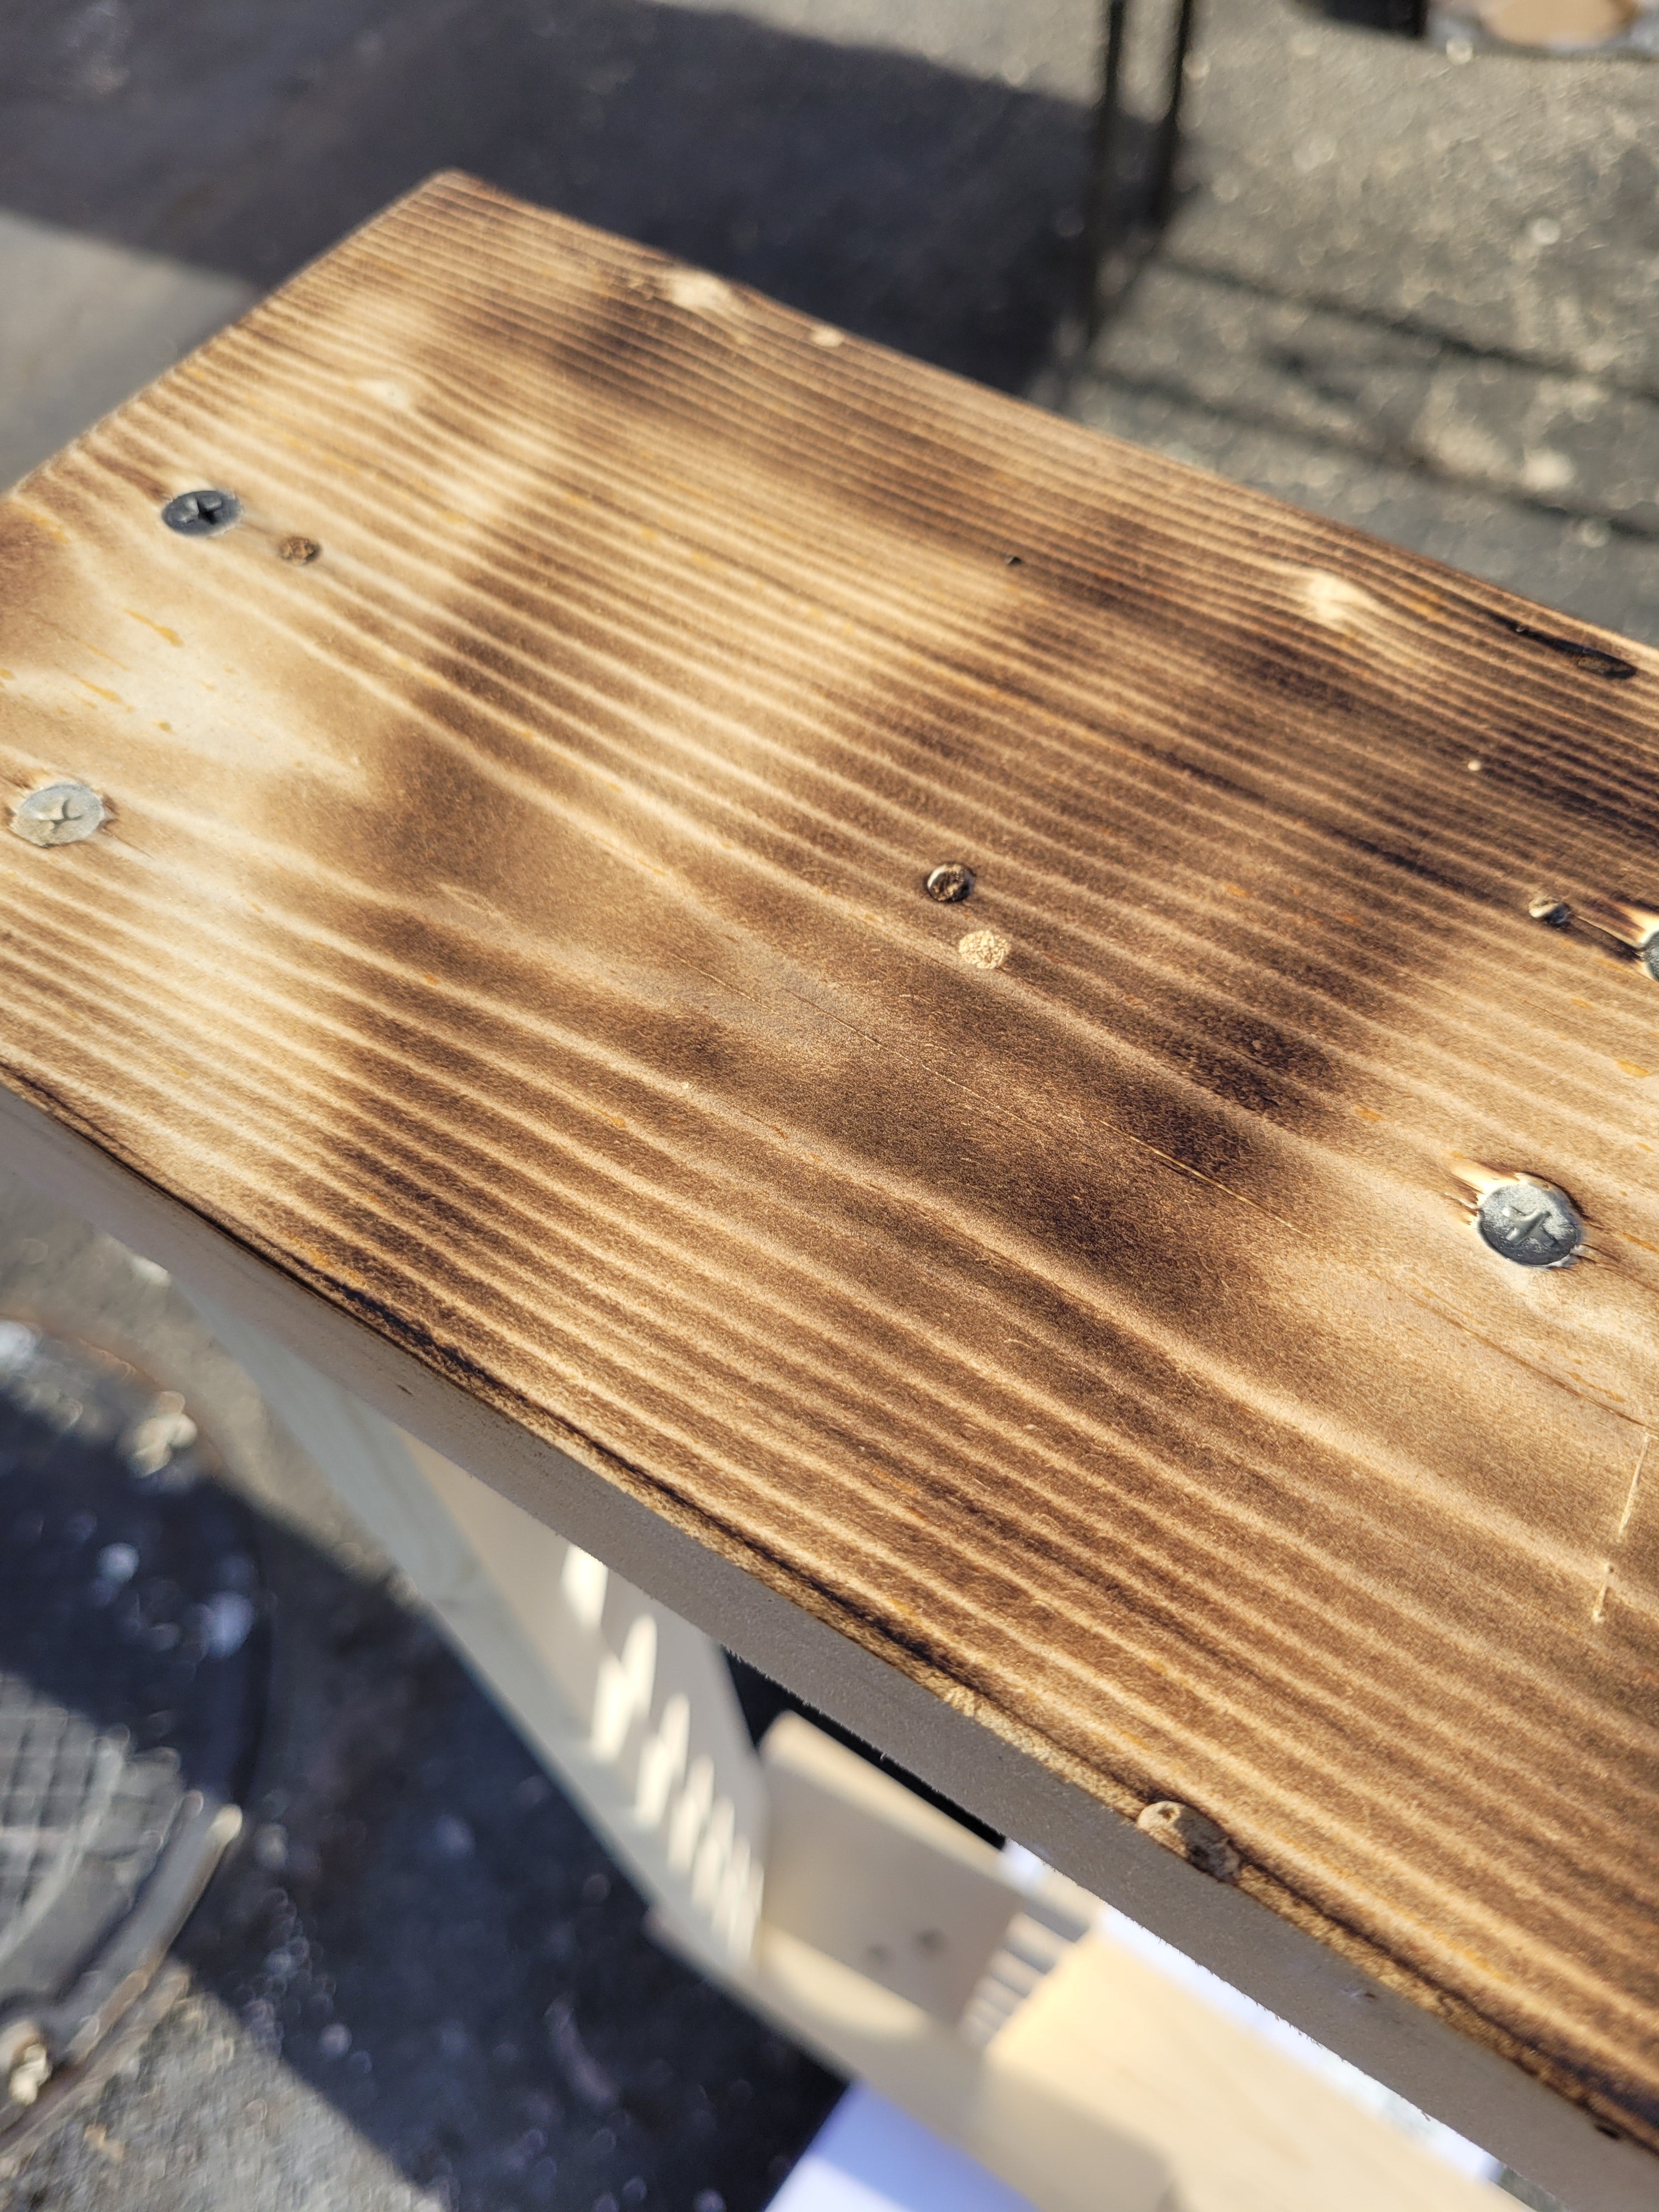
If not wanting to go through all the work of a full Shou Sugi Ban process just torch the surface of the pine lightly. The finish is still nice to look at and is a very quick and easy way to finish pine.
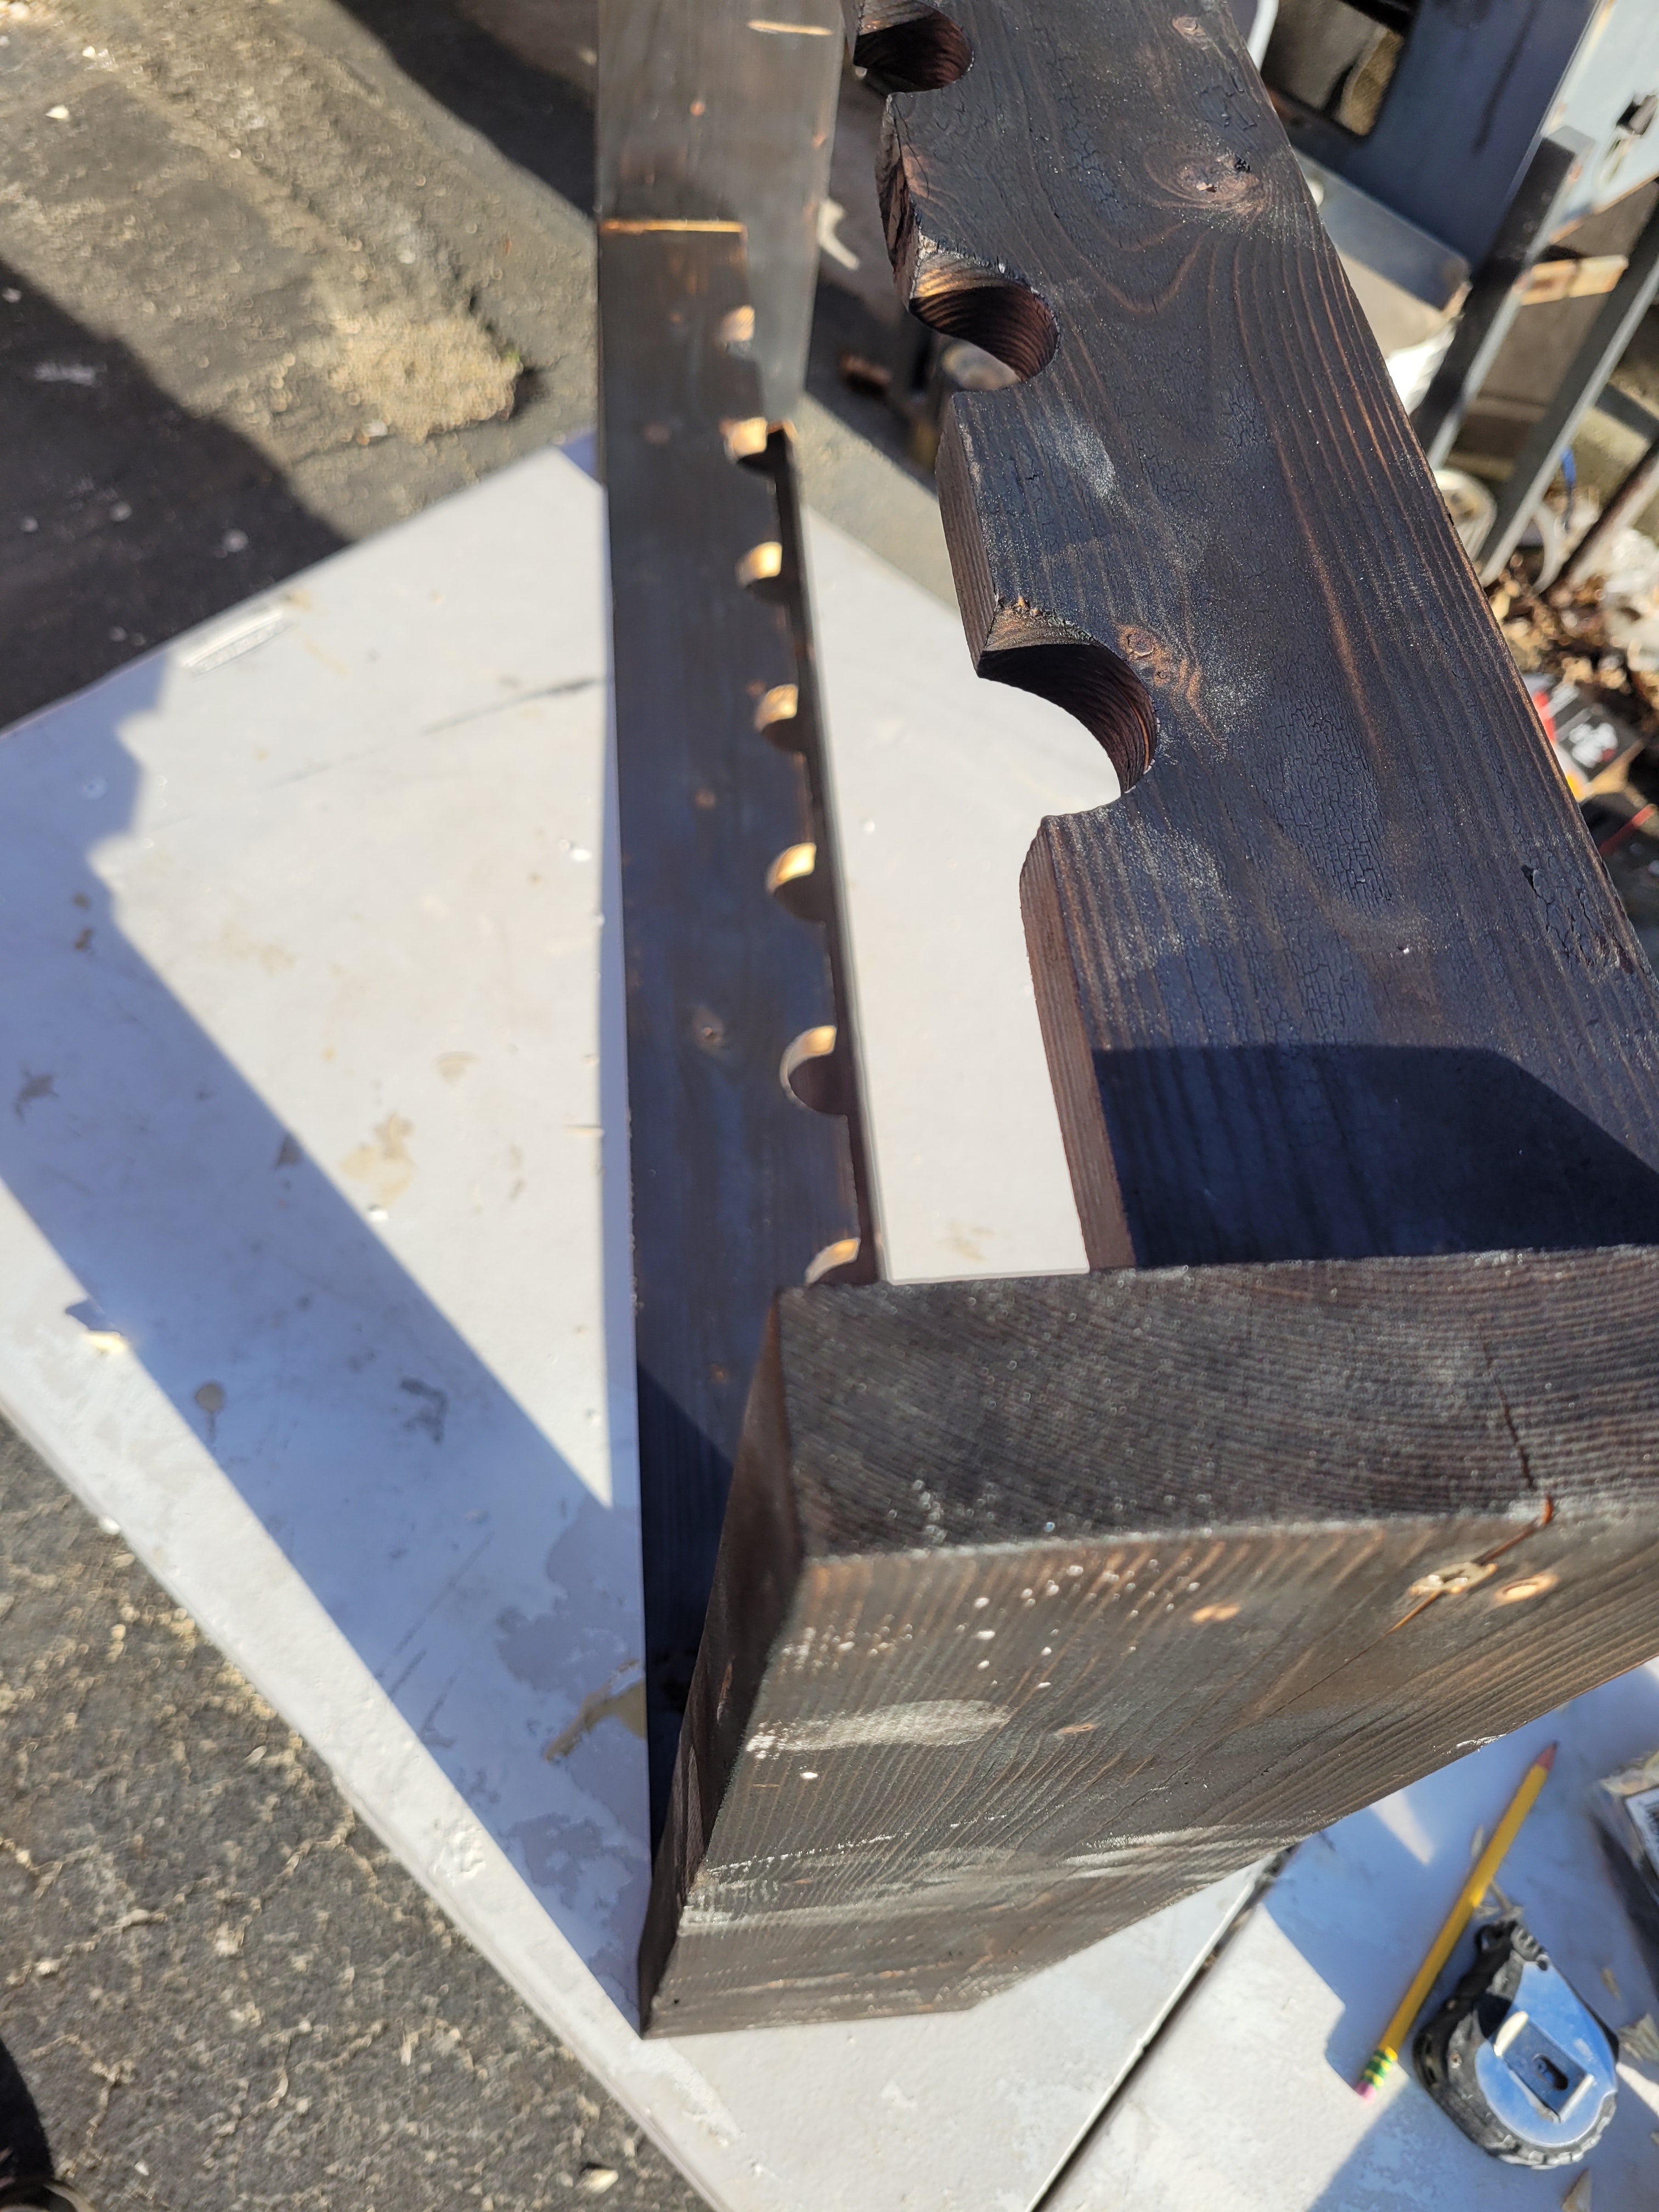
Using a propane torch I charred every surface of the rod rack. You have to use a good amount of flame to do this. You want to have an even black surface char before the next step.
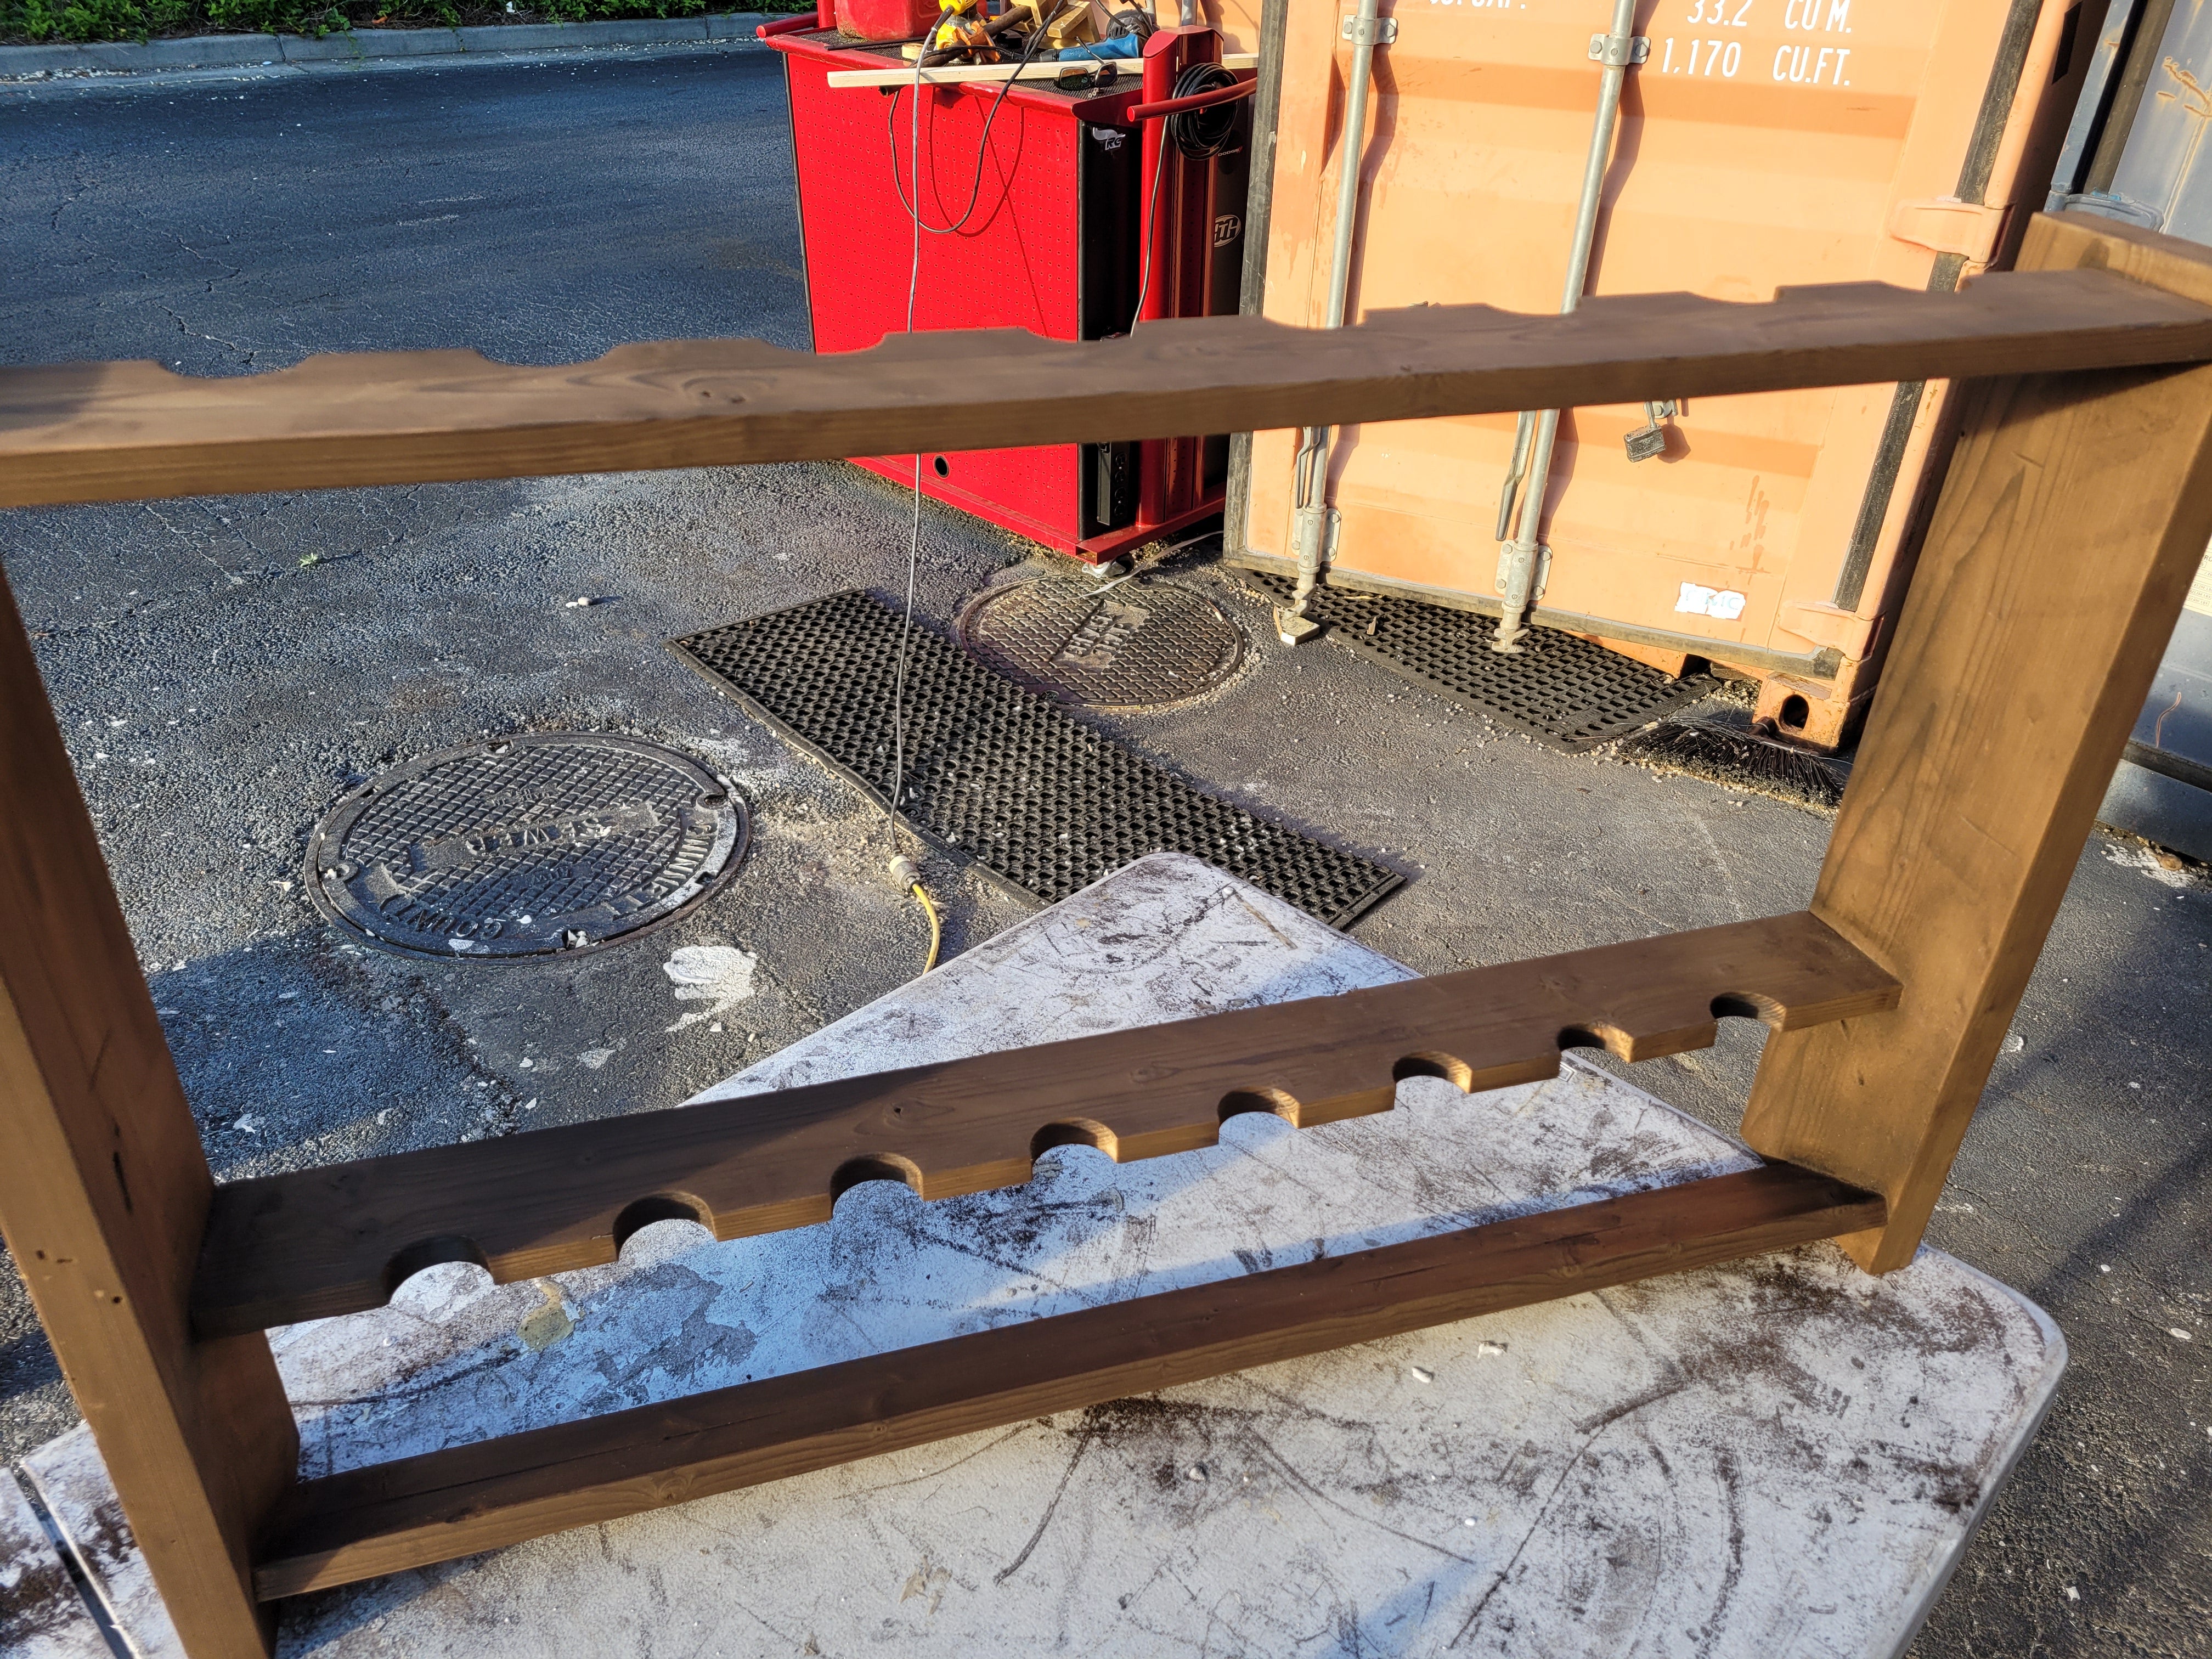
Once the charring with the torch is even and complete. Use 0000 steel wool and rub along the grain of the wood. This will sand away the charred parts while leaving the harder grain lines. Giving you a smooth surface with pronounced grain lines. Do this for every surface, be even with your pressure or you will eat through to raw wood again. Once the sanding is done get a clean rag and clean off all the ash.
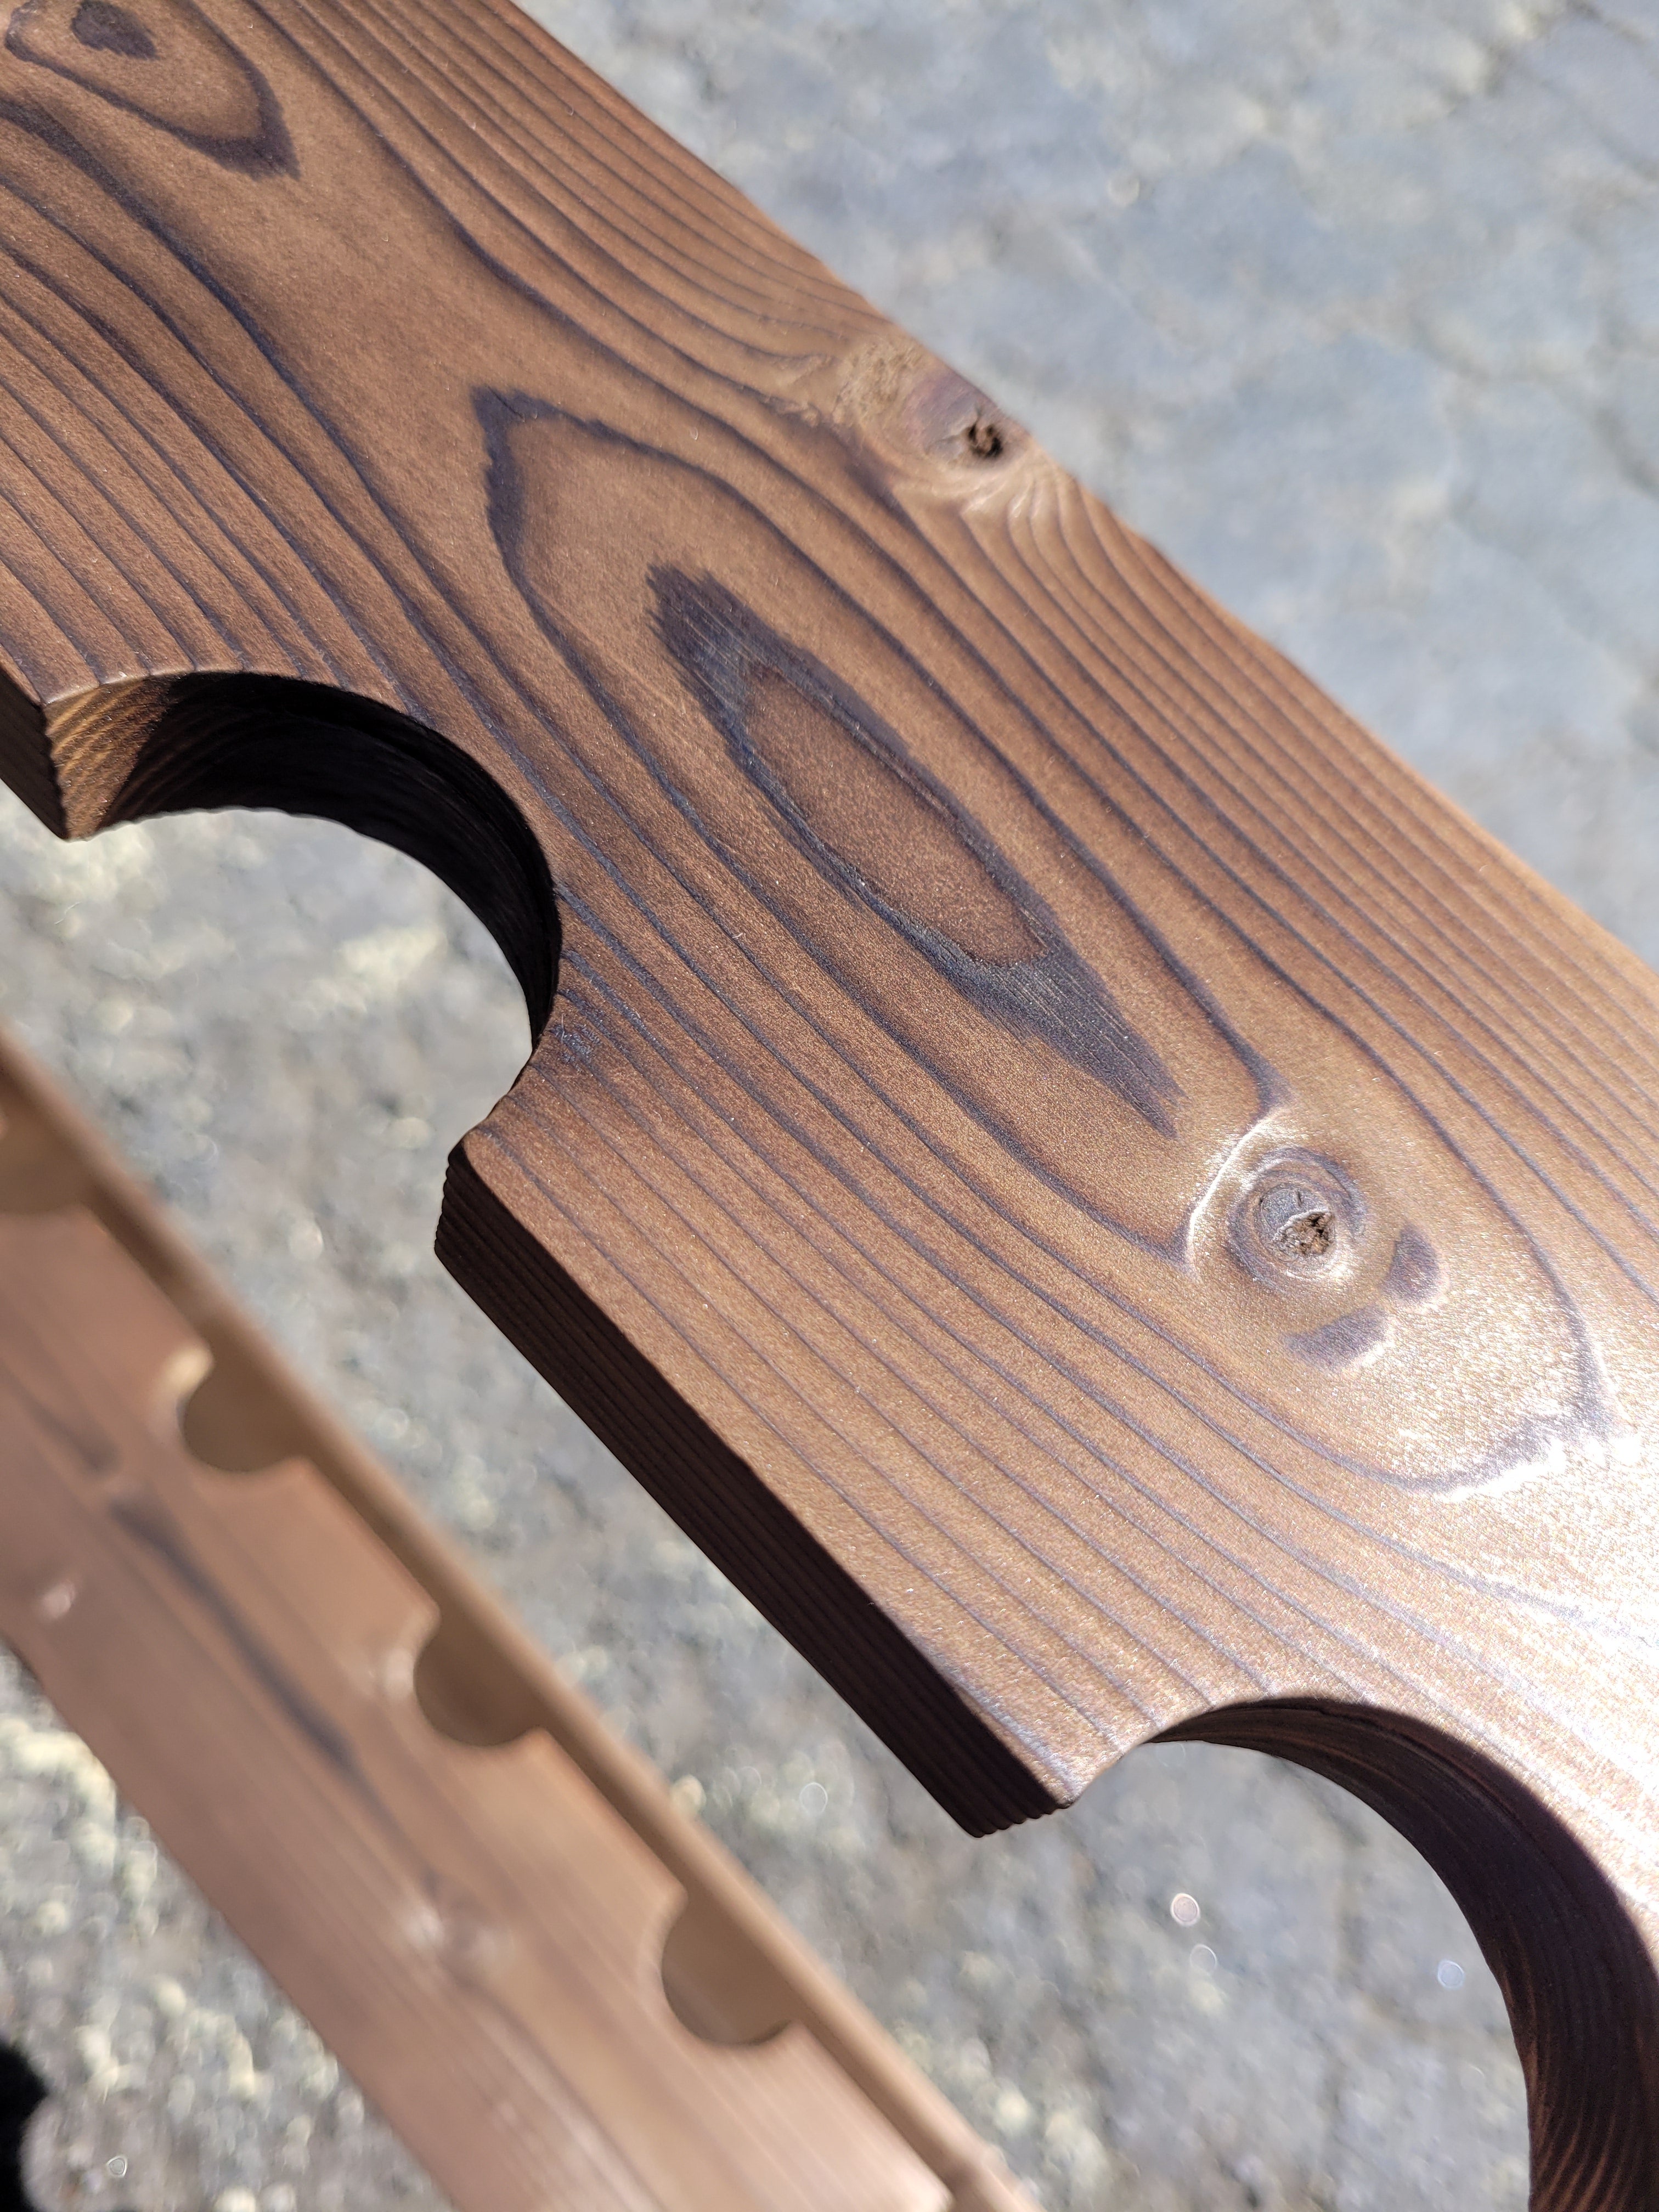
DIY Budget Rod Rack with a Japanese Flare
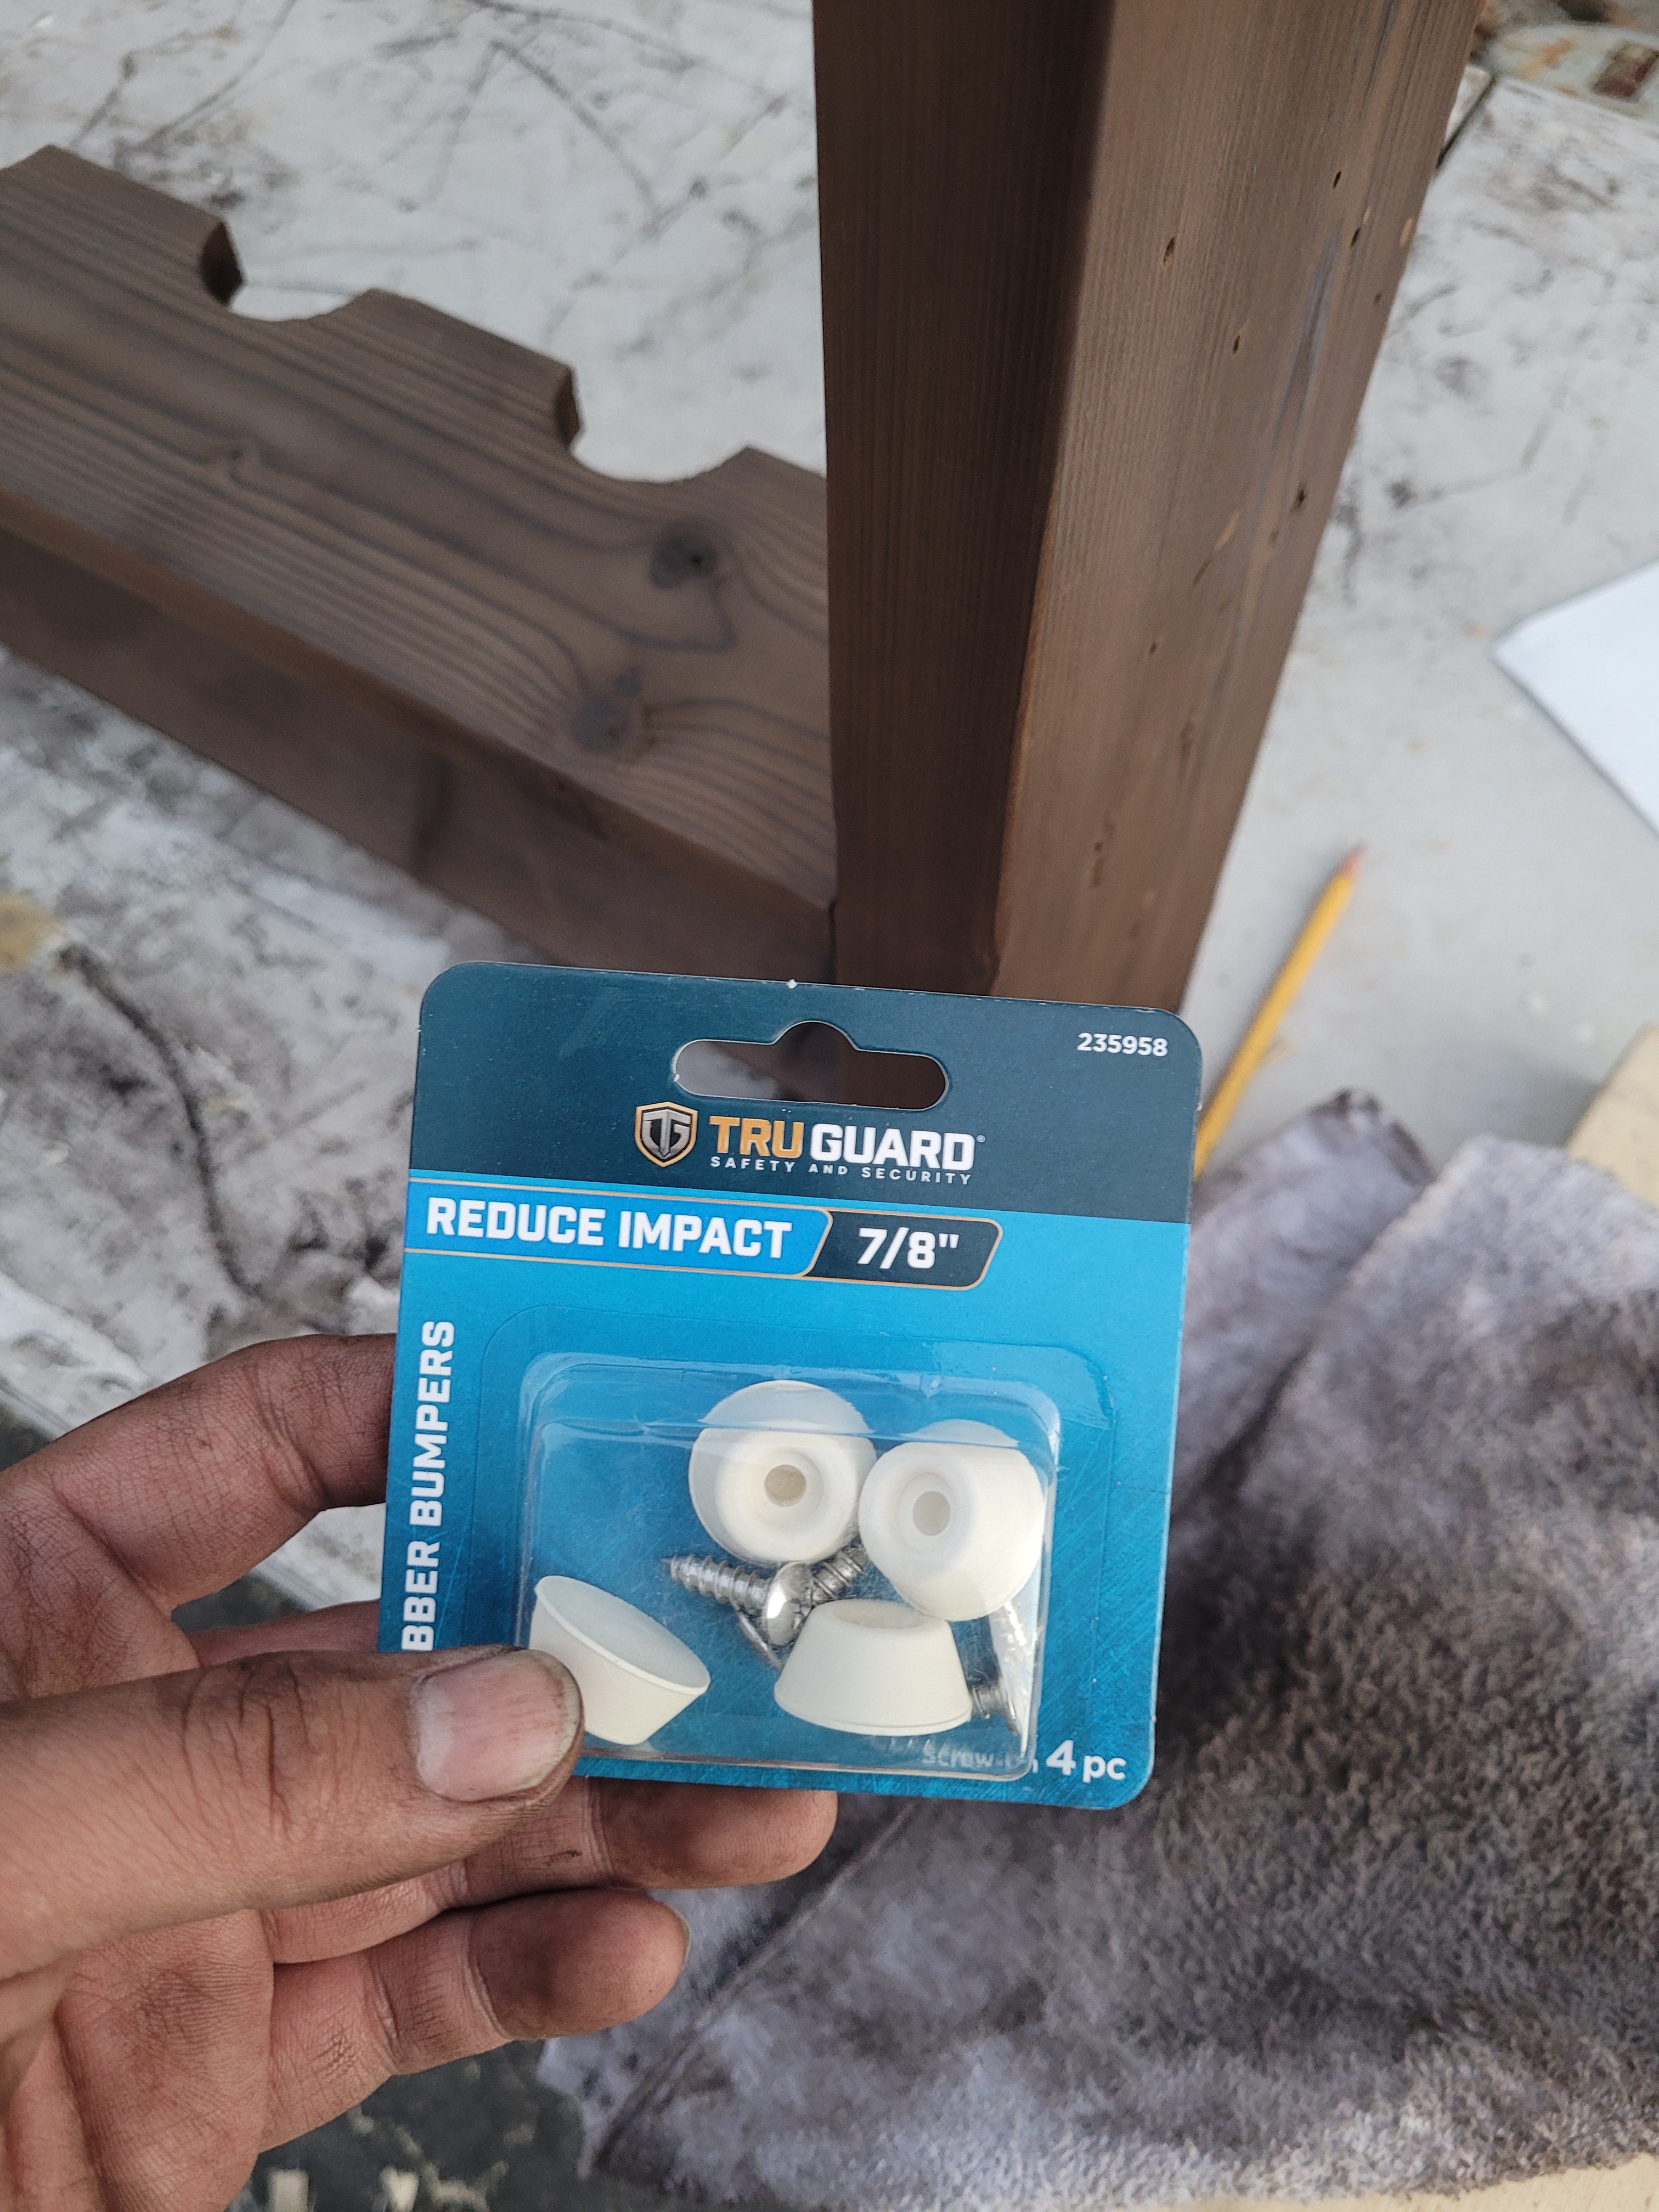
Add some rubber feet to the rack. This will protect the bottom edges from being damaged on concrete. Or the rod rack from damaging your interior floors. You can also glue some felt into the slots for the rod racks to make softer contact points for the rods.
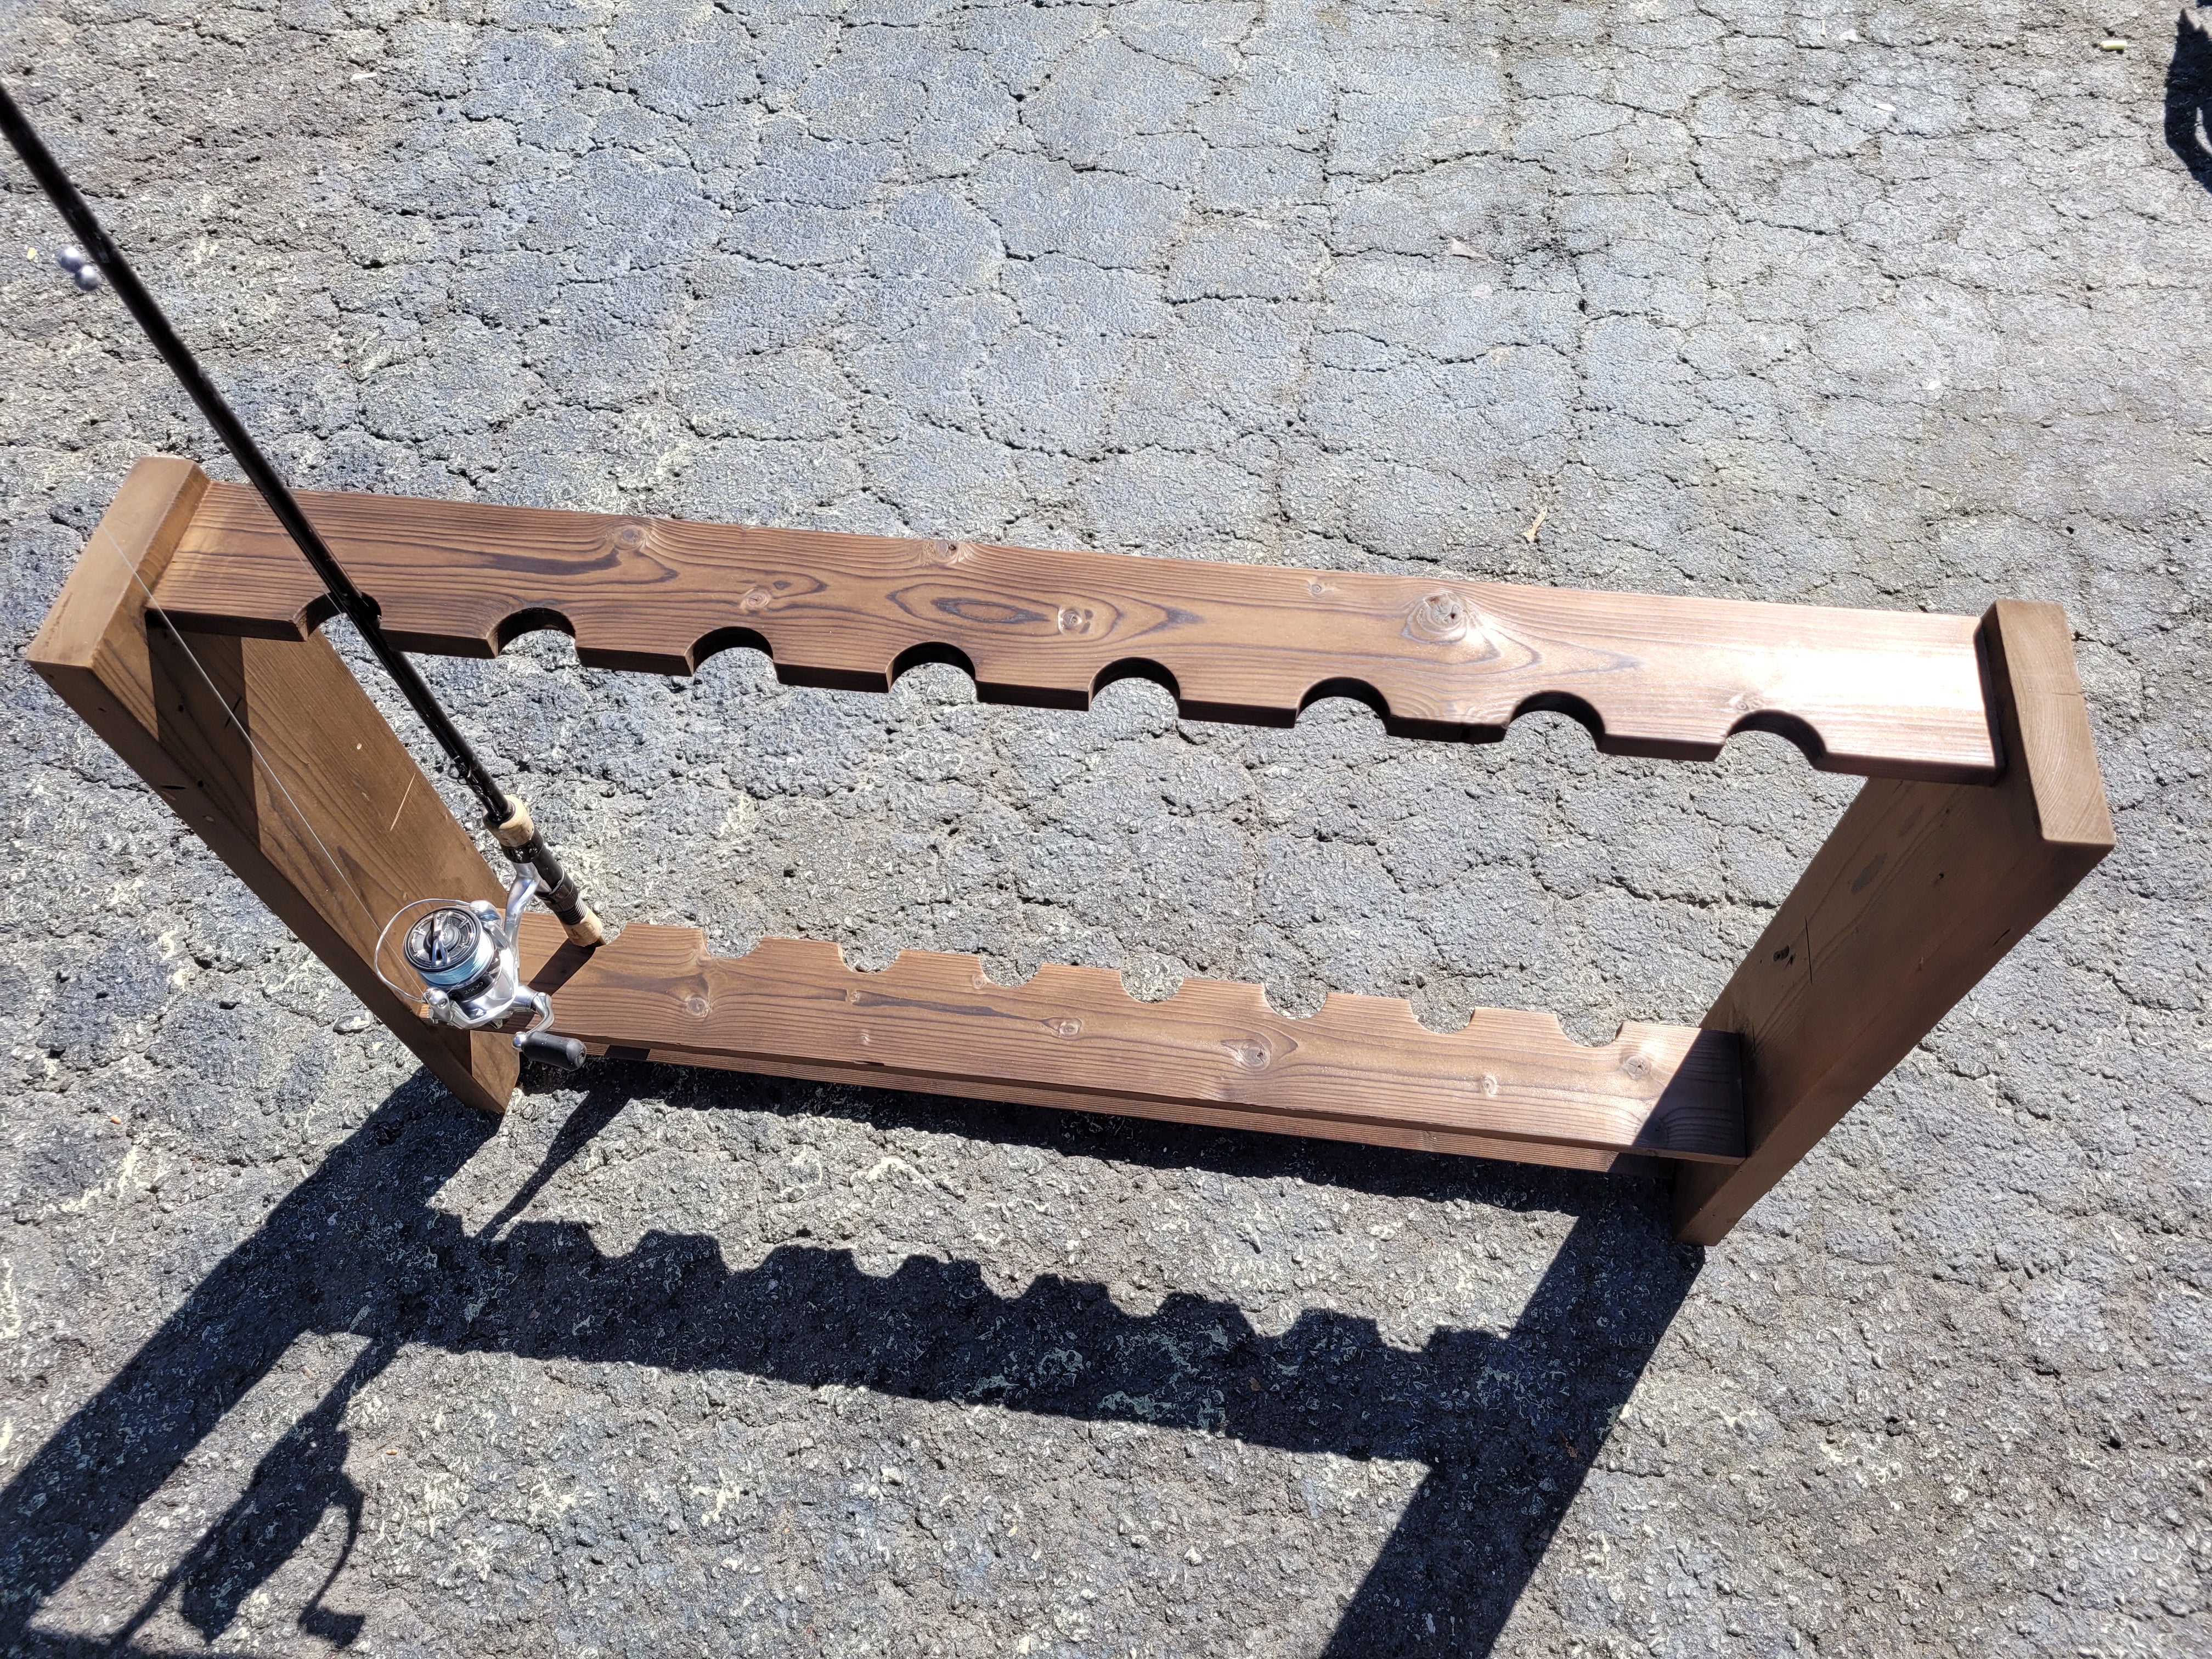
A very high-end-looking finish, for only spending $15 on materials. This is a good single afternoon project. Especially if you don’t use stain this will be ready to use as soon as you finish putting the rod rack together.
