The Best Way To Process A Deer in 2024 & Beyond
Wes Littlefield 11.14.24
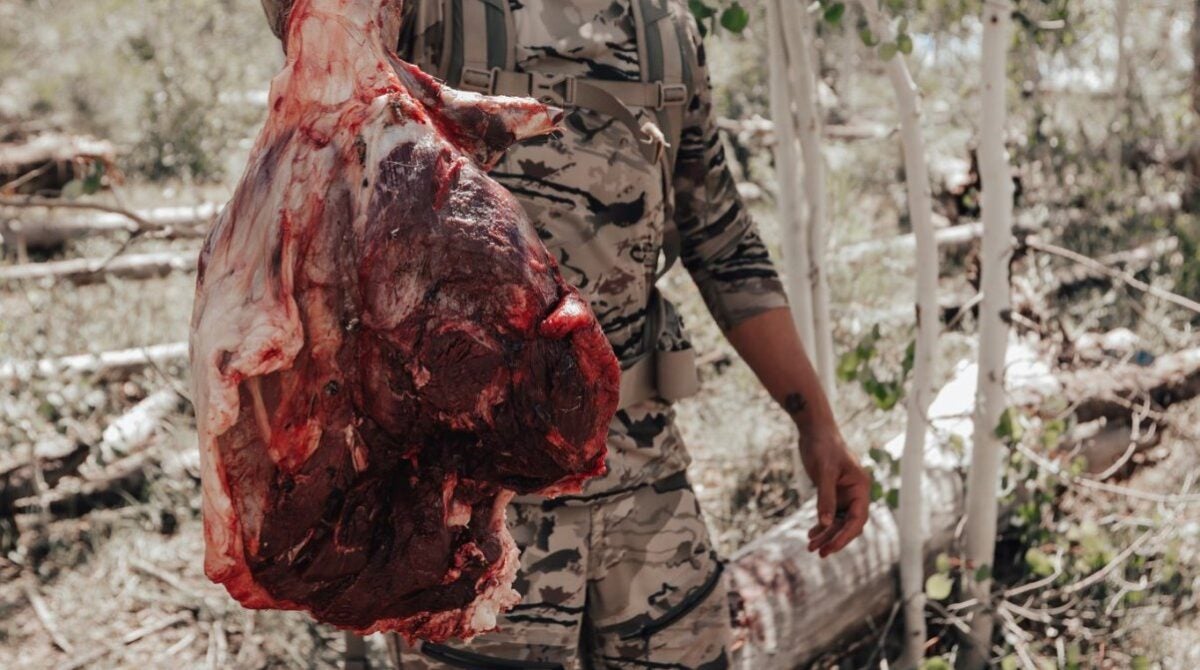
Congrats! You just harvested a deer! But now the hard work begins. It’s time to field dress it, drag it to the truck, and process the delicious venison. It sounds like a lot, but it’s not as complicated as it initially seems. So let’s get started with the best way to process a deer.
How To Process A Deer
It’s important to note that everyone has a slightly different way of processing their deer. The one outlined below has worked well for my family and me for several years, but we are constantly trying new techniques and ways to do it.
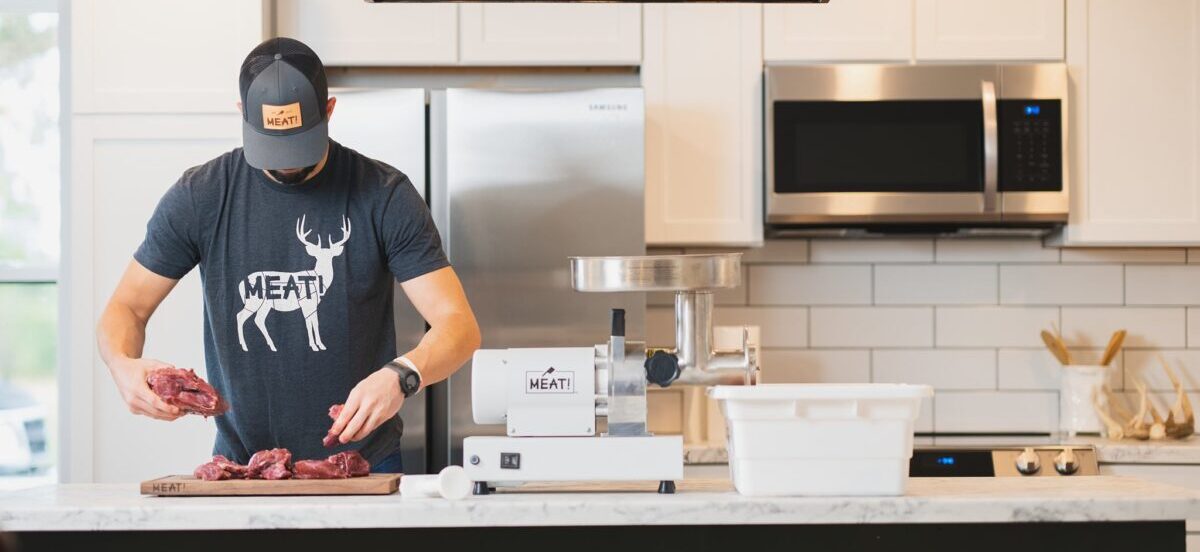
Processing a deer can take a couple of hours, so most people believe taking it to a local meat processing plant is the best way to process a deer.
I’m not against this, but I rarely take my deer to the processor for three reasons. The first is the expense. Taking a deer isn’t cheap, costing around $100-$120, plus any extras you add (like grinding it or turning the venison into jerky). The second reason is because I want to control what happens to the meat. Lastly, I think learning to process a deer is a very valuable skill, starting with field dressing it.
Helpful Tools
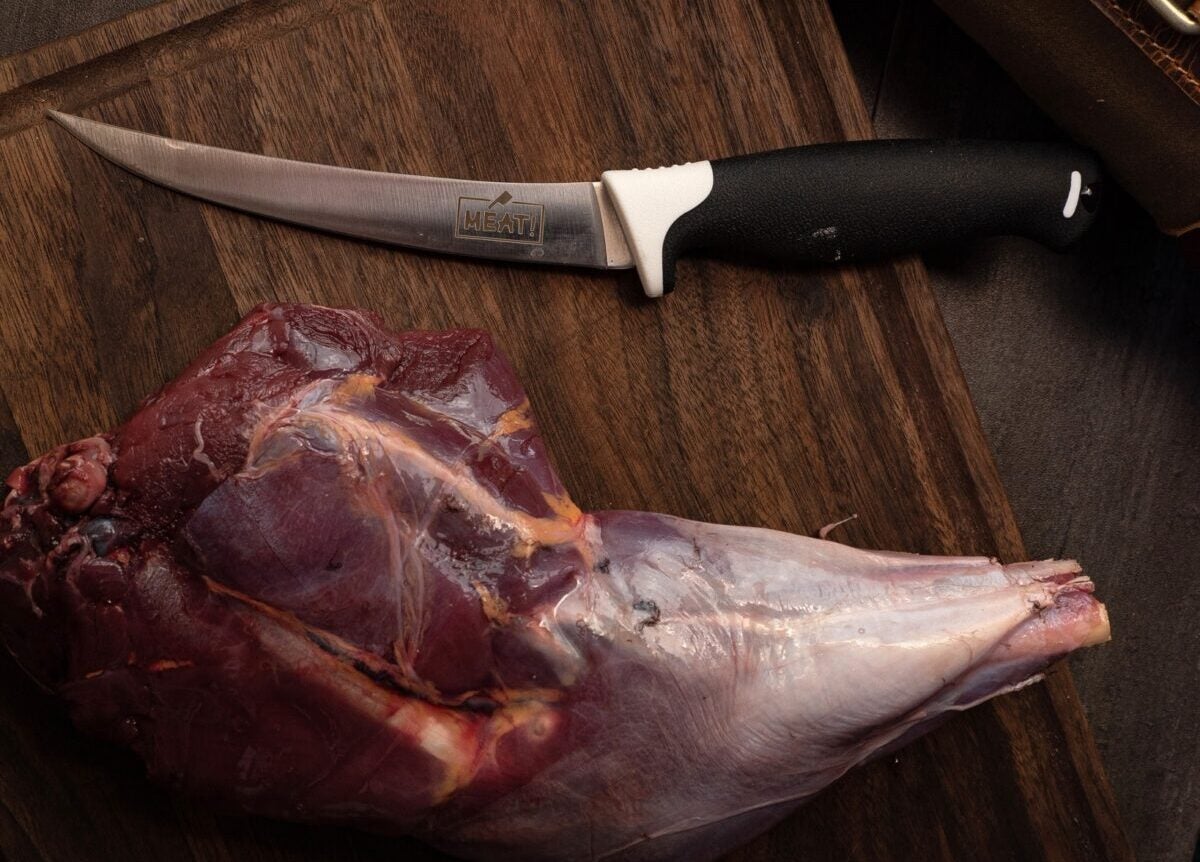
- Multiple sharp knives (one with a gut hook is ideal)
- Knife sharpener
- Small butcher (bone) saw
- Rope/chain
- Deer hanger
- Vacuum sealer/freezer bags
- Meat grinder
- Cooler
- Table
- Water source
- Bucket
Field Dressing
Gutting or field dressing the deer helps reduce the risk of contaminating the venison with fecal matter, urine, and anything else housed in the stomach. You’ll often receive an extra charge if you don’t field-dress the deer before taking it to the processor, so it’s critical to know how to do this as a hunter.
Field dressing is easiest when using a knife with a gut hook, but it’s not necessary.
- Step 1: Cut through the skin around the anus until the rectum is free.
- Step 2: Cut a 2-3 inch long hole through the skin just below the sternum (where the ribs meet), then flip your blade over, using the gut hook (to avoid piercing the abdomen wall/membrane), and continue cutting the skin to the anus and up to the neck.
- Step 3: Now, it’s time to pierce the abdomen wall just below the sternum. If you don’t have a gut hook on your blade, you can use two fingers to create a little space between the abdomen wall, stomach, and intestines while cutting the skin so you don’t accidentally cut them (that’s a bad day, trust me…).
- Step 4: Cut or saw the pelvis, if you have a small hand saw (butcher saw) available, to allow the lower intestine to pass through without tearing.
- Step 5: Saw or cut through the top of the sternum, allowing for easier access to the heart and lungs.
- Step 6: Cut the diaphragm (thin muscle/membrane) from the rib cage on both sides.
- Step 7: Carefully cut the esophagus and windpipe above the heart, as far up as you can go.
- Step 8: Use the windpipe to pull the guts from the carcass, saving the heart and liver (if you or someone you know enjoys organ meat).
That’s it! It’s now time to take it home and skin it.
Skinning
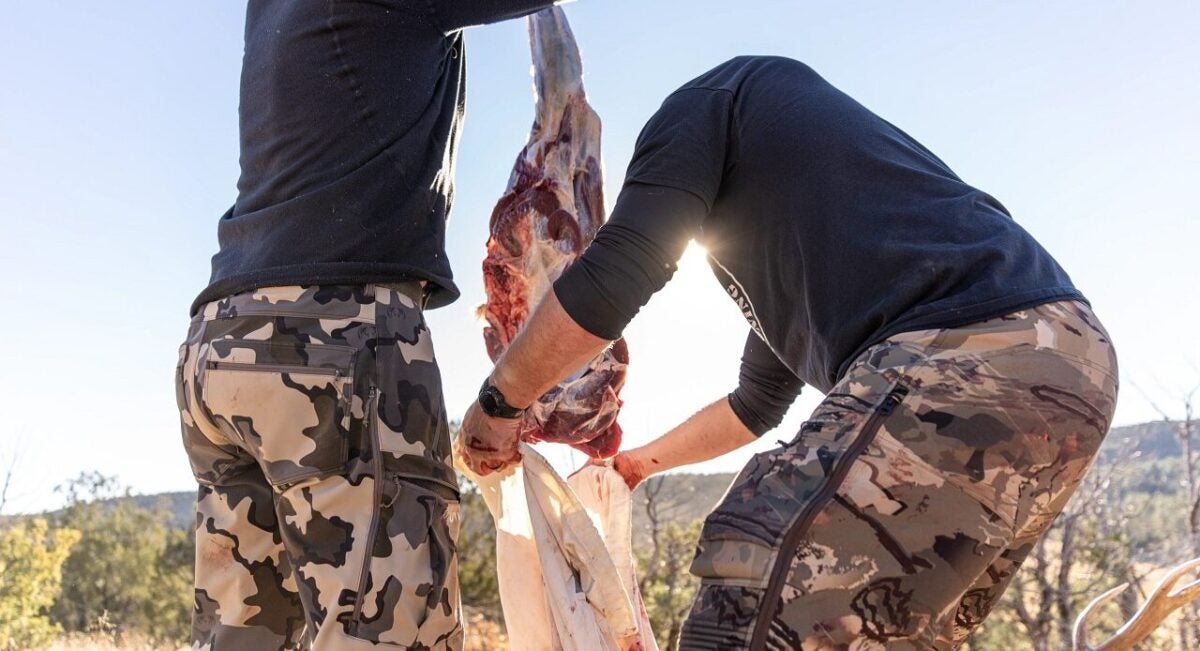
Now that you’re home, you need to skin the deer. I’ve found it most accessible to do this while it’s hanging by the rear legs.
- Step 1: Cut a hole large enough to slip the gamble (deer hanger) into between the bone and Achilles tendon on both legs. DO NOT cut the tendon. Doing so will prevent you from hanging the deer, making cutting the meat without getting debris all over it much more challenging.
- Step 2: Use a rope, cable, or chain over a limb or deer hoist to raise the deer off the ground; the butt should be about eye level or at least until the head is off the ground. Raise and lower the deer according to what’s most comfortable.
- Step 3: Now that it’s off the ground, cut a skin-deep ring around the leg with the blade edge facing out (as much as possible after the initial cut) to prevent the hair from getting onto the meat.
- Step 4: You can now cut the hide from the anus to the ring you just made, following the line where the brown and white fur meet.
- Step 5: Pull the skin away from the meat and cut the membrane between the skin and the meat, from the back legs to the ribs. Be careful to cut the membrane and not into the muscle to keep the meat as clean as possible. A very sharp knife helps best with this.
- Step 6: All the skin around the belly and back legs should now be free, and the tail is currently holding up progress. Press/pull out and down on the tail and cut the hide all around it, then quickly pull down/ pop the tail to separate the joints where the tail and butt meet before cutting through the tail.
- Step 7: Move down to the front legs and skin them like you did the back legs. You might need to put the leg you’re cutting between your legs to keep the deer from spinning. You can pull the skin off the back once both front shoulders are exposed up to the neck. If you want to keep the hide, it’s best to keep cutting the membrane instead of just pulling it.
Now that the skin no longer covers the meat, it’s best to let it age.
Aging The Meat
Hanging a deer to let it age depends on the environment, temperature, deer age, and personal preference. Since my deer processing happens in the garage, I rarely get to let the deer hang for as long as I’d like.
If you have a walk-in cooler that will keep the meat above 32°F and below 40°F, you should let it hang for 5 to 14 days. This allows the good bacteria to break down muscle fibers, tenderizing the meat and making it a little less gamey-tasting.
However, for those of us who don’t have a walk-in cooler, let the deer hang for as long as possible (a couple of days is best), as long as the temperature is between 33°F and 40°F. This might be overnight, a few days, or just a few hours.
De-Boning/Butchering
Once the deer has aged to your liking or the temperature has made that option unviable, it’s time to remove the meat from the bone and place it in a cooler. It’s best to begin with the tenderloins.
- Step 1: Cut away the flank meat (the thin meat connecting the ribs to the hindquarters) to make the tenderloins more accessible.
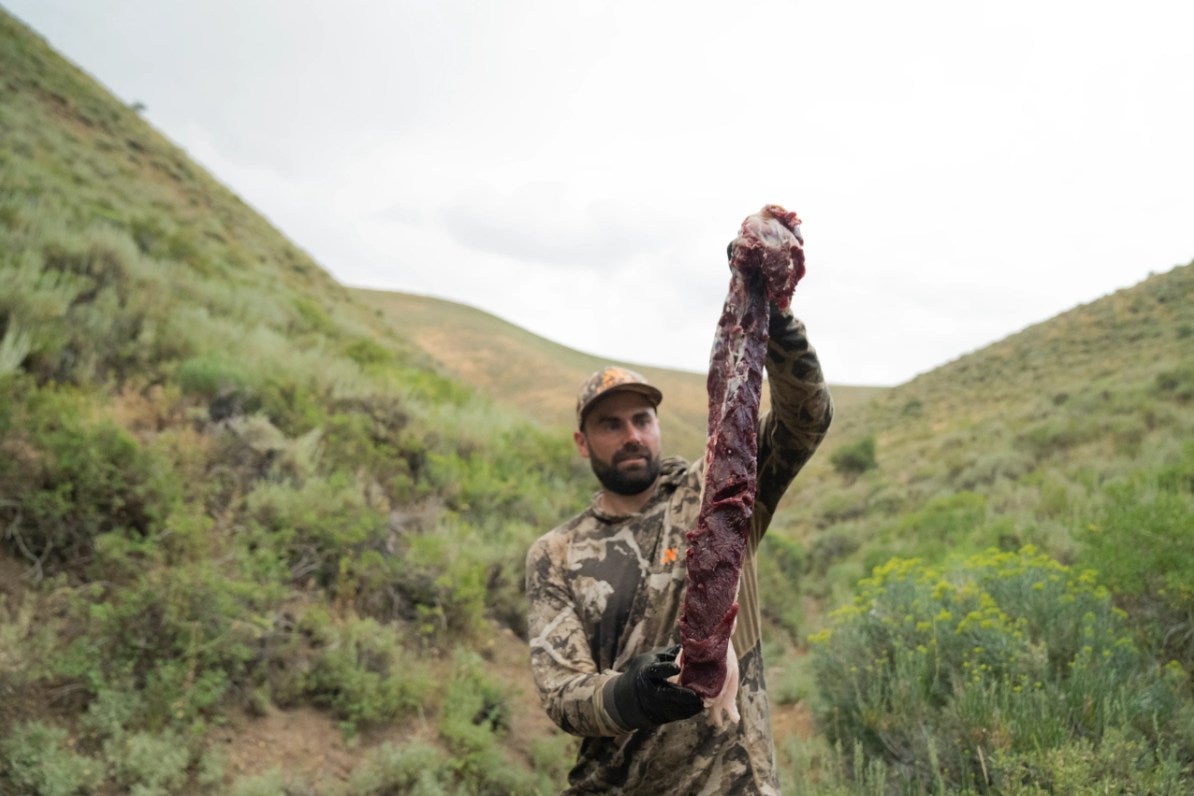
- Step 2: With the deer hanging from the back legs, the tenderloins should be just below eye level inside the carcass. They should come out easily by cutting near the groin area and gently pulling (they tend to go higher than most people assume). They’re about the size of a large fish fillet on most deer and one of the best cuts of meat.
- Step 3: Now, we can work on the hind quarters without worrying about ruining the tenderloins. The hind quarters are perfect for jerky and roasts. You should notice where the muscles overlap; this is where you should begin cutting and separating the muscles from each other.
- Step 4: Once some of them are separated, you can better reach the bone and cut it off the bones and joints. There’s not a pretty way of doing this besides following the bone.
- Step 5. After removing the meat from most of the hind quarters (if you remove all of it, the deer will no longer hang because you cut the meat attached to the Achilles), it’s time to move on to arguably the best meat on the deer: the backstraps. It goes up into the hind quarters, so now that they’re removed, you should see exactly where to make your cut.
- I like to run my knife down the backbone, closely following every vertebra to get as much meat as possible. Then, I cut perpendicularly across the top, pulling and cutting the backstrap off the bones until I reached the neck, where I cut perpendicularly across the bottom to free the meat from the carcass. Set each one aside for later processing (butterflying the backstrap).
- Step 6: Once the backstraps are removed, you can cut off the front shoulders (You can technically remove the front shoulders at any point). This is pretty simple since pulling the front leg away from the body creates a space your knife can naturally slice through. You don’t have to be super delicate with this piece, as most of it is stew or scrap meat.
- Step 7: Let’s move on to the ribs. You can cut the rib meat off the bone or cut the rib bones (this takes up more space in your freezer). There’s not a ton of rib meat, and it’s pretty tough, so most people grind or slow-cook it. If you’re cutting the meat off the bone, start at the top of the ribs and work your way down; that way, gravity is working with you. Simply follow the bone with your knife and slowly pull the meat from the bone. Repeat on the other side.
- Step 8: Once you’ve removed all the rib meat, you can begin butchering the neck. Begin where you cut the backstrap and follow the spine down and around the trachea.
- Step 9: Take your time and finish cutting off any chunks of meat you might have missed or initially overlooked. Then, you can take the deer down and cut the meat off the Achilles area.
Preparing the Meat
Now that most of the meat is off the bones (front shoulders still have bones), it’s time to prepare it for long-term storage. Again, there are several ways of doing this, and my process constantly evolves. It typically begins with rinsing the meat.
Washing
Cleaning the meat is essential. No one wants dirt, grass, hair, or debris in their deer stew, burger, or steak. You’ll likely have to scrub some of it with your fingers, as grass and hair are notoriously difficult to remove once they’ve stuck to the membrane.
Once you’ve finished the initial washing, you can begin trimming and grinding the meat.
Trimming & Grinding
If you’re not a big fan of wildgame, it’s probably because whoever processed the meat did a poor job trimming it. I prefer to cut out as many tendons and connective tissue as possible; this includes the silvery membrane where most of the wild game taste comes from. It’s on the back straps and many other portions of the meat.
Take your time, and you’ll thank yourself later.
Speaking of the backstrap, section it into two—to three-inch chunks before slicing it nearly in half. This is called butterflying the backstrap, and it turns it into a delicious steak. If you want a thicker steak, cut the chunks a little thicker, or don’t butterfly it.
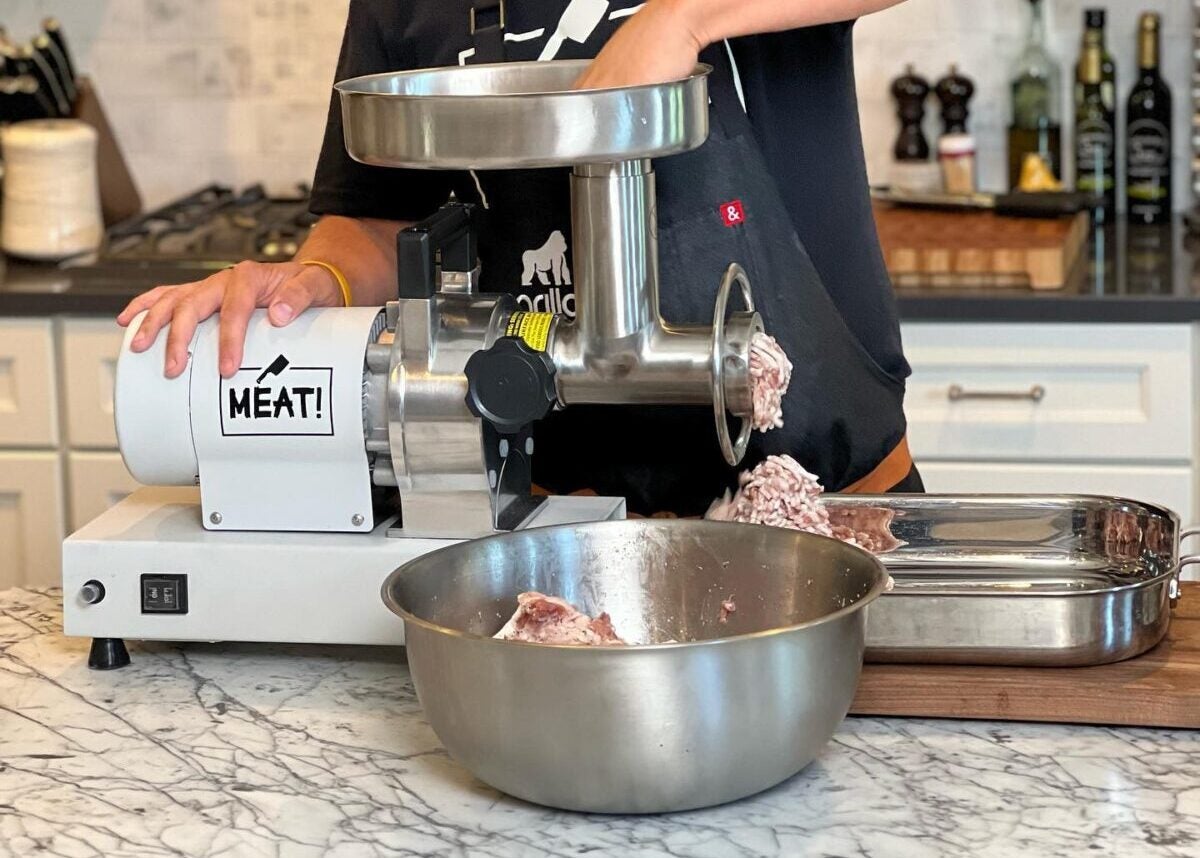
Once as much of the membrane and tendons as possible are removed from the grind meat, it’s time to plop it into the grinder. You’ll notice you might have missed a few tendons; now is the time to remove the ones you see.
I typically leave the front shoulder meat attached to the bone and smoke it, but this is very tough meat, so you can also cut it off the bone and slow cook it or use it in a stew after removing as many tendons as possible.
If I notice a lot of debris, I prefer to wash the meat one last time to ensure it’s clean before lightly drying it and placing it in a freezer bag or vacuum sealing it in portions my family typically eats.
Storing
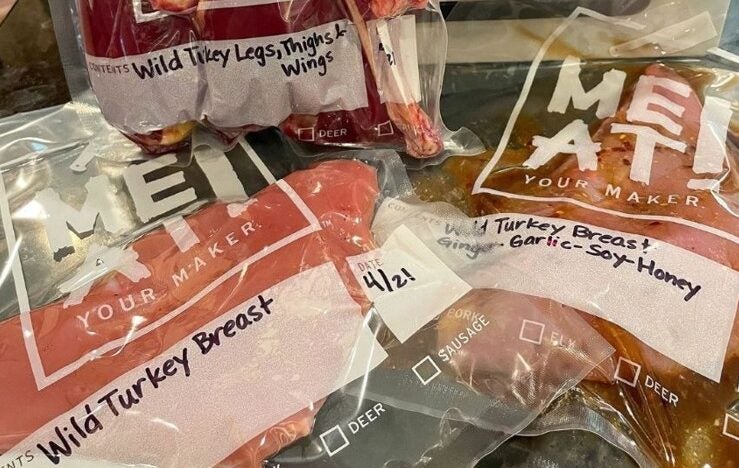
Once you’ve packaged all the meat, it’s time to put it in the freezer. I always date it and write what it is, such as “Today’s Date—Stew Meat” or “Today’s Date—Backstrap.” This lets me know what I’m grabbing out of the freezer and how long it’s been there.
I’ve had deer meat stay good for several years, but I’ve had other venison get freezer-burned, and go bad in a year. It all depends on how well you package it.
Properly Dispose of the Scraps
At this point, you should have a carcass and scraps to dispose of; don’t be lazy and just toss it in the ditch. Instead, read your hunting regulations and dispose of it properly. This often involves burying it at a specific depth.
Parting Shots: Best Way To Process A Deer
Now you know how to process a deer. After a few attempts, it isn’t as complicated as it initially seemed.
I know hunters who can process a deer in under an hour and others who take a few hours. It all depends on how meticulous you want to be and how well you understand deer anatomy. Having a sharp knife also helps a ton, too!
While processing your deer is more work than taking it to a butcher, developing this skill and knowing you harvest the deer from field to table is a feeling you can’t put a price on.
