Do-It-Yourself Project (DIY) – Outdoor Kayak Rack V2 Hobie Rack
Eugene L. 05.14.24
 – Outdoor Kayak Rack V2 Hobie Rack")
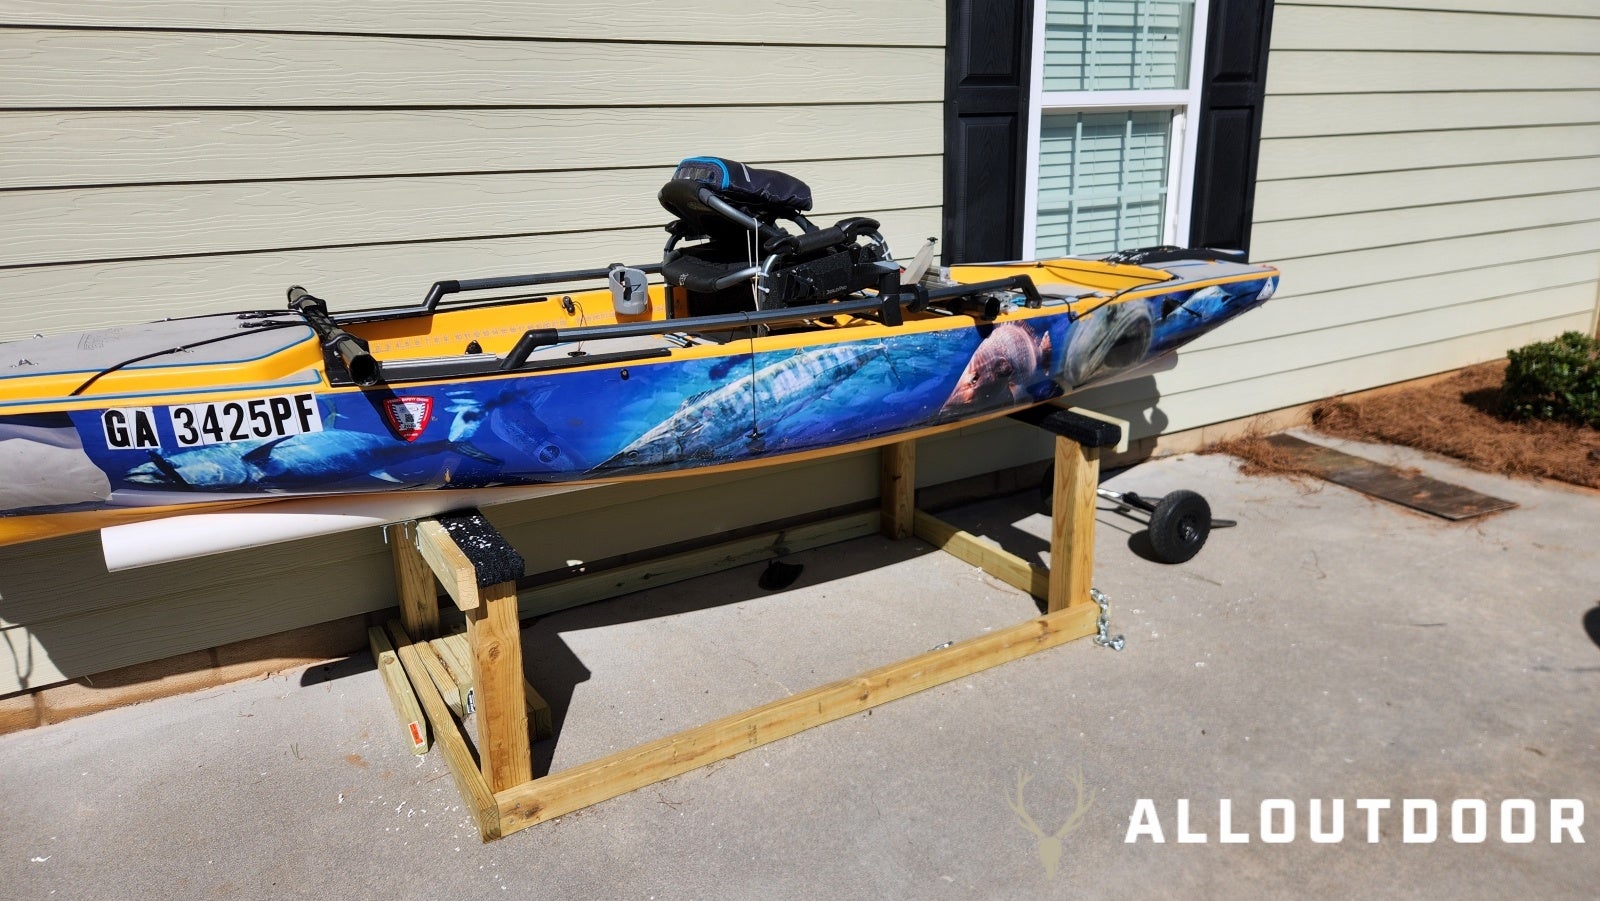
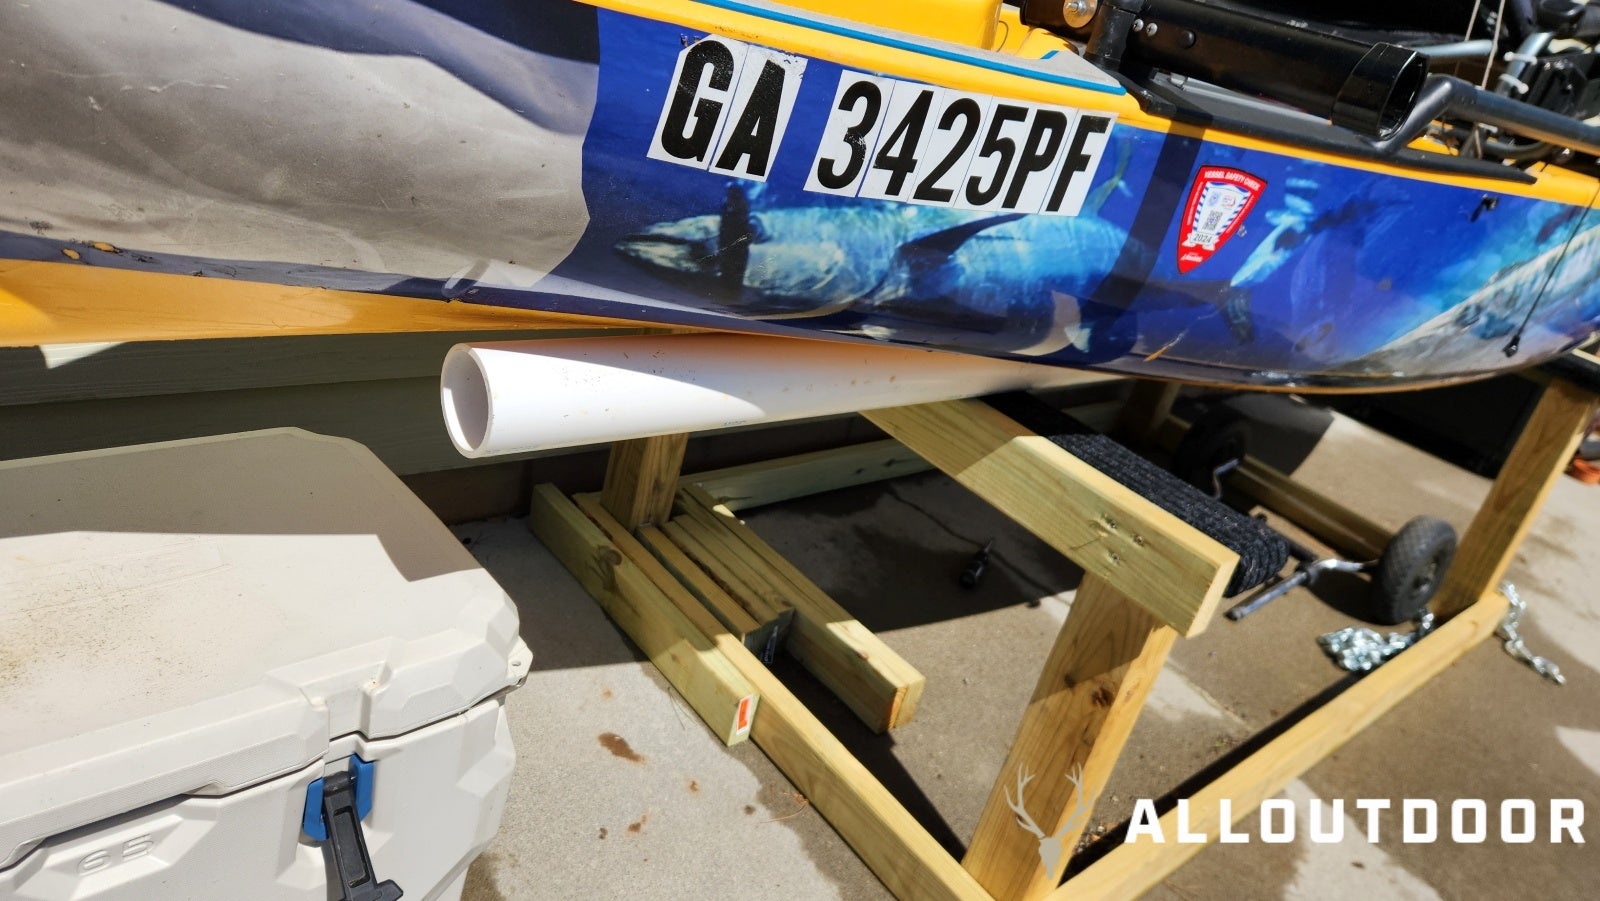
Ok so I have already shown y’all how to make a general use Outdoor Kayak Rack last time with my first version of kayak rack. Now I have a more brand-specific rack meant for Hobie Kayaks. Hobie is one of the industry leaders in the fishing kayak world and was the originator of using foot propulsion to move kayaks back in 1997. While the Hobie kayaks are amazing fishing kayaks they are pretty heavy which can cause their hulls to warp if they are stored improperly, especially in the summer heat. That weight also makes it a pain to flip them over every time you want to store one or take it out on the water. So I will show you how to make a Hobie rack that lets you store your kayak right side up. This new rack design uses PVC pipes to act as flexible bunks that will conform to the hull instead of warping the hull. This can also work with other kayaks, you just need to adjust fitment as you go.
Do-It-Yourself Project (DIY) Coverage on AllOutdoor
- Do-It-Yourself Project (DIY) – Outdoor Kayak Rack
- Do-It-Yourself Project (DIY) – Camo Painting a Rifle Stock
- Do-It-Yourself Project (DIY) – Custom Gun Case Foam Replacement
- Do-It-Yourself Project (DIY) – Collapsible Pier Cart Rod Holders
- DIY: Ghost Shrimp-Yabbie Pump
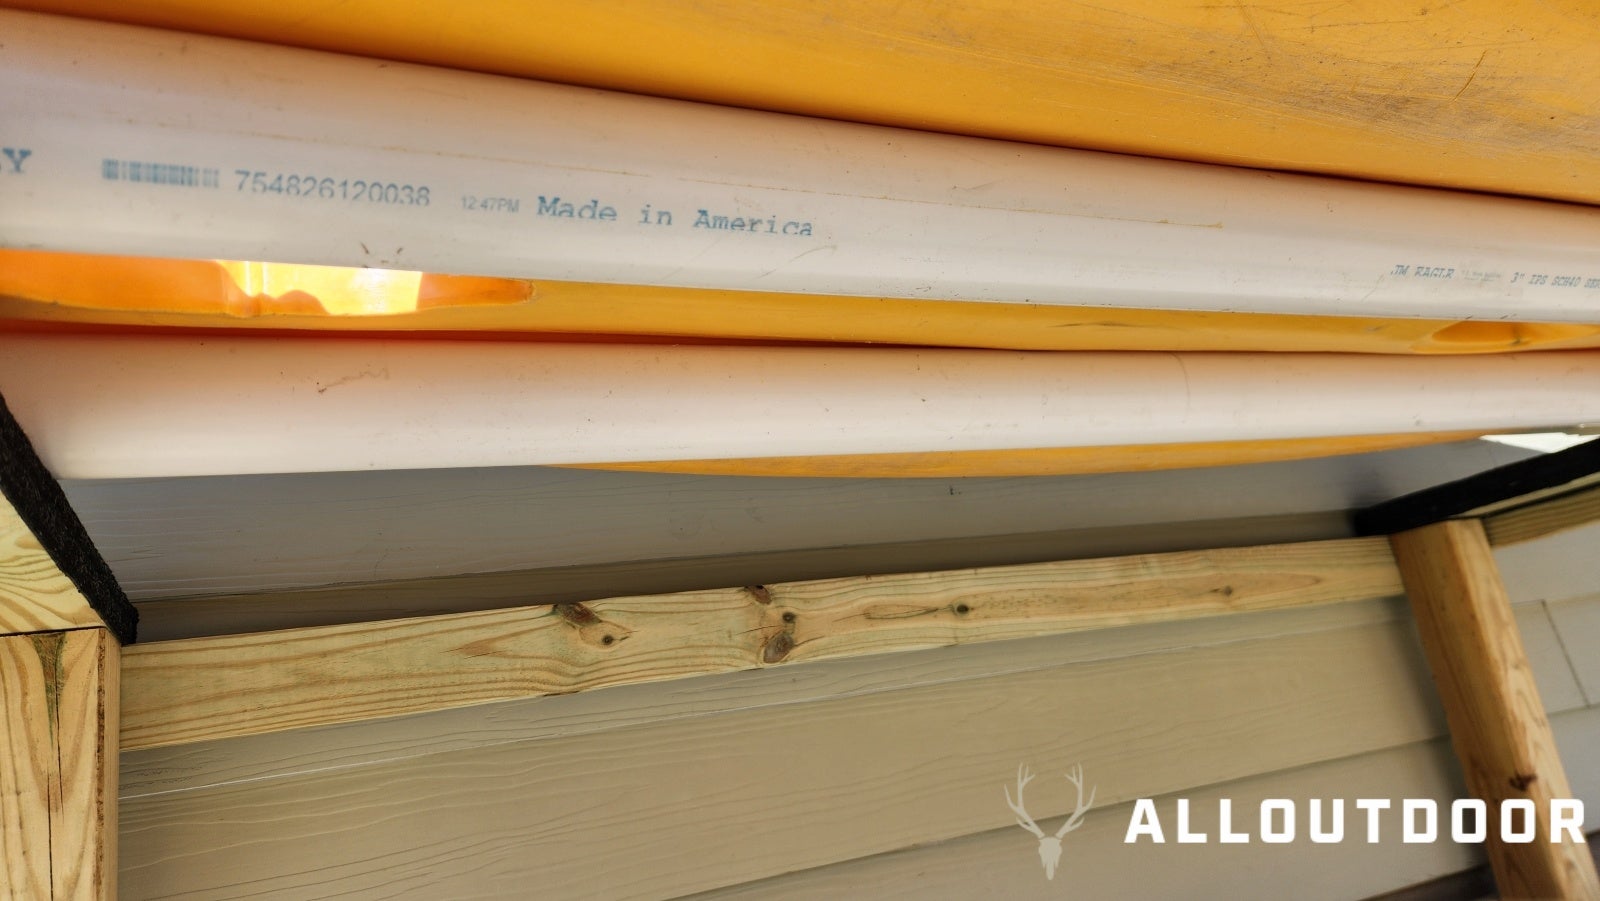
So if you made the first Outdoor Kayak Rack I made last time, you can just modify it a little bit to convert it into a Hobie Rack. All you will need for this conversion is two 3″x10″ PVC pipes, four 3″ Steel Inside Cover L Braces, 8 bolt/washer/nut sets, and 8 deck screws. For tools, all you will need is an electric drill, a magnet rod, some drill bits, and the torx bit that you used for the deck screws from the first build. This rack will work for pretty much all sizes of Mirage fishing kayaks, but the fitment will need to be adjusted to fit each different model. If you have a truck I recommend you back it up near the kayak rack and open up the tailgate and slide your kayak onto the bed. Then the first thing you need to do to convert the rack is remove your Hobie and then take off the two 2x4s you have running across the top of the sides of the kayak rack. You want to reattach these 2x4s flush to the 2x4s you had carpeted up as shown in the picture above.
Do-It-Yourself Project (DIY) – Outdoor Kayak Rack V2 Hobie Rack
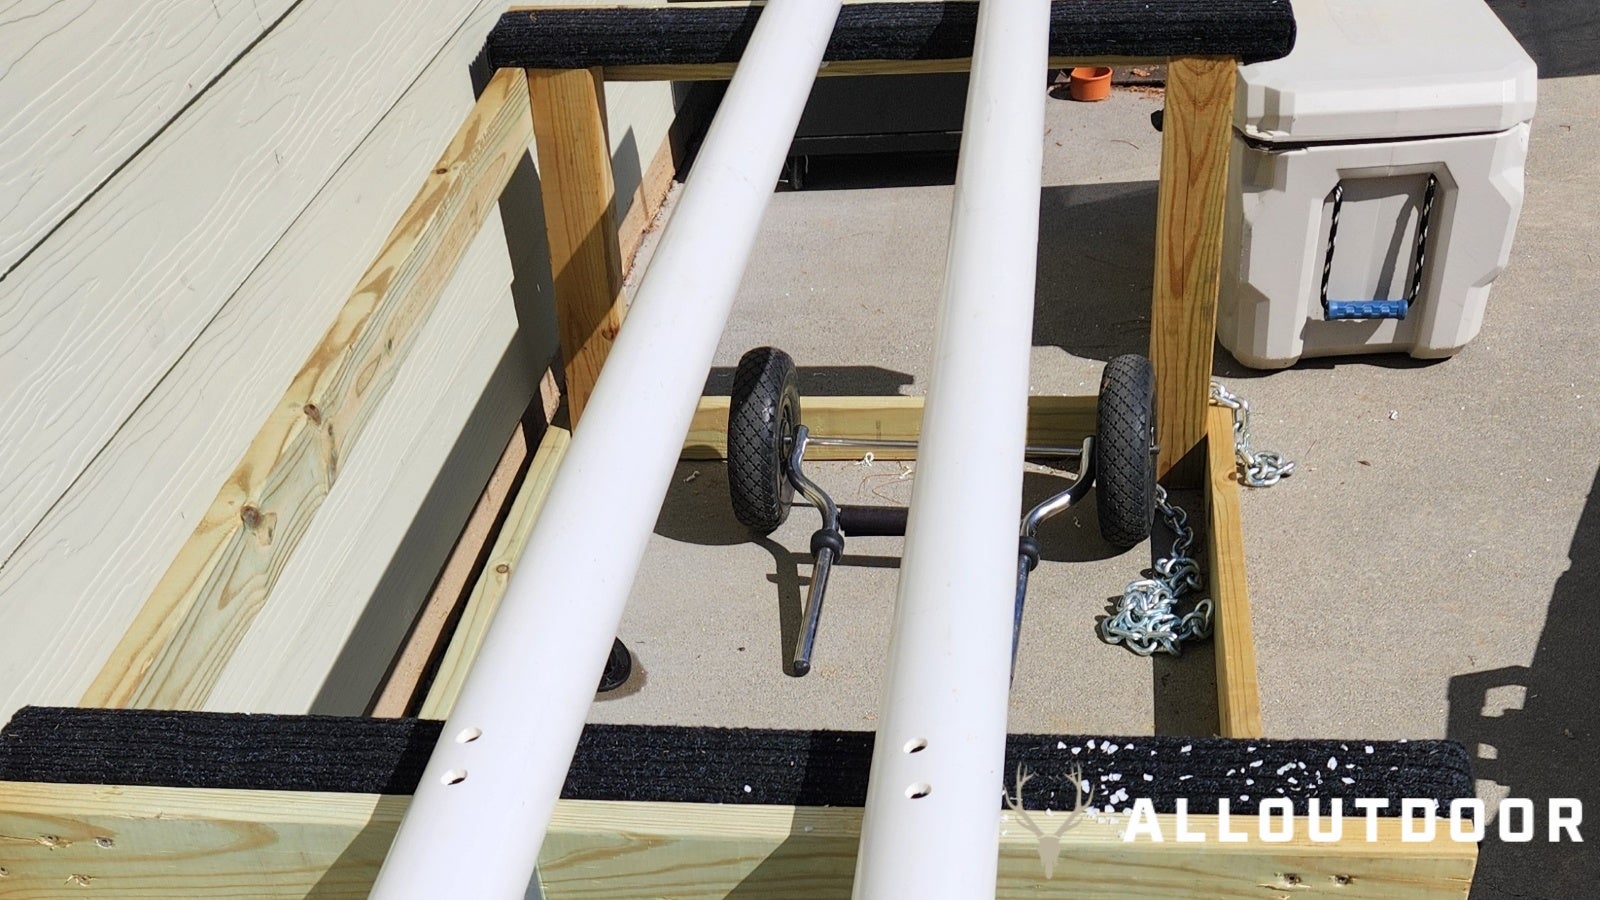
From there, you want to place your 3″ PVC pipes across the top of the kayak rack and use some clamps or even some spare chunks of wood to chock the PVC pipes so they don’t roll off the rack while you work. Now carefully slide your kayak onto the PVC pipes, letting the pipes act like a cradle in the tunnel hull of the kayak. Even with the kayaks on top of the pipes you can relatively easily move them around until they are centered on the rack. Once the kayak is in place, take your corner braces and start marking where you are going to attach them to the rack with a permanent marker and where the screw holes will be on the PVC pipe. Then just slide the kayak back off the pipes into your truck bed or vehicle kayak rack.
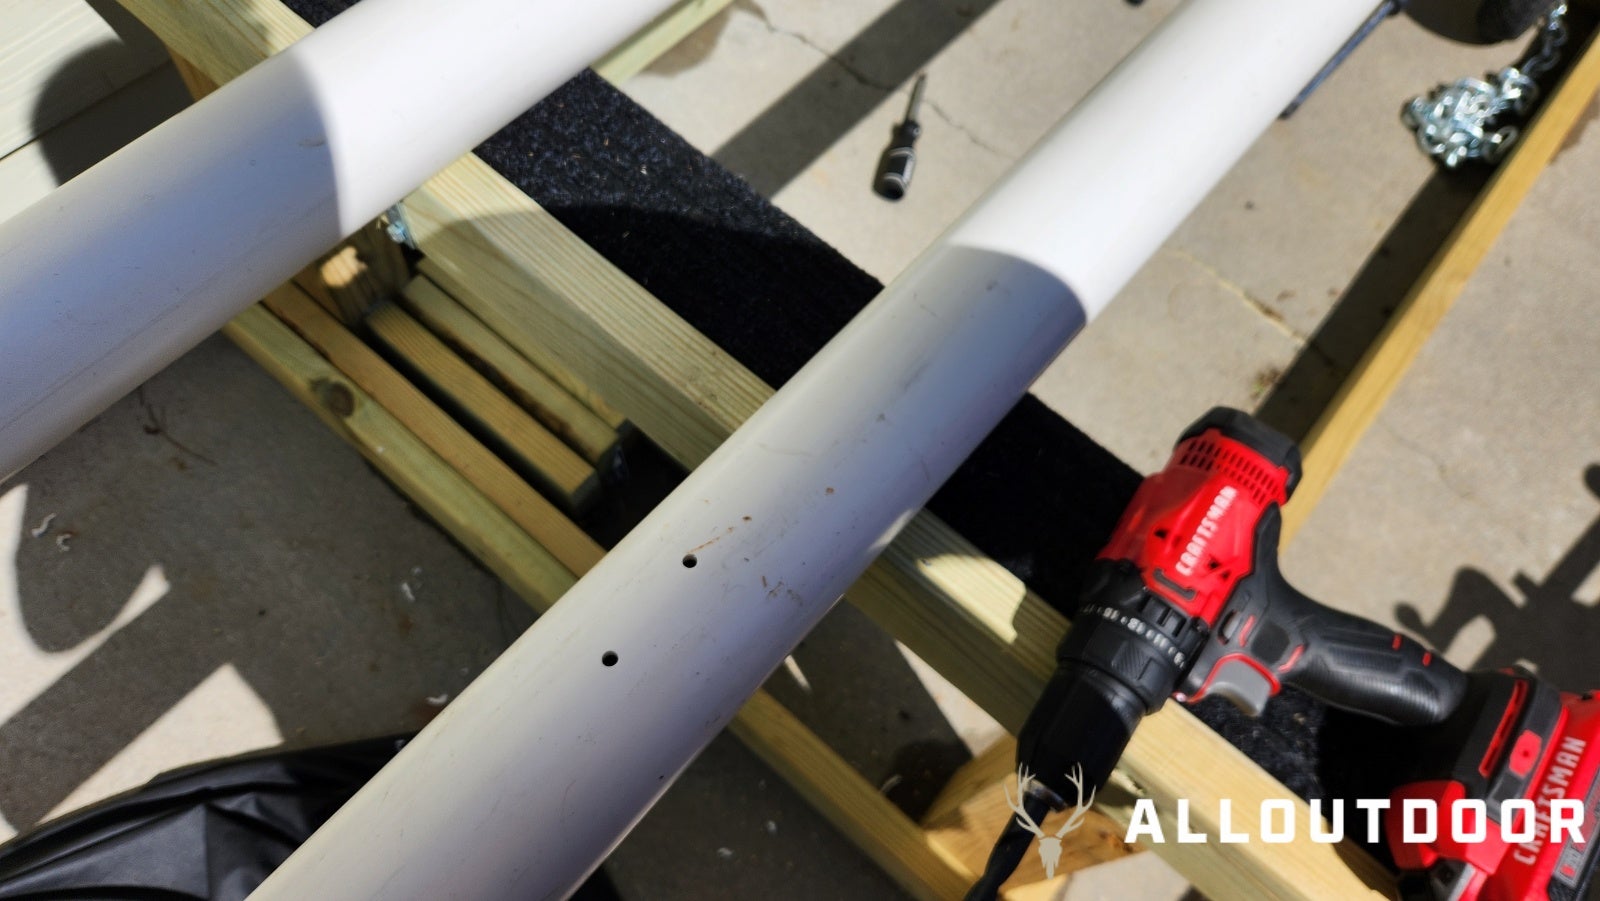
After this is done grab your drill and bits and start drilling where the screw holes were marked on the PVC first. Take your drill bit all the way through both sides of the drill, make sure to stay as square as possible to the pipe so everything aligns up nicely later when you are putting bolts through. Once you get the holes all drilled you want to drill the “top” side holes again with a larger bit so you can run the bolts in from the top. The holes have to be at least large enough for the bolt head to fit through.
Once all the holes are drilled you can start putting the bolts in. Use the small magnet rod to stick onto the heads of your bolts and set them in the holes. Attach the braces and put the washer and nuts on, but don’t tighten them up super tight yet. You want a little wiggle room to adjust later. Once you get all 4 corner braces attached to the pipes, use your deck screws to attach the braces and pipes onto the frame of the Hobie rack. Now you want to finish tightening up the nuts on the bolts. And you are done, you have converted your existing kayak rack into a Hobie-specific rack. Besides being right side up now there is the added advantage of PVC bunks make it very easy to slide the yak on and off of the rack. If you are building this rack from scratch and have a truck I recommend building it to exactly your truck bed height to have an easier time. Also like I said before you can get this to work with any model of kayak just you need to adjust where the PVC attaches to the frame to fit those other kayaks.