Review: Zenbivy Dry Sack Compressible Bags and Compression Caps
Russ Chastain 01.27.21

Zenbivy Dry Sack Bag and Compression Cap (Photo © Russ Chastain)
When I reviewed the Zenbivy Light Quilt last year, I showed it stored in its included drawstring net bag. That bag is larger than it needs to be, so when I learned about Zenbivy’s new Dry Sack compression-compatible bags, I decided to give them a try. The Zenbivy quilt is eminently compressible, as it’s filled with light, fluffy duck down.
These Dry Sacks have an air valve which allows air to escape, but if you compress it, seal it, and walk away you will come back to find that it’s expanded again; it’s simply not airtight. For that reason, Zenbivy also sells “Compression Caps,” which have straps that allow you smoosh that bag on down to size — and keep it there.
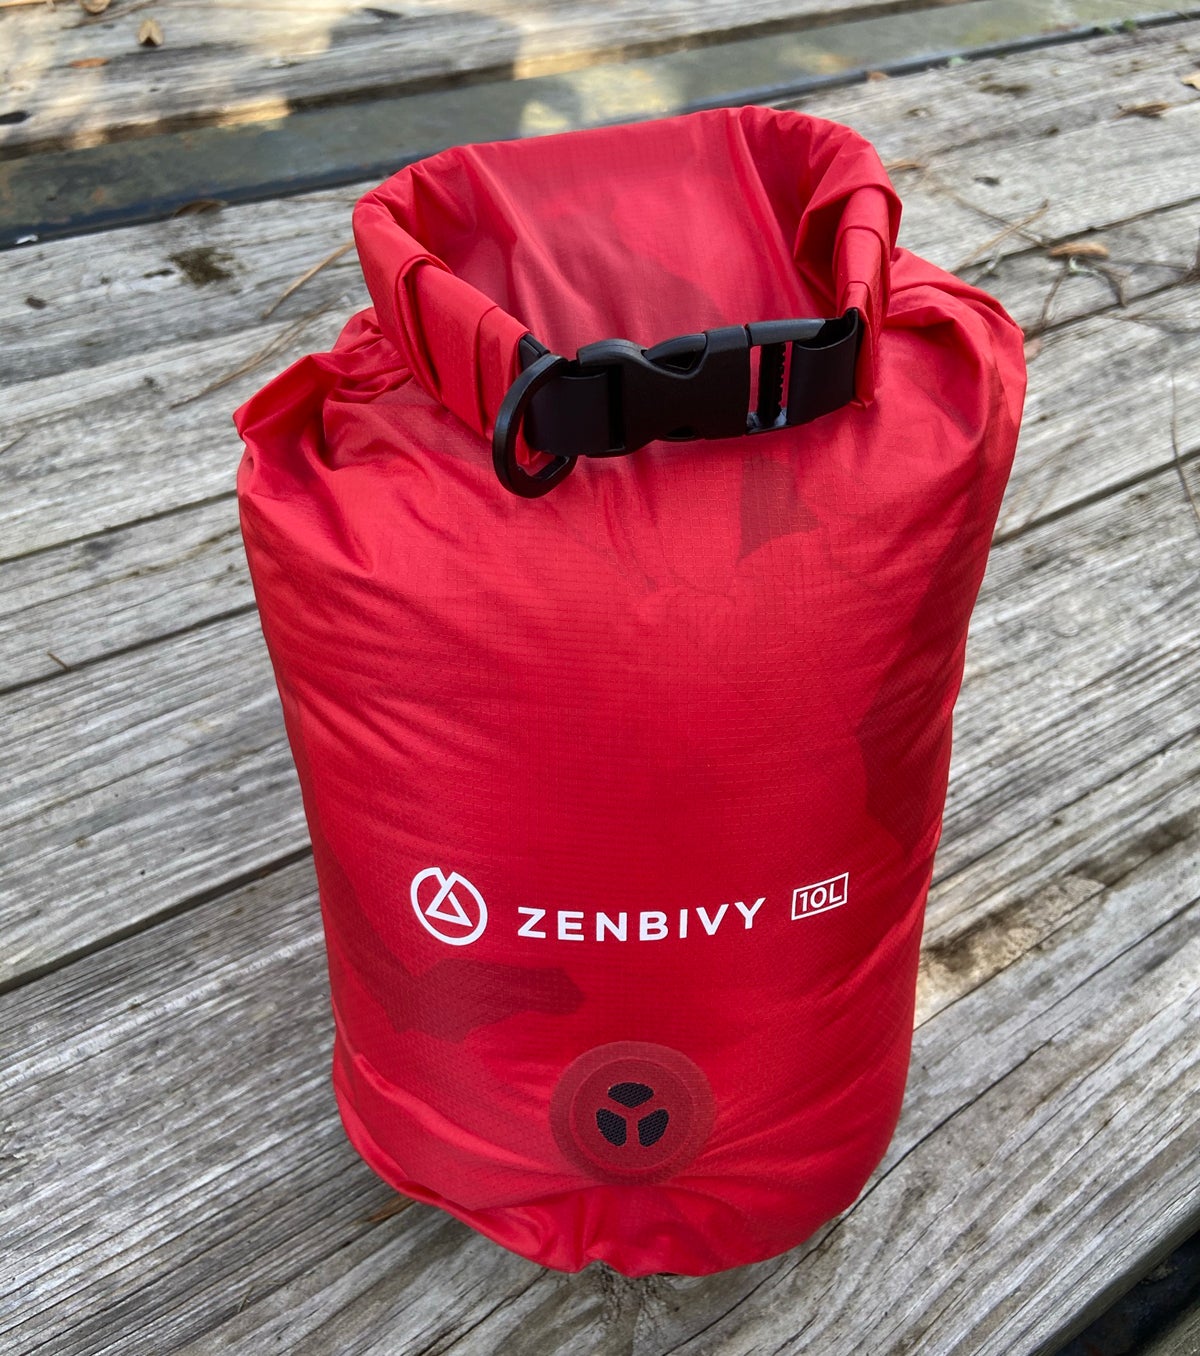
Zenbivy Dry Sack 10L Compressible Bag with Light Quilt inside (Photo © Russ Chastain)
In some photos, you will notice dark areas of the Dry Sack. That’s actually the blue of the quilt showing through, as the bags are somewhat transparent.
Here’s what Zenbivy has to say about the Dry Sacks:
- Fully Welded: Unlike most dry sacks which are sewn-and-taped and therefore vulnerable to leakage, Zenbivy Dry Sacks are fully welded and will remain watertight throughout their life.
- Instant Compression: The patent pending Air Dump Valve dumps air faster than any other on the market! That means quick, easy compression with a reliable water seal you can trust.
- Lightweight & Durable: Why pair lightweight gear with a heavy dry sack? We’ve built one of the lightest on the market, with no sacrifice to durability. Made from featherweight 30D rip stop nylon, it blocks water while barely tipping the scales. The base is a burlier 75D nylon to give strength where it’s needed. Even the large 15L Dry Sack weighs in under 3 ounces!
- Compression Compatible: Unlike all-in-one compression sacks, we made our Zenbivy Compression Caps an optional separate component. For those longer trips where you need to maximize the space in your pack, simply add on the Caps and tighten the straps to instantly shrink it down.
- Materials: 30d ripstop nylon body, 75d Polyester bottom
- Available colors: Fire Red, Mango, and Deep Sea Blue
- MSRP: $25
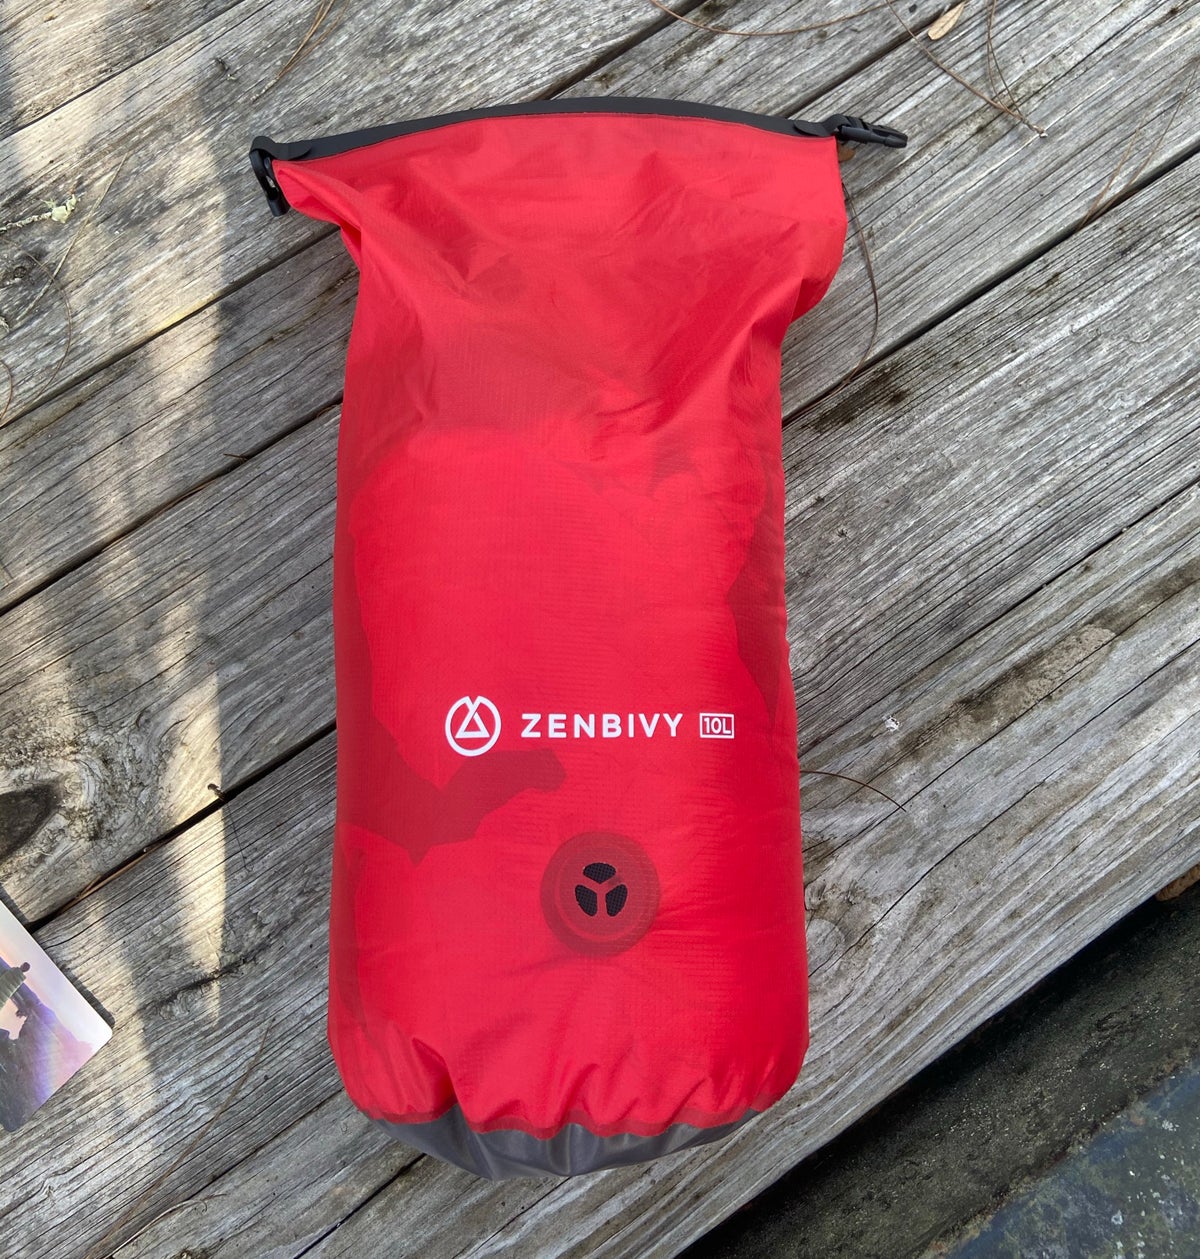
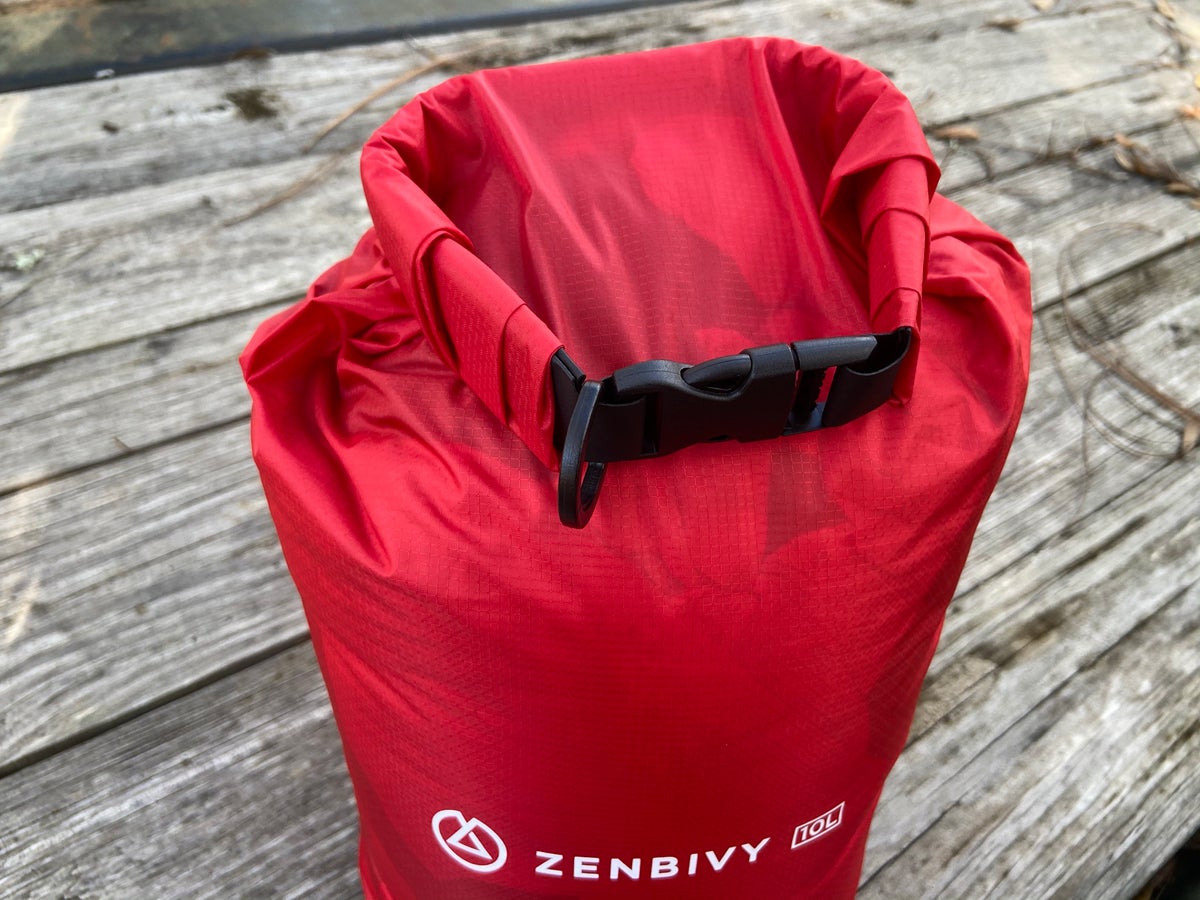
Zenbivy Dry Sack 10L (Photo © Russ Chastain)
Three models are available:
- Zenbivy Dry Sack 7L, weight 2.3 ounces, size 6.5″ diameter / 18″ tall
- Zenbivy Dry Sack 10L, weight 2.7 ounces, size 7.3″ diameter / 20.1″ tall
- Zenbivy Dry Sack 15L, weight 2.8 ounces, size 8.5″ diameter / 23.2″ tall
The Skinny on the Dry Sack
These bags are well-made. I ended up with a 10L in Fire Red and a 15L in Mango (orange). Because my Zenbivy quilt is orange & blue, I first shoved it into the orange 15L Dry Sack, but the bag was far too roomy for the quilt so I swapped it to the red 10L Dry Sack. This was a better fit, and the quilt goes in with a little room to spare so I could toss in a small neck pillow or some of my clothes if I wanted to. Zenbivy actually recommends the 7L Dry Sack for the Light Quilt.
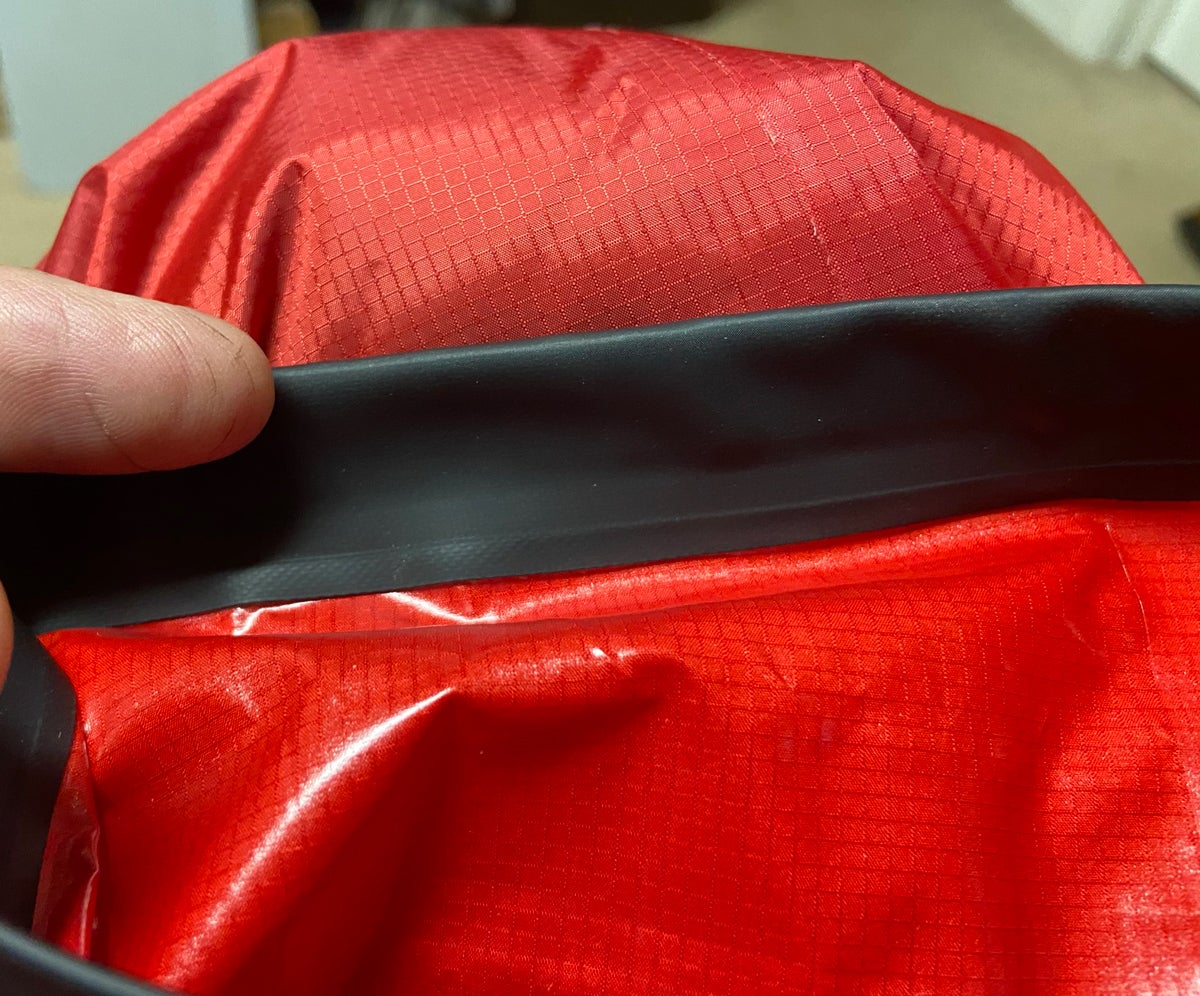
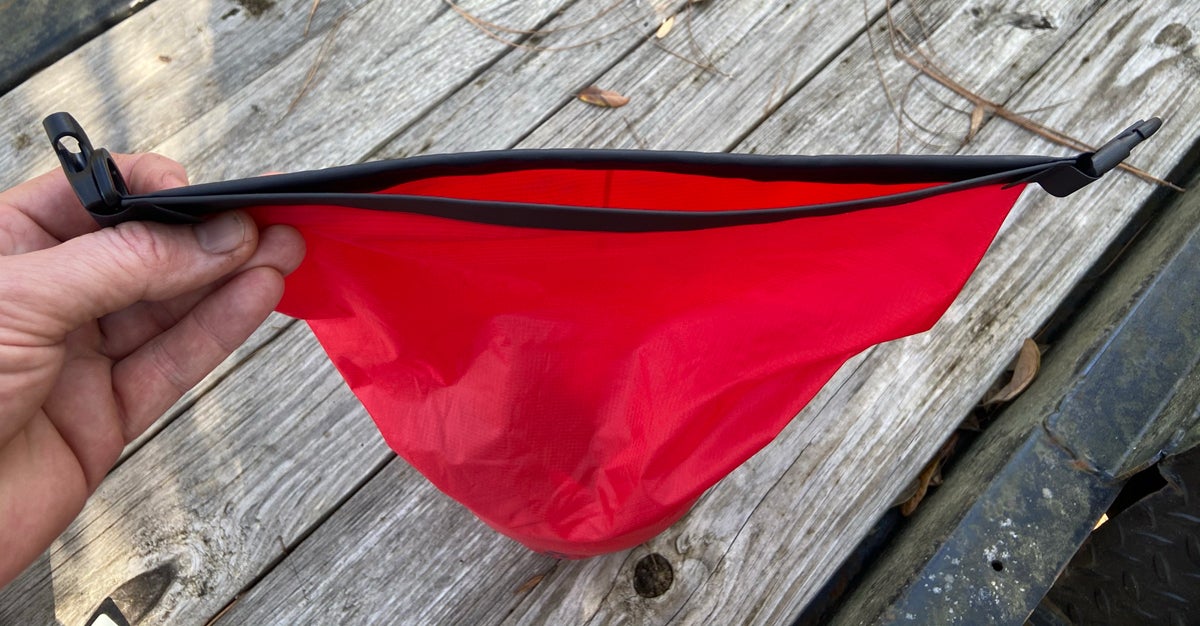
There’s a waterproof membrane inside. (Photo © Russ Chastain)
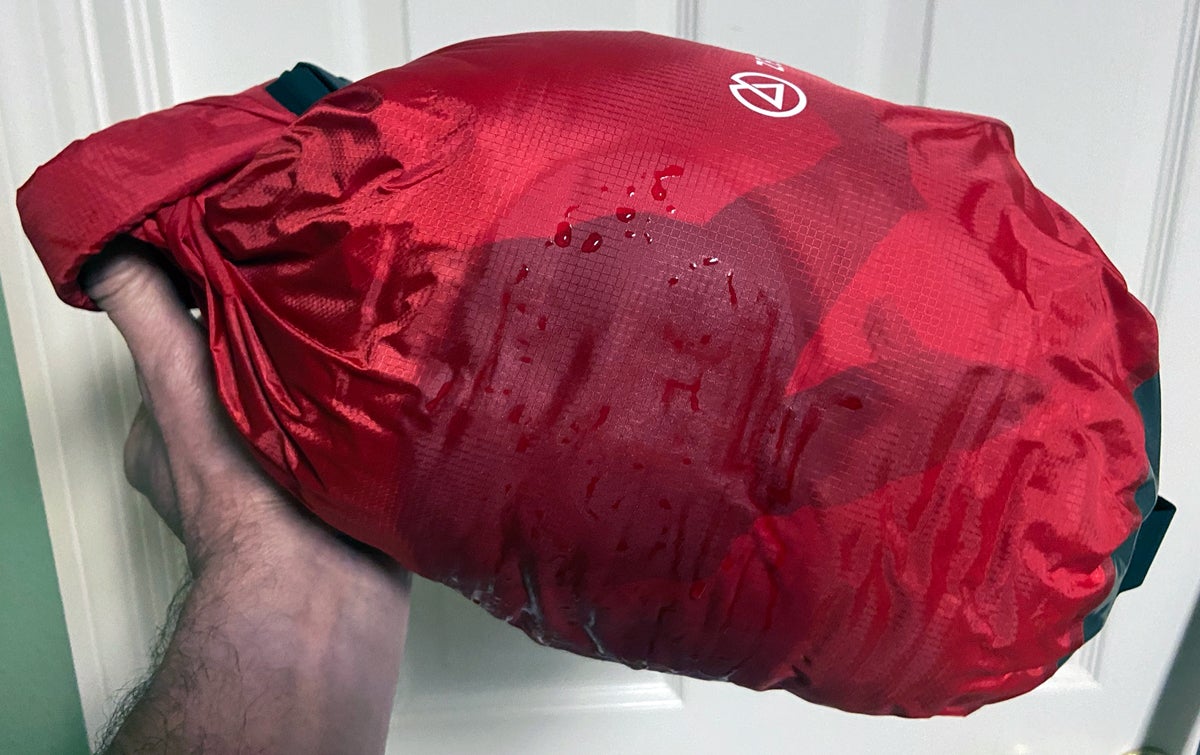
On the outside, the side material looks like simple rip-stop nylon, which is anything but waterproof — but the inside is lined with a flexible waterproof membrane. To test its waterproofness, I put my quilt-filled 10L bag under a running water spigot; the fabric became wet and darkened where it absorbed the moisture — but the quilt inside the bag remained perfectly dry thanks to the waterproof lining.
Running water darkened the bag but didn’t soak through. (Photo © Russ Chastain)
So don’t expect water to bead off the exterior of the Dry Sack, but it should keep your gear dry inside.
After putting your gear inside the bag, you flatten the open end and roll it as many times as you have room for, then buckle the two ends together to form a loop. The valve will release air pressure.
Preparing to seal the Dry Sack. (Photo © Russ Chastain)
There’s a plastic D-loop near one of the buckles, so you can clip it to your pack or hang it up.
Dry Sack sealed. (Photo © Russ Chastain)
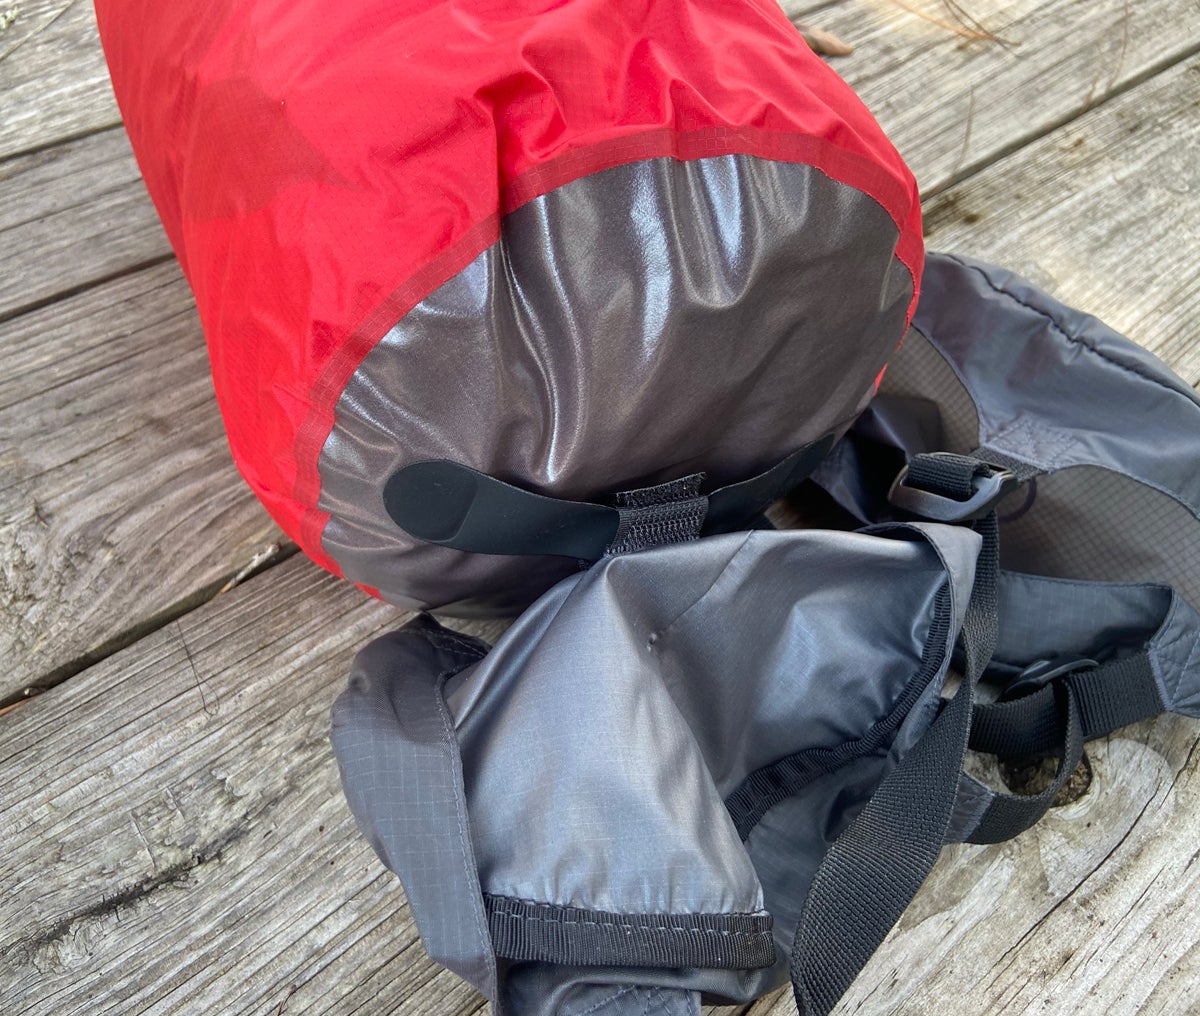
A strap welded to the bottom of the bag creates a loop to which you can attach the Compression Cap if you opt for that.
Pushing the Dry Sack to the Limit
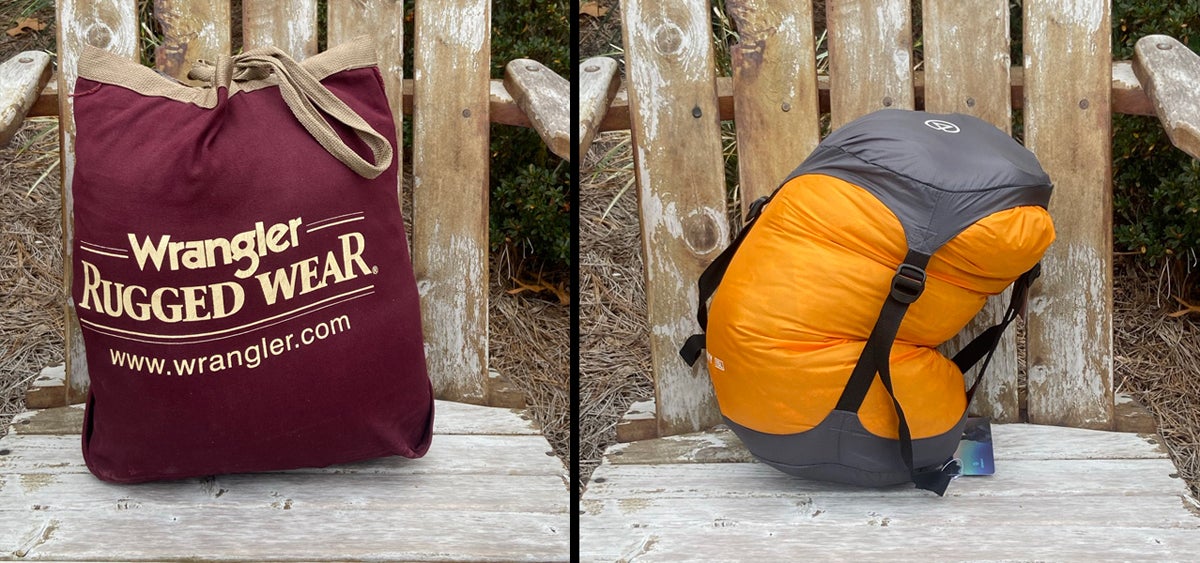
So there I was, with my Zenbivy quilt safe & happy in the 10L Dry Sack. What to do with the 15L? For years, I’ve relied on some Russell brand cold-weather gear to keep me snug. The Primaloft insulation works great, but it also makes the jacket & pants a bit bulky. Primaloft compresses well, so I decided to see if they would fit into the 15L Dry Sack… and the answer is, “just barely.”
I used to store my cold-weather gear in a tote bag, but the Dry Sack 15L puts it in a smaller package. (Photo © Russ Chastain)
It’s a bit of a chore to store them inside the Dry Sack, but it makes them a lot easier to transport to & from camp. Despite working hard to shove the clothing into the bag on several occasions, the bag is showing no signs of wear. And this is a good time to start talking about the Compression Caps.
Zenbivy Compression Caps
Because the Dry Sack will slowly reinflate after compression if it’s not restrained, Zenbivy came up with Compression Caps in compatible sizes. These add very little to the weight — all models weigh less than 3 ounces — but they allow you to easily smoosh the Dry Sack to a considerably smaller size, to conserve space in your pack or duffel bag.
From Zenbivy:
“We’ve completely re-designed the compression sack from the ground up for increased durability and usability. When paired with our Zenbivy Dry Sack, you’ll have incredible compression in a waterproof package. Pack your Zenbivy Bed, extra clothes, or anything else you want to keep organized and compact.”
“Please select the size that corresponds to your Dry Sack.”
- 7L Compression Cap: 2.3 ounces
- 10L Compression Cap: 2.4 ounces
- 15L Compression Cap: 2.6 ounces
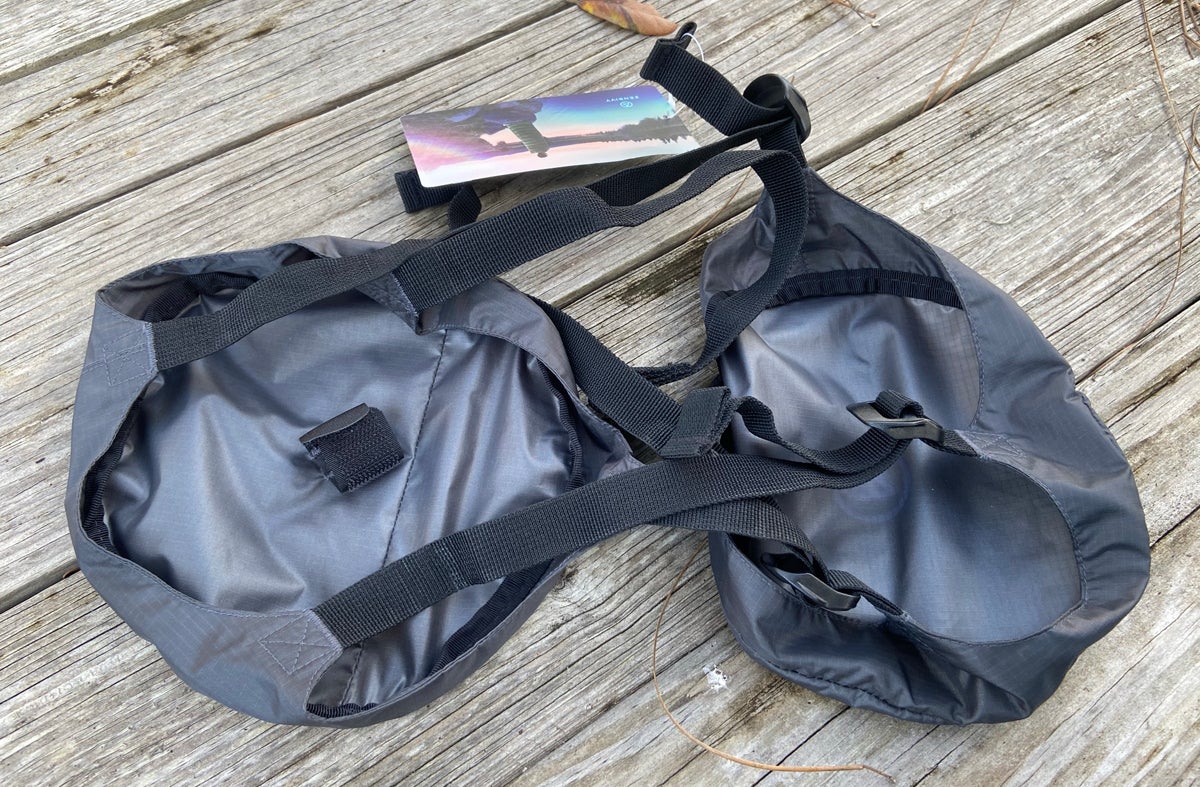
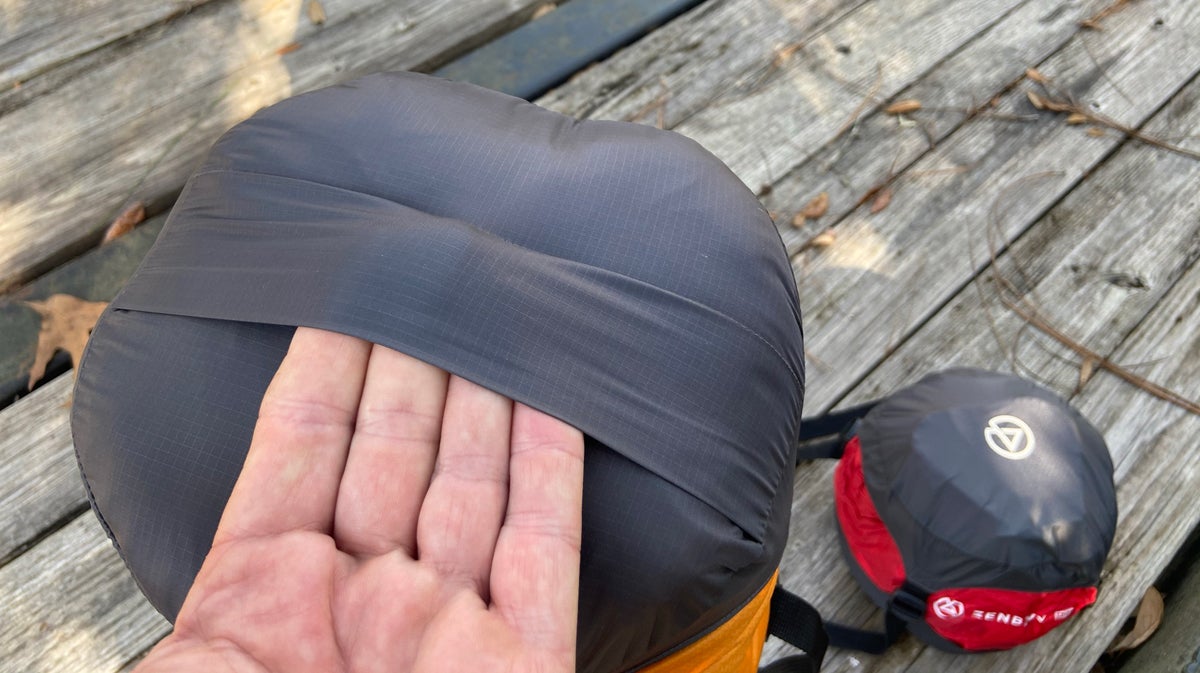
Zenbivy 10L Compression Cap. (Photo © Russ Chastain)
The end caps are made of 30D ripstop nylon with polyurethane coating while the straps are 20mm nylon webbing. Mine are dark gray on the ends, with black straps & buckles. A small velcro strap in the bottom end allows you to attach the Compression Cap to its corresponding Dry Sack, so it remains centered during compression — and doesn’t become separated from the Dry Sack after you unpack your gear.
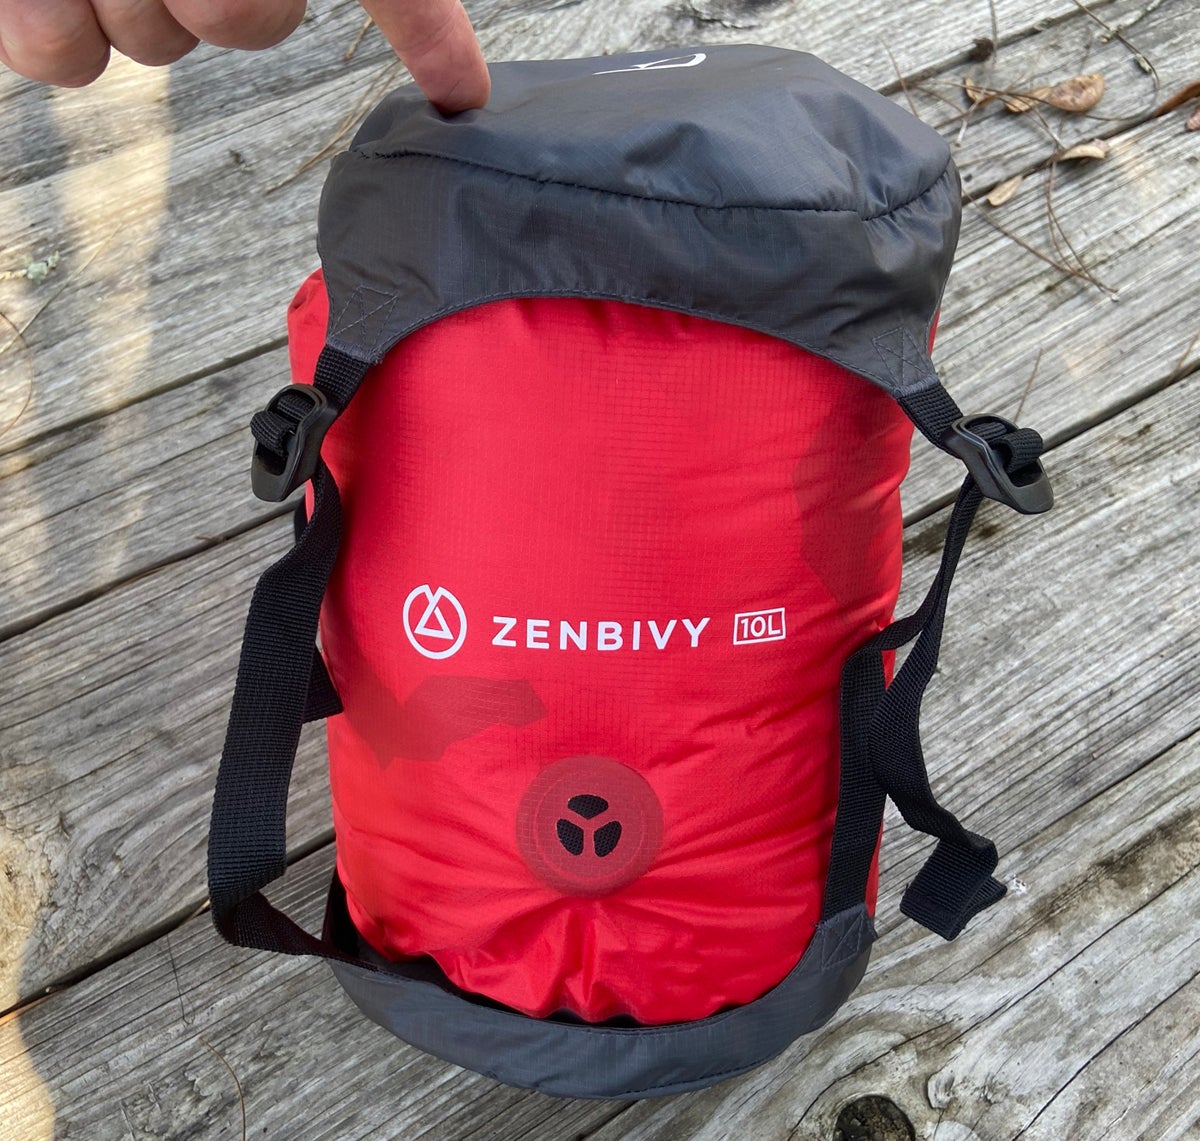
Compression Cap attached to the Dry Sack. (Photo © Russ Chastain)
Cap in place and ready to compress. (Photo © Russ Chastain)
Compressing the Dry Sack. For full compression, it helps to push down with your other hand or a knee. (Photo © Russ Chastain)
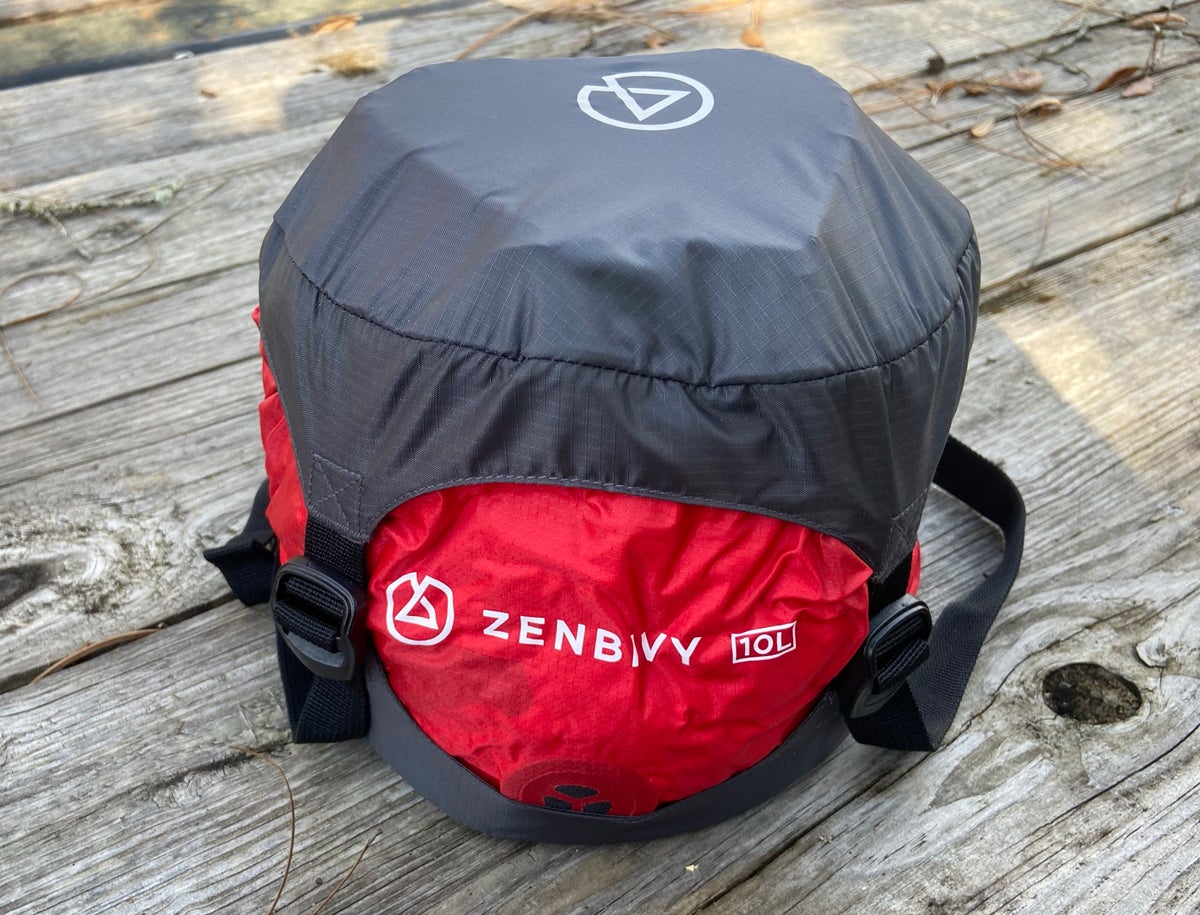
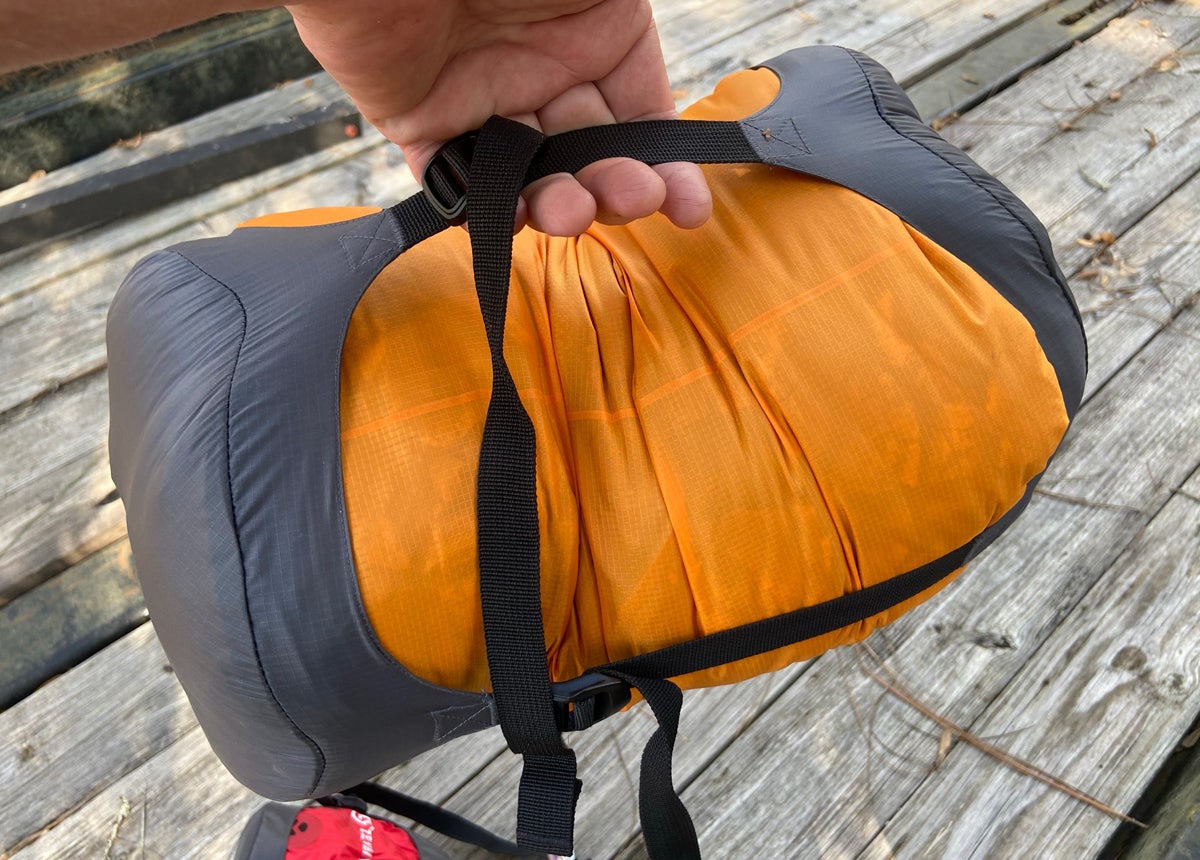
Fully compressed, the Light Quilt in a 10L Dry Sack is only 7″ tall. (Photo © Russ Chastain)
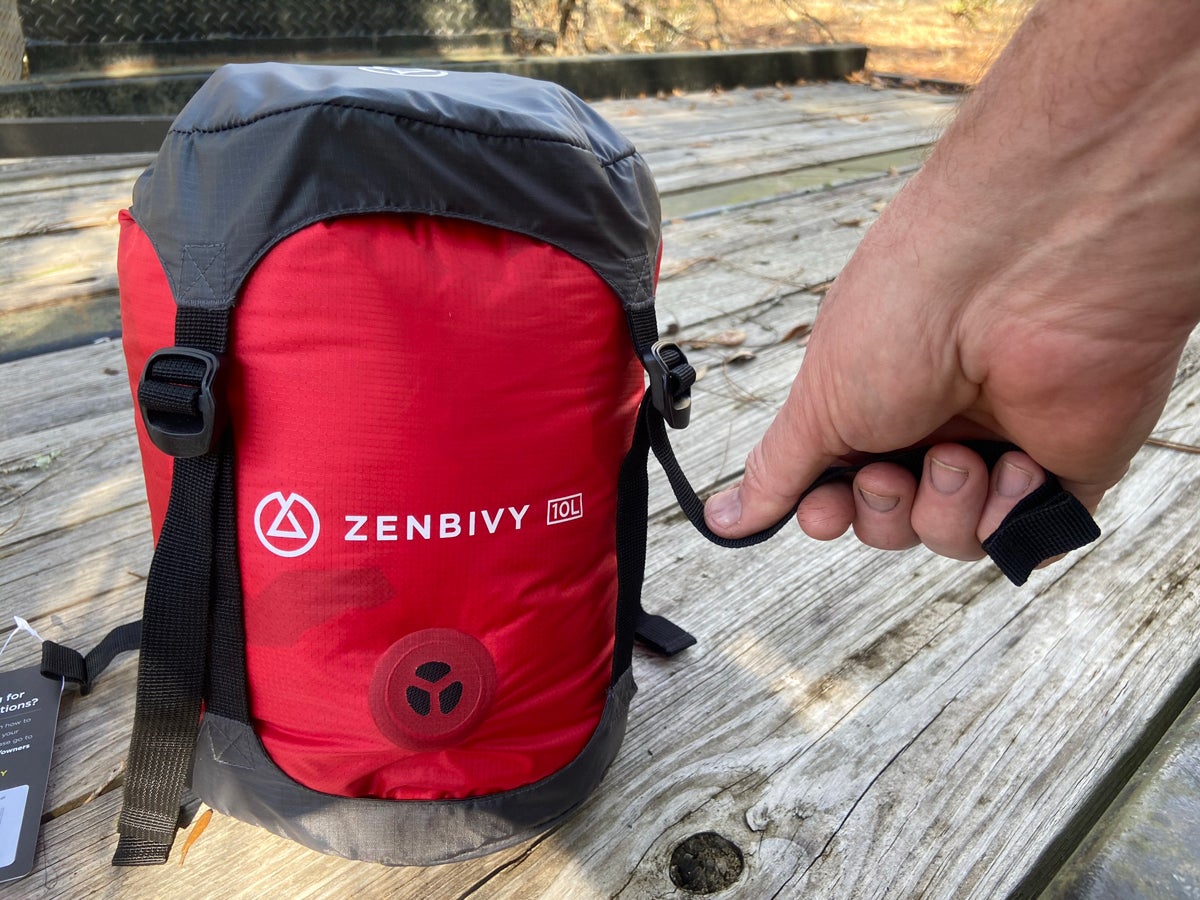
There’s a flap on the bottom end which I suppose is meant to be a sorta-kinda handle, but it’s usually easier to grab it by one of the straps.
There’s a flap on one end of each Compression Cap. (Photo © Russ Chastain)
Side straps sometimes make good handles. (Photo © Russ Chastain)
MSRP on the Zenbivy Compression Cap is $19.00.
Conclusion
As always, the quality of Zenbivy gear is proven out; these items are not cheap, but they are well-made (in Taiwan). They also don’t weigh much.
The important thing to note is that the Dry Sack is not in itself a compression bag, so if you want it to stay compressed you will need to add a Compression Cap. Zenbivy bills this as a good thing; if you don’t want or need compression straps, you don’t have to mess with ’em.
I’m really glad I got these, and if Zenbivy comes out with a 20L size I will probably prefer that for my Primaloft cold-weather clothing… but these products are primarily designed for compressing and/or packing Zenbivy quilts and light beds, so 15L may be as big as they get — and for most purposes, that’s probably fine. I’m looking forward to many years of good use from my Zenbivy Dry Sacks and Compression Caps.
