Fixing the Sights and Firing a Zastava M57 Pistol
Russ Chastain 05.09.20
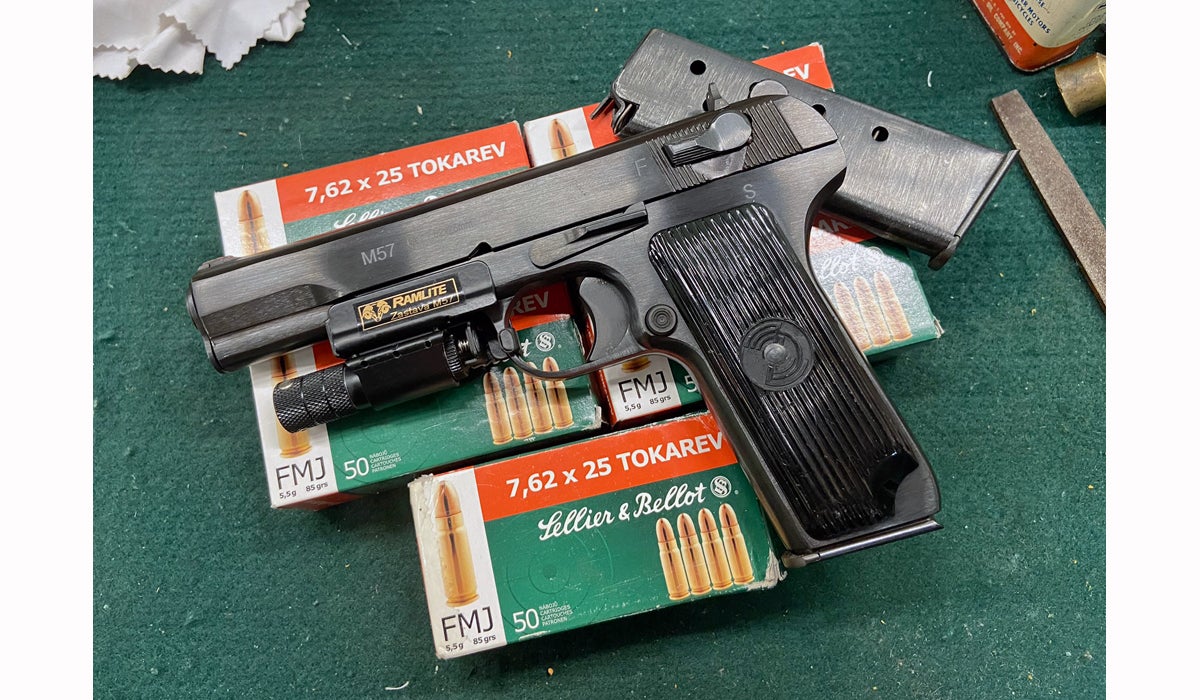
One of the less-desirable traits of being a writer is that one’s mistakes often become a matter of public record. Just yesterday, I published a post here on AllOutdoor in which I observed the lack of notch in the rear sight of the Zastava M57 pistol about which I was writing. Although it was notchless, it appeared odd; as if, perhaps, someone had attempted to cut or stamp a notch in it, but had failed. Here’s a photo:
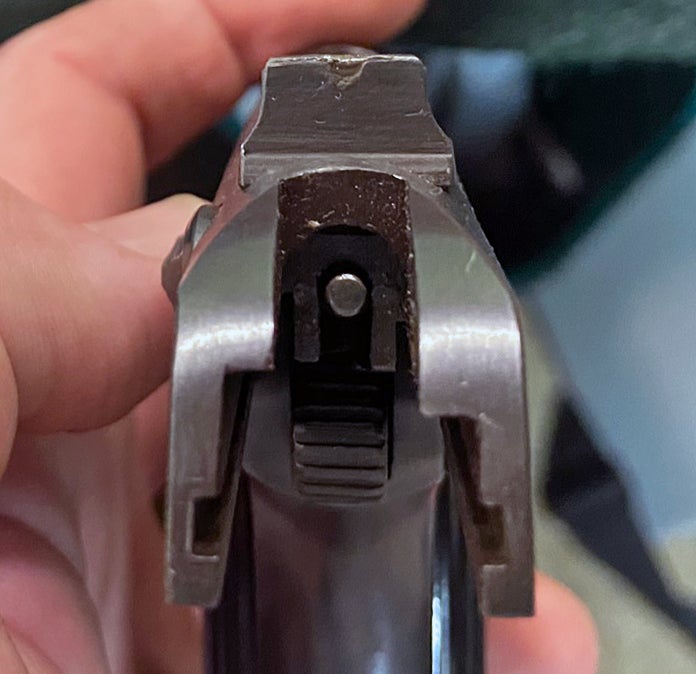
(Photo © Russ Chastain)
Looking at the photo, it seems apparent that someone may have filled the notch with something, but at the time it all appeared to be made of the same material.
Well, I set about the task of preparing to file a notch into the sight. I dug around in my gun goodies and got out my old set of needle files. These two were about the right thickness.
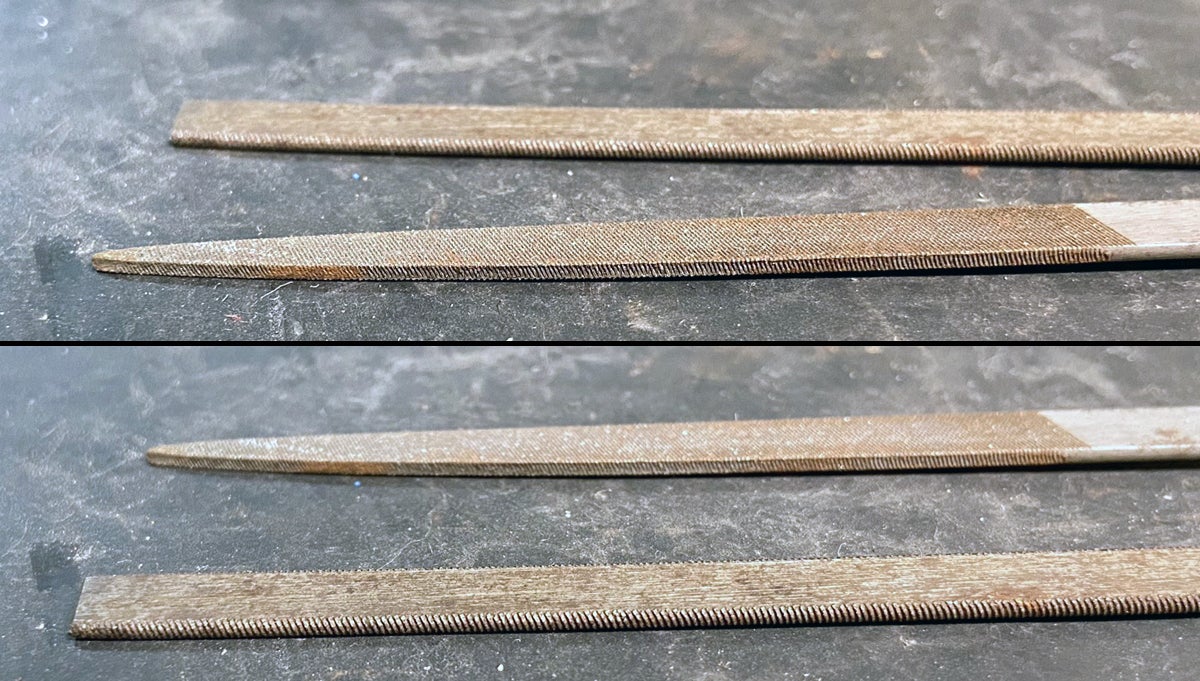
(Photo © Russ Chastain)
I was going to start with the square-edged file (the pointy one) and was getting set to begin when something told me to try something. So I whipped out my do-everything use-and-abuse knife, and scraped at the rear sight where the notch ought to be. Lo and behold, it was softer than steel — and the scraping exposed a whitish color.
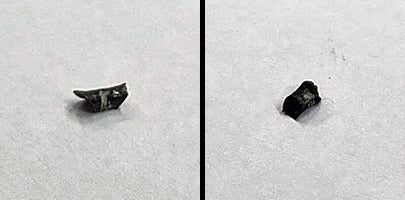
(Photo © Russ Chastain)
I applied a little more force, and a hunk of “stuff” popped free of the sight! With just a little more scraping and dusting off with an old toothbrush, I had exposed a notch — a rather crooked, crude, and oversized notch — where before I’d had none.
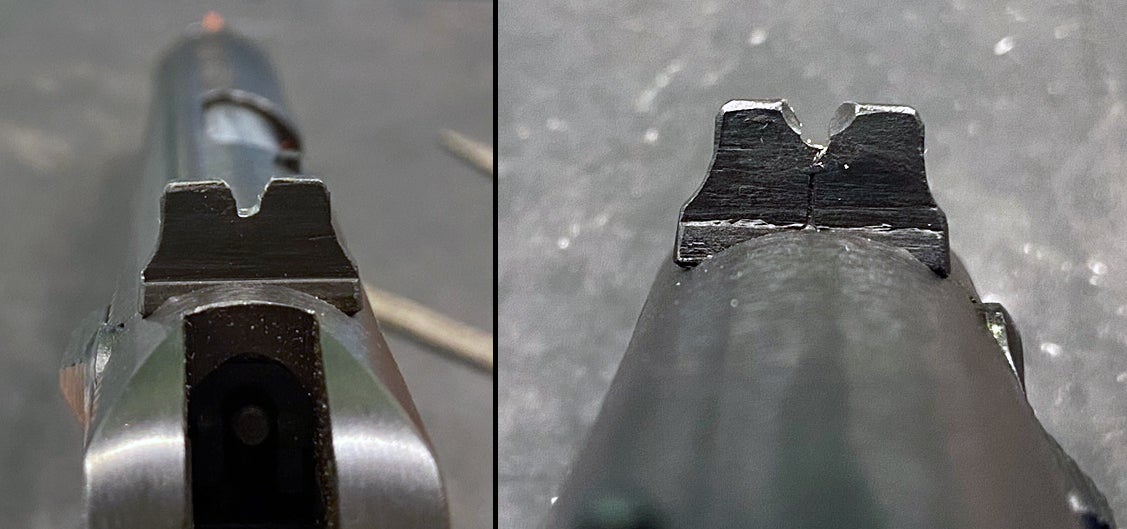
(Photo © Russ Chastain)
Examining the fairly horrible notch revealed a possible motive behind the decision to fill it up: It had been cut crookedly and looked like hell. Perhaps someone had worked on the notch while trying to zero the pistol, had obviously mangled it, and then decided to hide their mistake with something like JB Weld? No telling.
I did feel kinda dumb for believing the sight had not been notched by the factory. Ah well, live and learn.
I desperately wanted to clean up the crooked notch, but decided to fire it first. I gave the front sight a fresh coat of bright red paint and headed to the range.
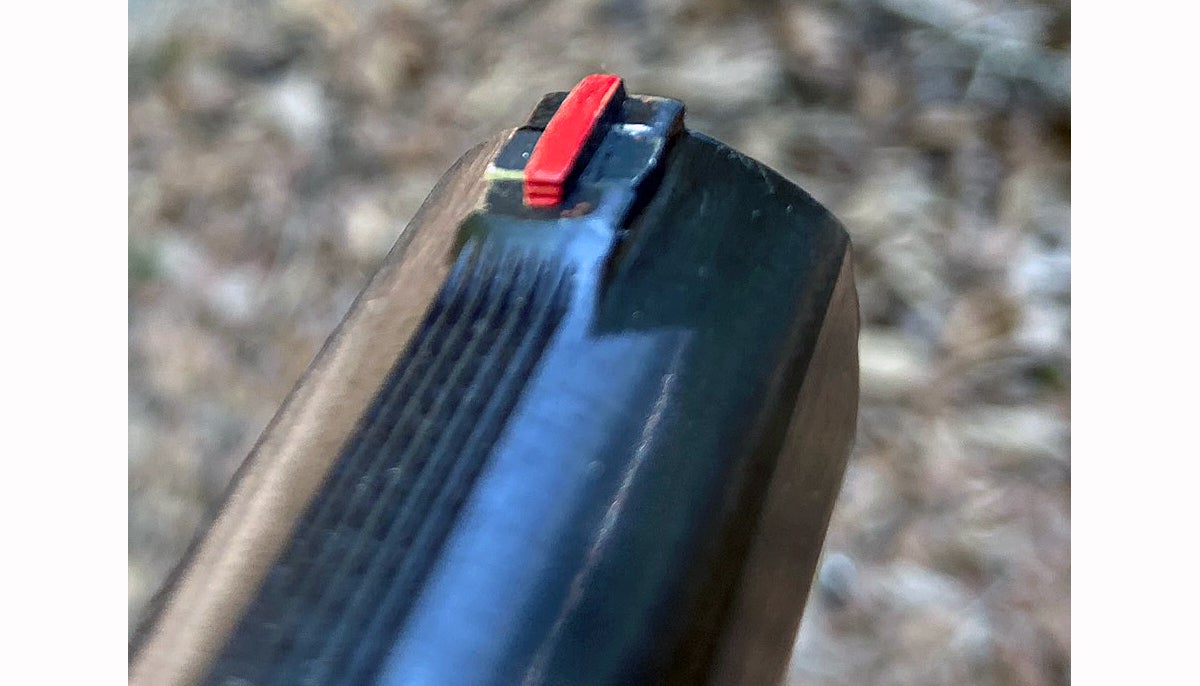
(Photo © Russ Chastain)
It did pretty well, and my toughest challenge was getting my eyes to focus on the tiny front sight. At least I was able to prove that, at 17 yards, elevation was really not bad, though windage was off. So I grabbed the square-edged needle file and squared up the rear sight notch somewhat. I stopped before I really trued it up, because I didn’t want to go too far.
I also used a small brass hammer and a brass drift to move the rear sight to the right to correct the windage.
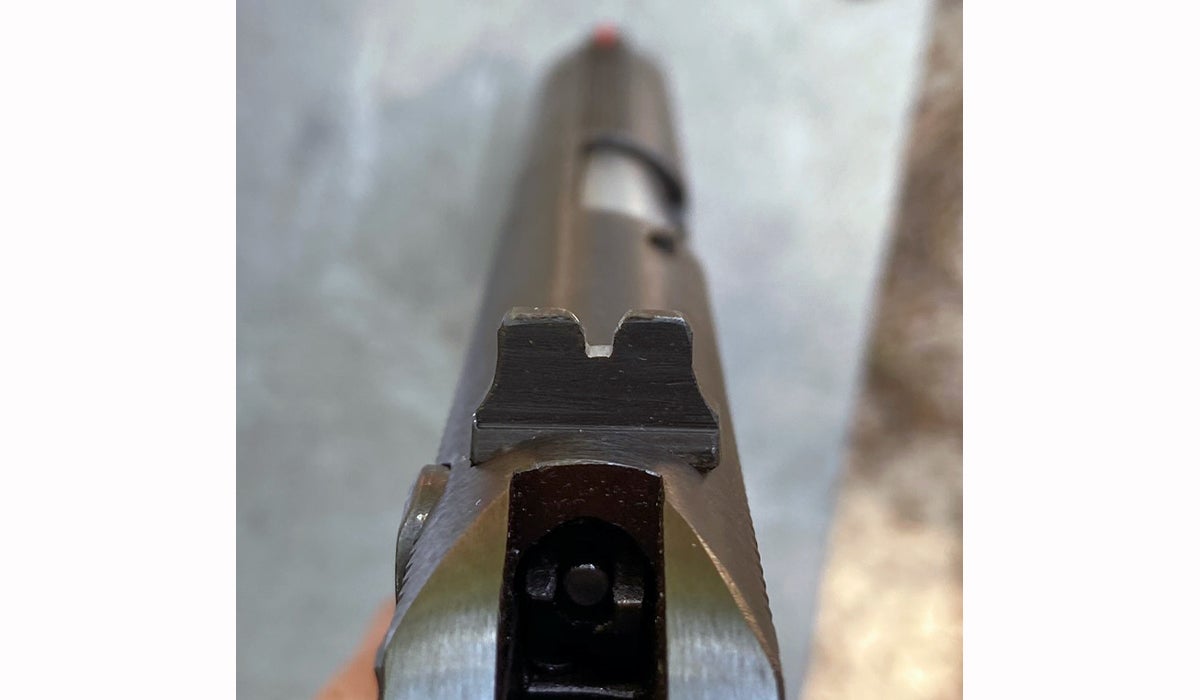
(Photo © Russ Chastain)
At the time, I felt pretty good about this five-shot group because I thought one of these marks was a double hit… but while editing the photo I noticed one way over low and left at the bottom edge of the paper. Doh!
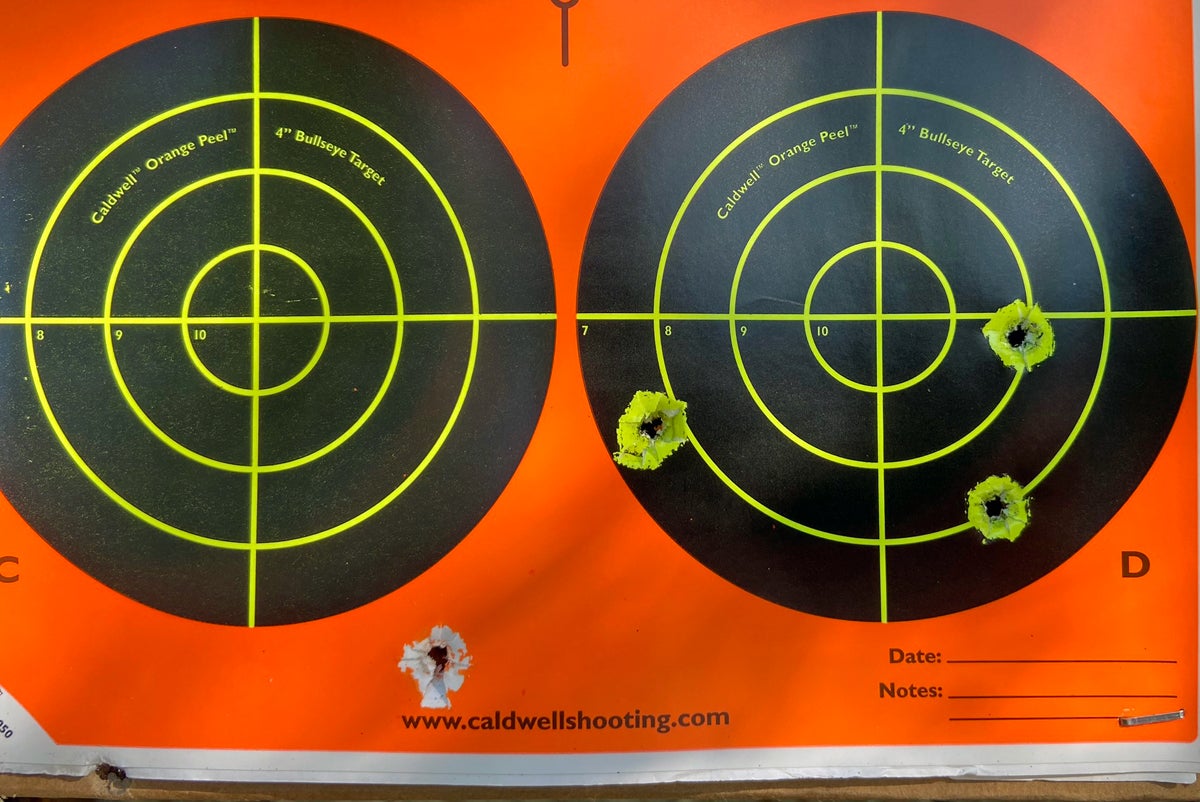
(Photo © Russ Chastain)
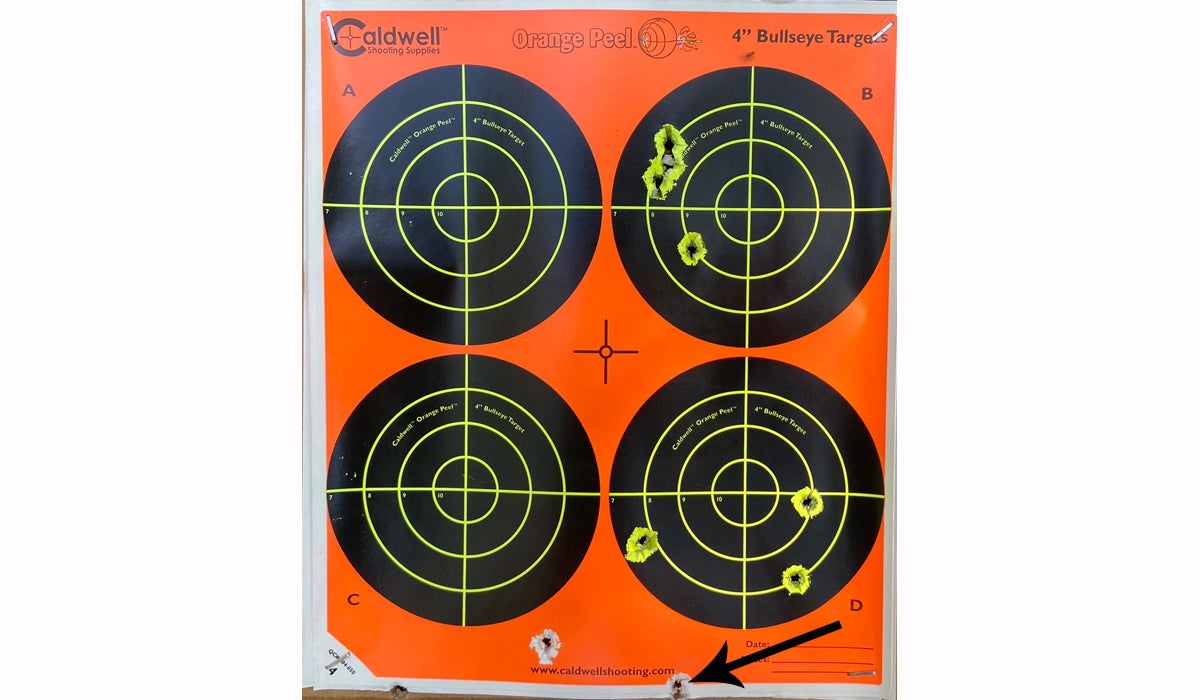
In my last post, I said I was going to test the laser, so I did. Adjustment is extremely coarse, and a tiny movement of the allen screw makes a large difference in where the laser points. Once I had it pointing where my sights were aligned, I fired using only the laser to aim at the top right bullseye. It hit inside the black at 10:00… but a second shot hit way down low, as indicated by the arrow in the photo below.
(Photo © Russ Chastain)
I readjusted the laser, tapping lightly on the laser body in an attempt to get it “settled in.” It worked, and three subsequent shots landed in the bull, aiming with only the laser.
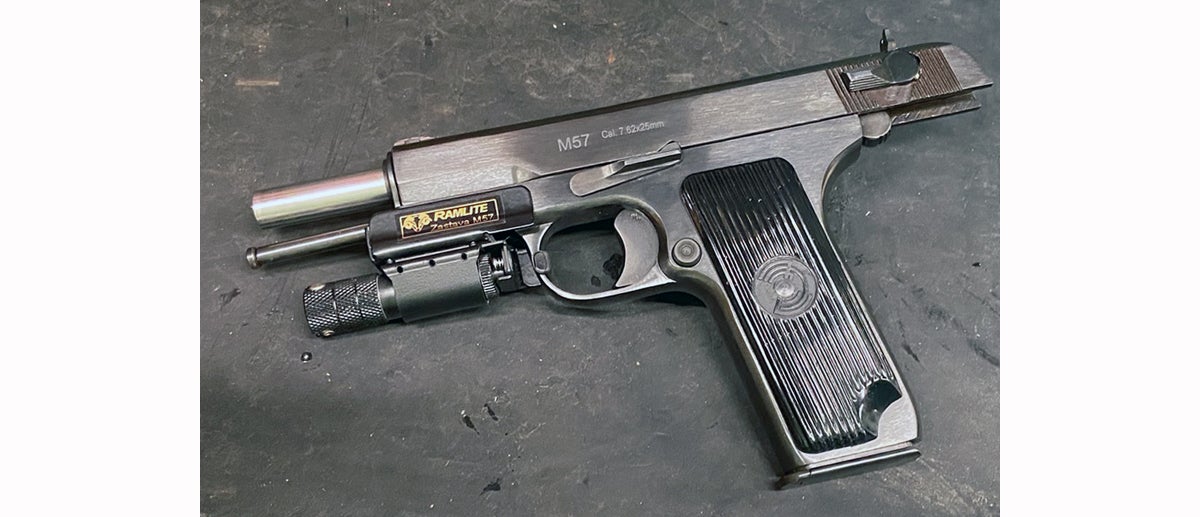
Will the magnetically-mounted laser remain true after being removed and reinstalled? That remains to be seen. For now, I feel confident saying I have a pretty accurate pistol with a pretty terrible trigger pull… and I can’t help but like it.
(Photo © Russ Chastain)